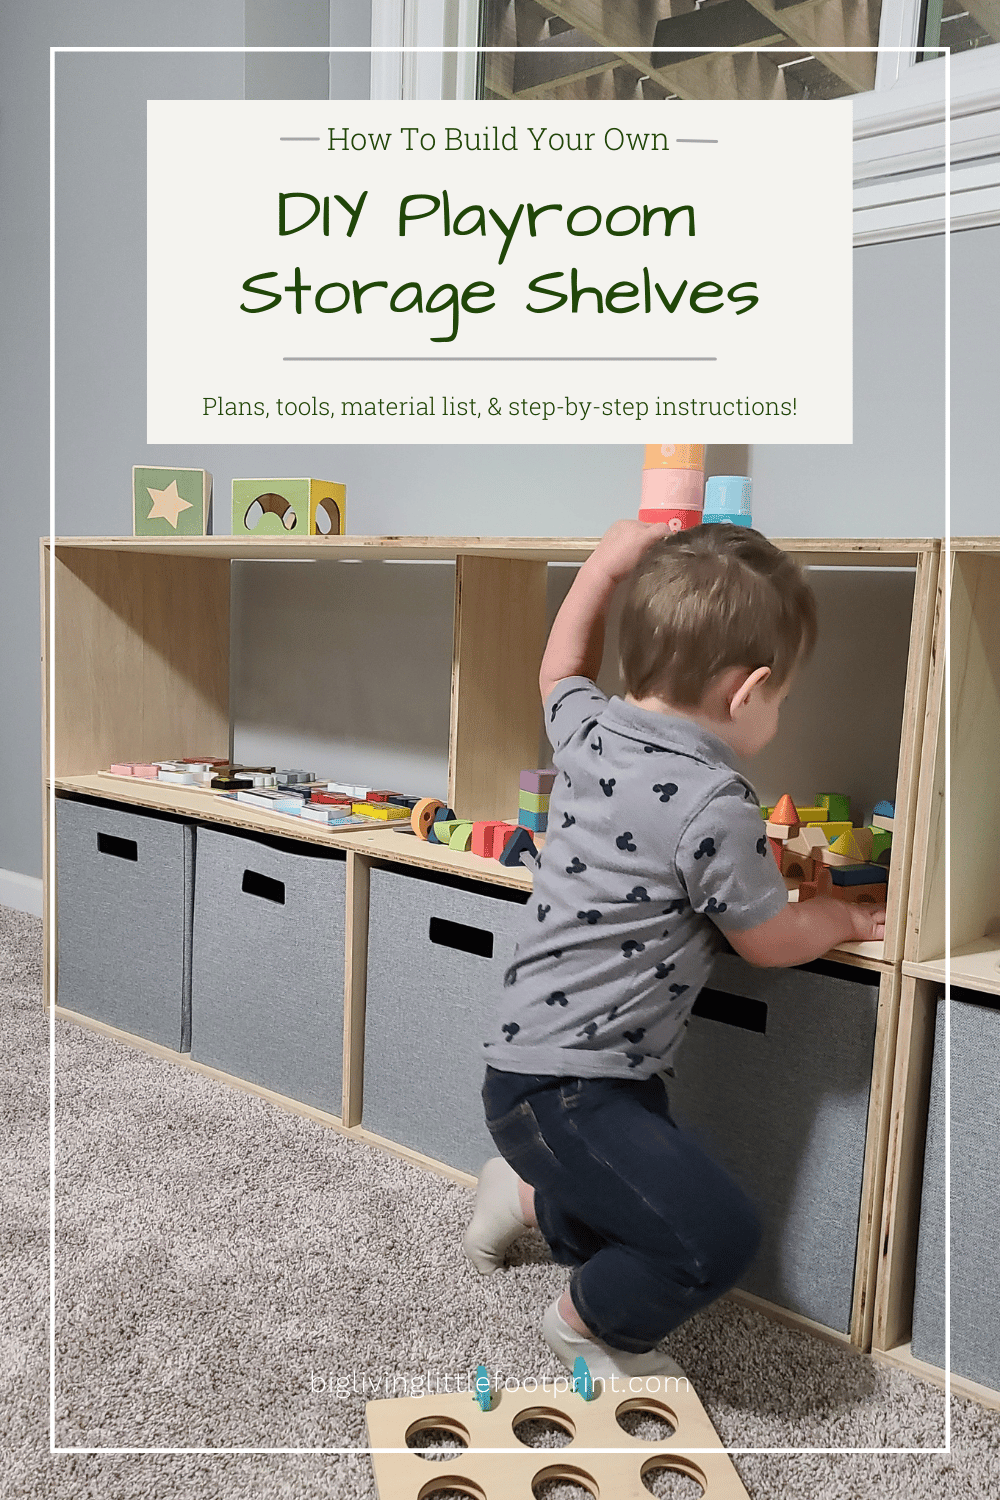
How To Build Your Own DIY Playroom Storage Shelves
Creating a playroom for your child, but need some simple storage options? Children always end up with toys, so having a designated area to storage them helps keep you and your child organized. So check out plans and how to build your own DIY playroom storage shelves!
Updated 09/26/2022
This post may contain affiliate links. Read about our privacy policy.
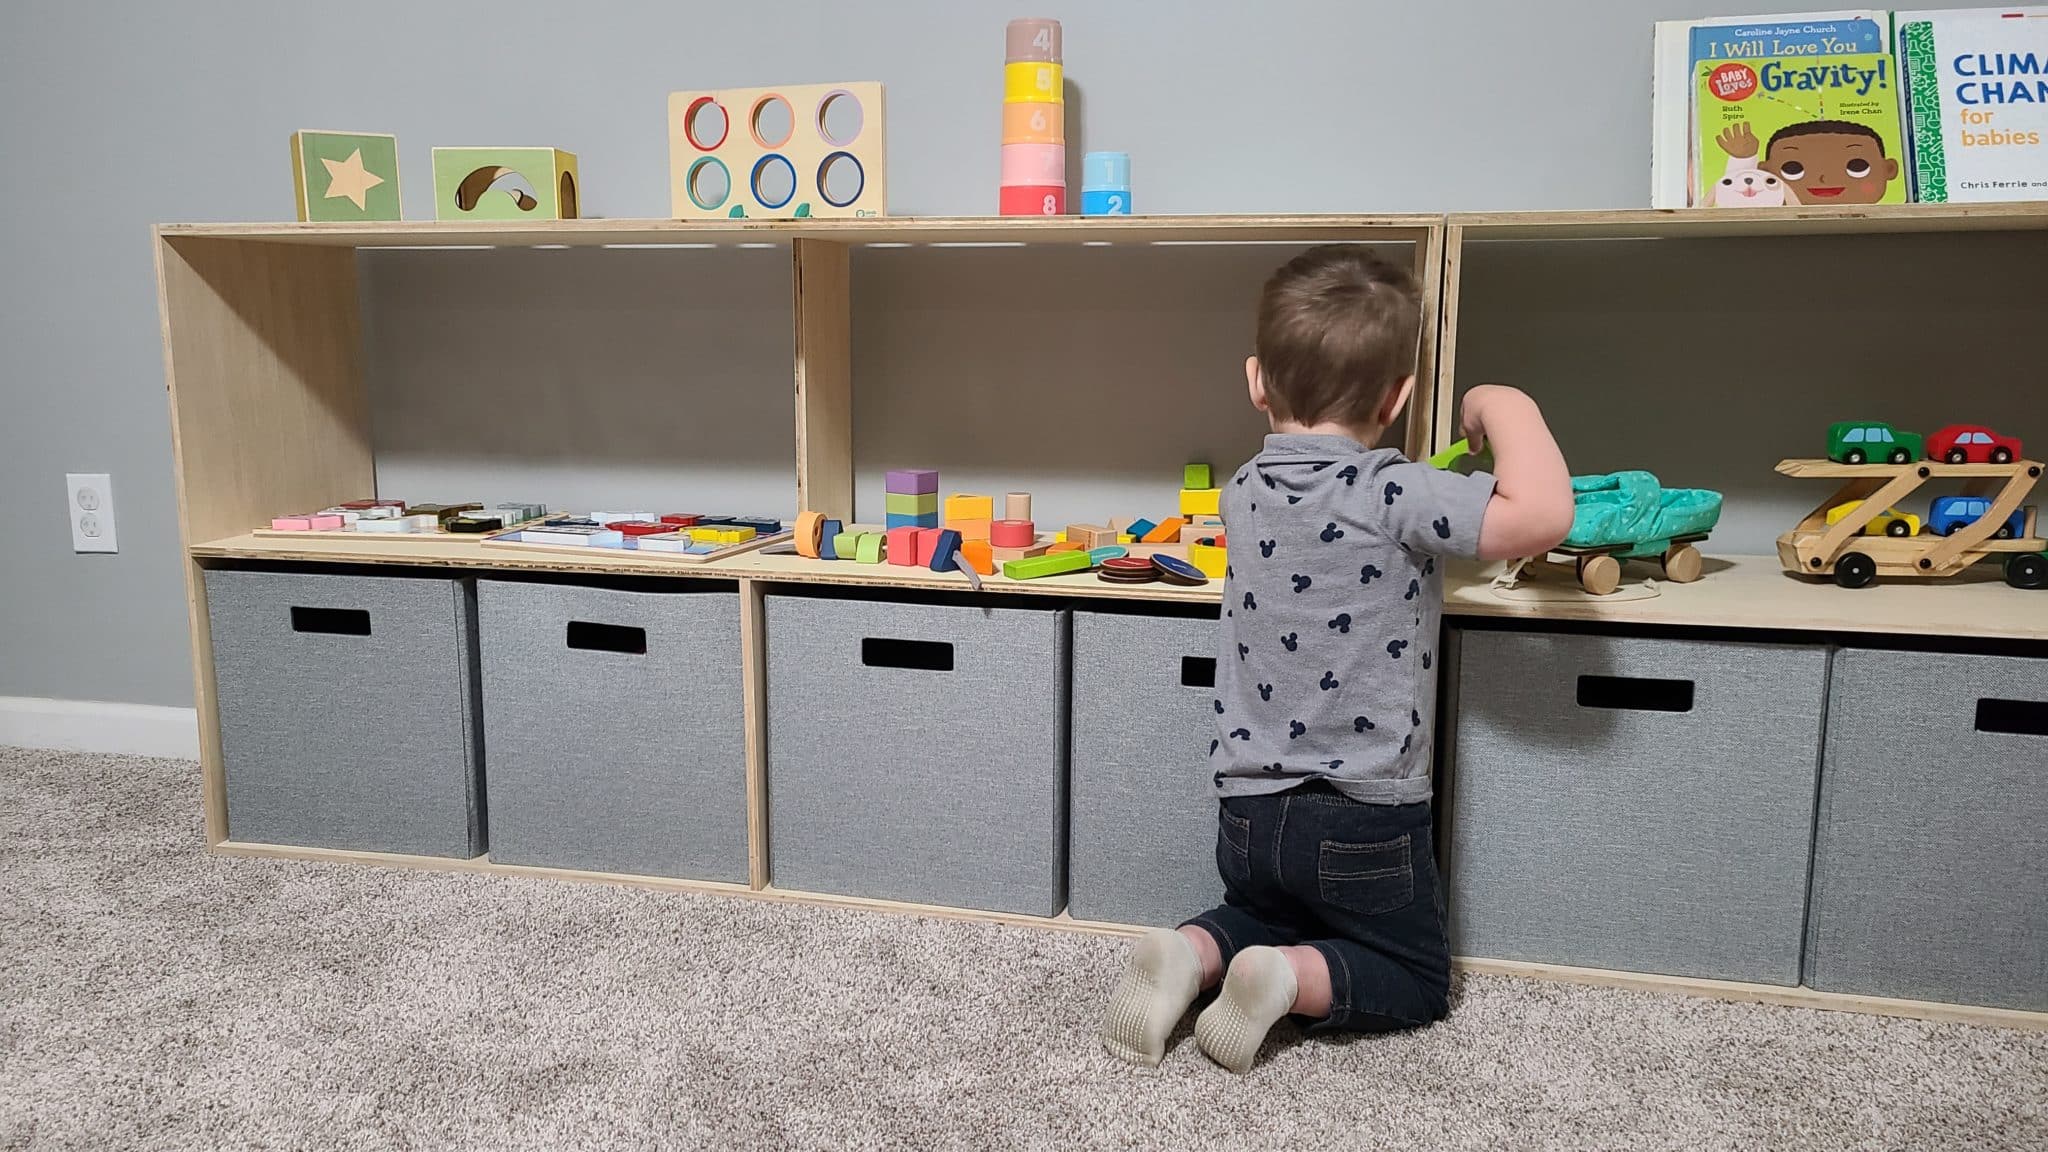
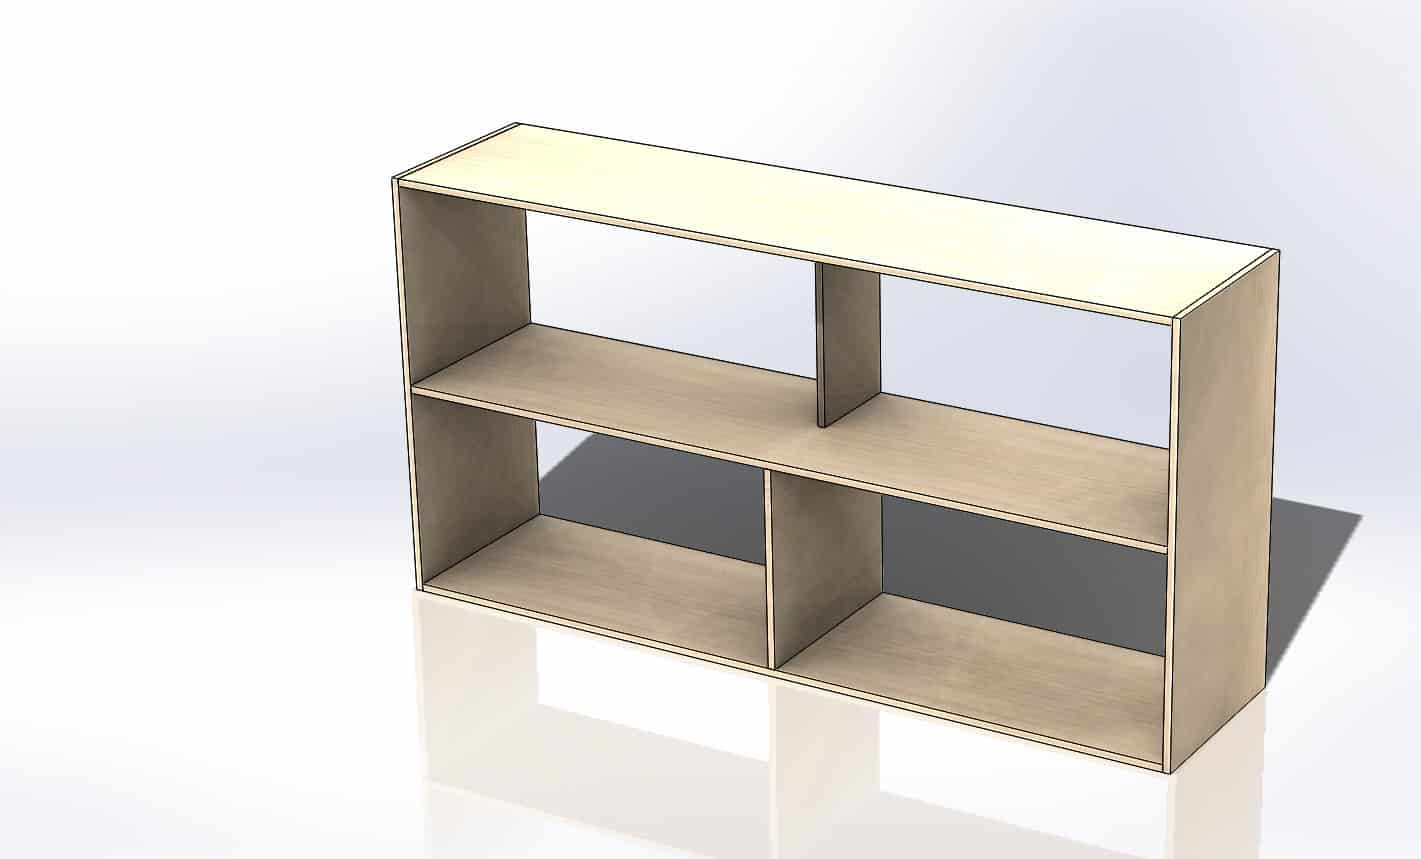
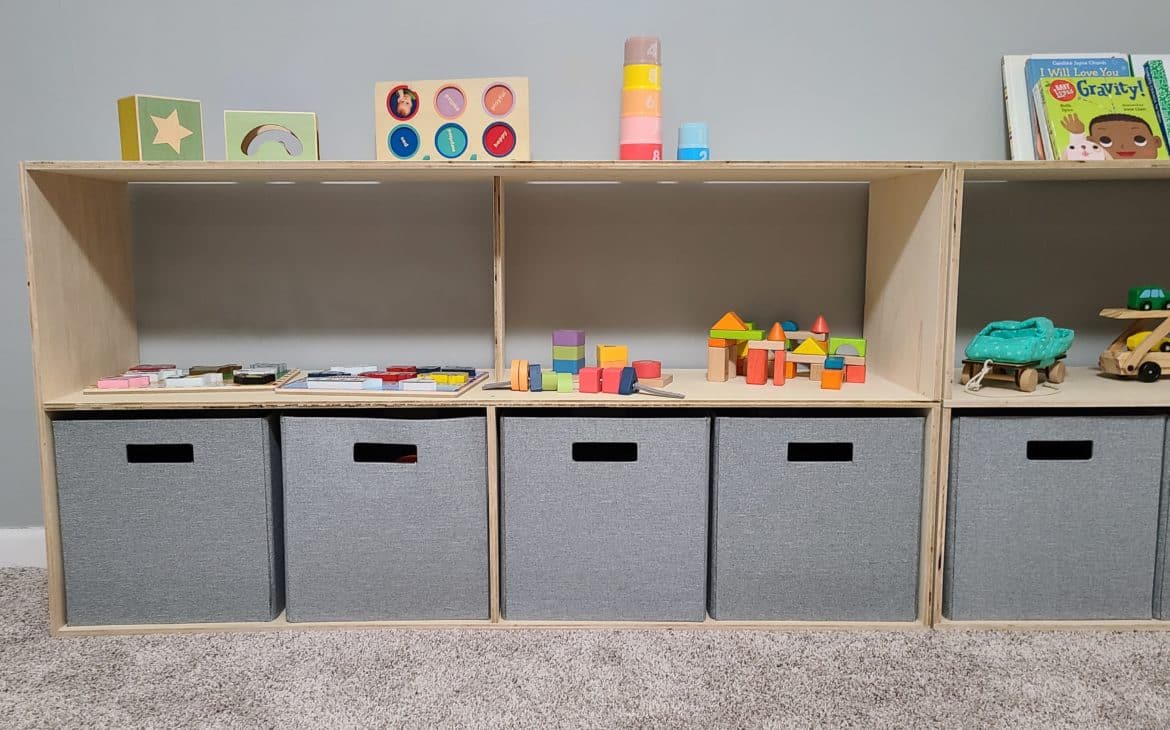
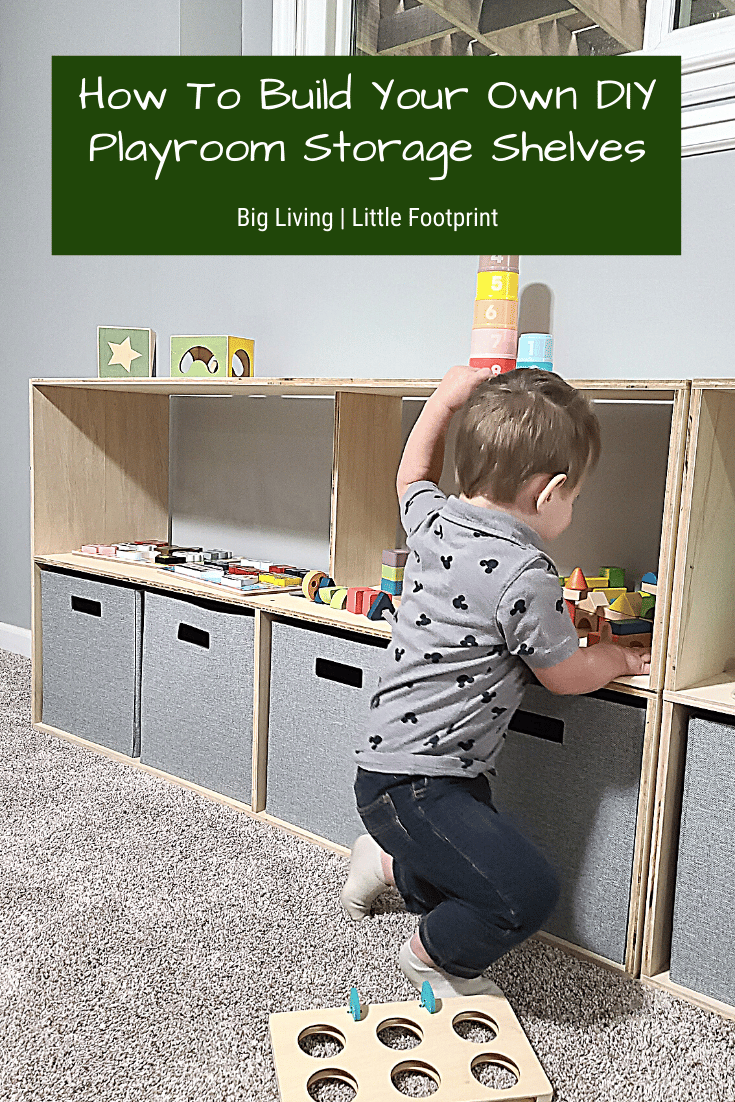
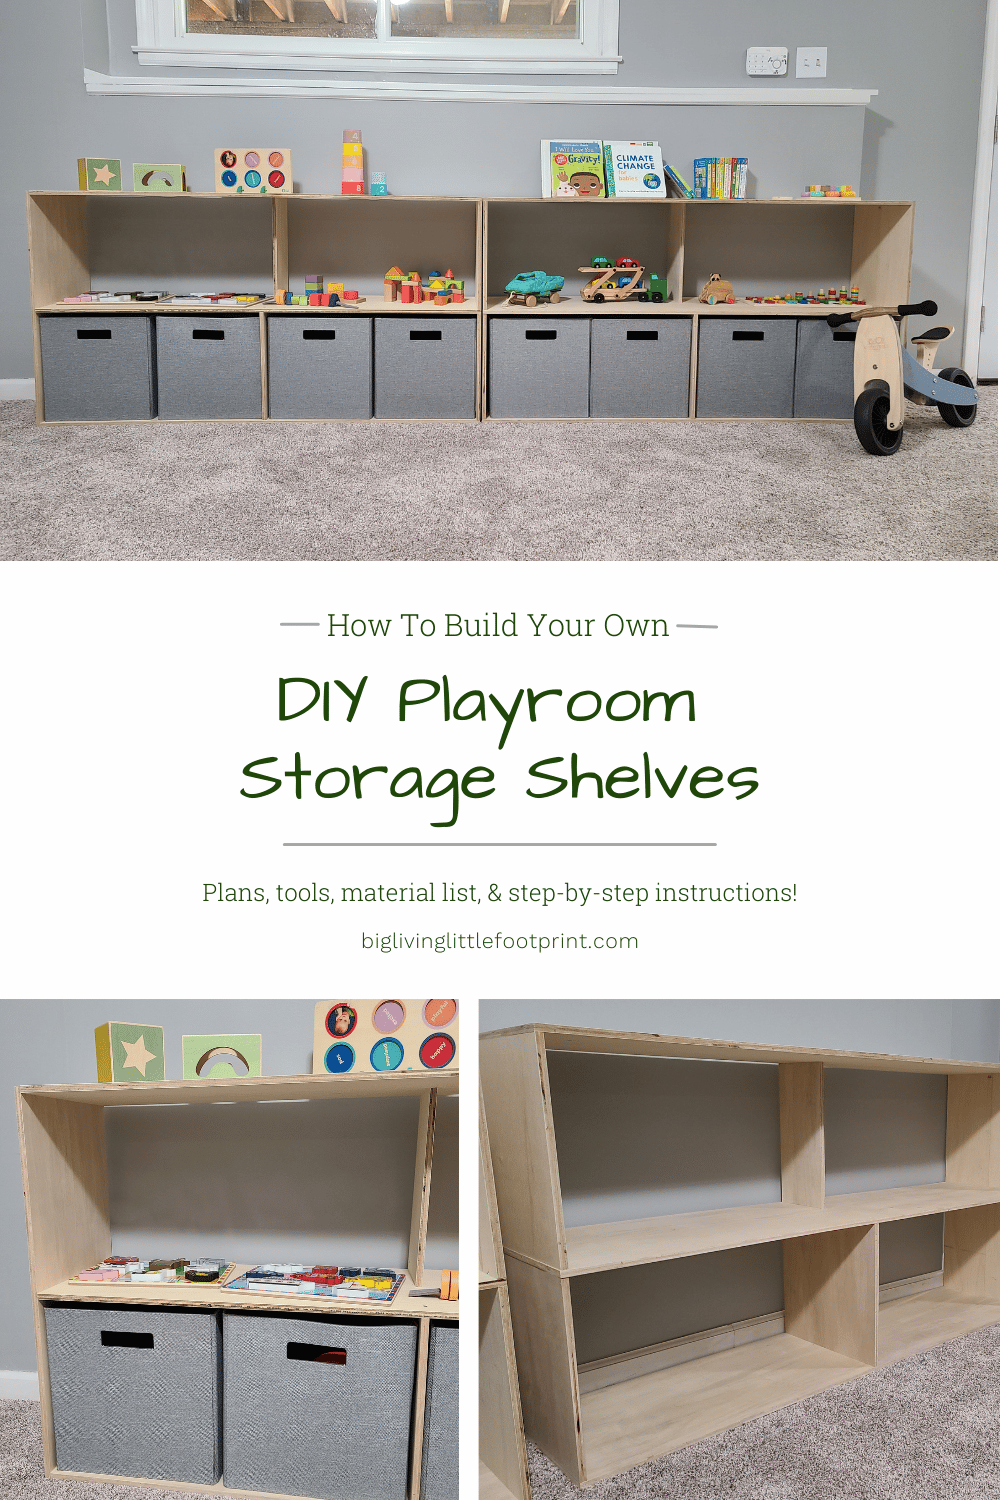
Today we are going to make some DIY playroom storage shelves with cloth storage bins. This shelving unit makes a great addition to a playroom as well as the shelf height are perfect for little ones to play on and the bottom shelf can be used to hold and organize their toys. Come join us to see just how easy this DIY project can be!
DIY Playroom Storage Shelves
Tools You’ll Need
Saw Alternatives

Materials You’ll Need
- 1 – ½” x 4’ x 8’ Sheet of Plywood
- 1lb 1.5” – 2” Screws
- 4-8 Cloth Storage Bins (13″x13″)
- Preferred Finish: Wood Stain, Oil or Paint
Alright, now that you have your tools and materials, it’s time to start building your DIY Playroom Storage Shelves!
Step 1: Measure & Layout Cuts
First things first, pop on over to our Shop or Etsy and snag yourself a copy of the complete DIY Playroom Storage Shelves Plans for this project.
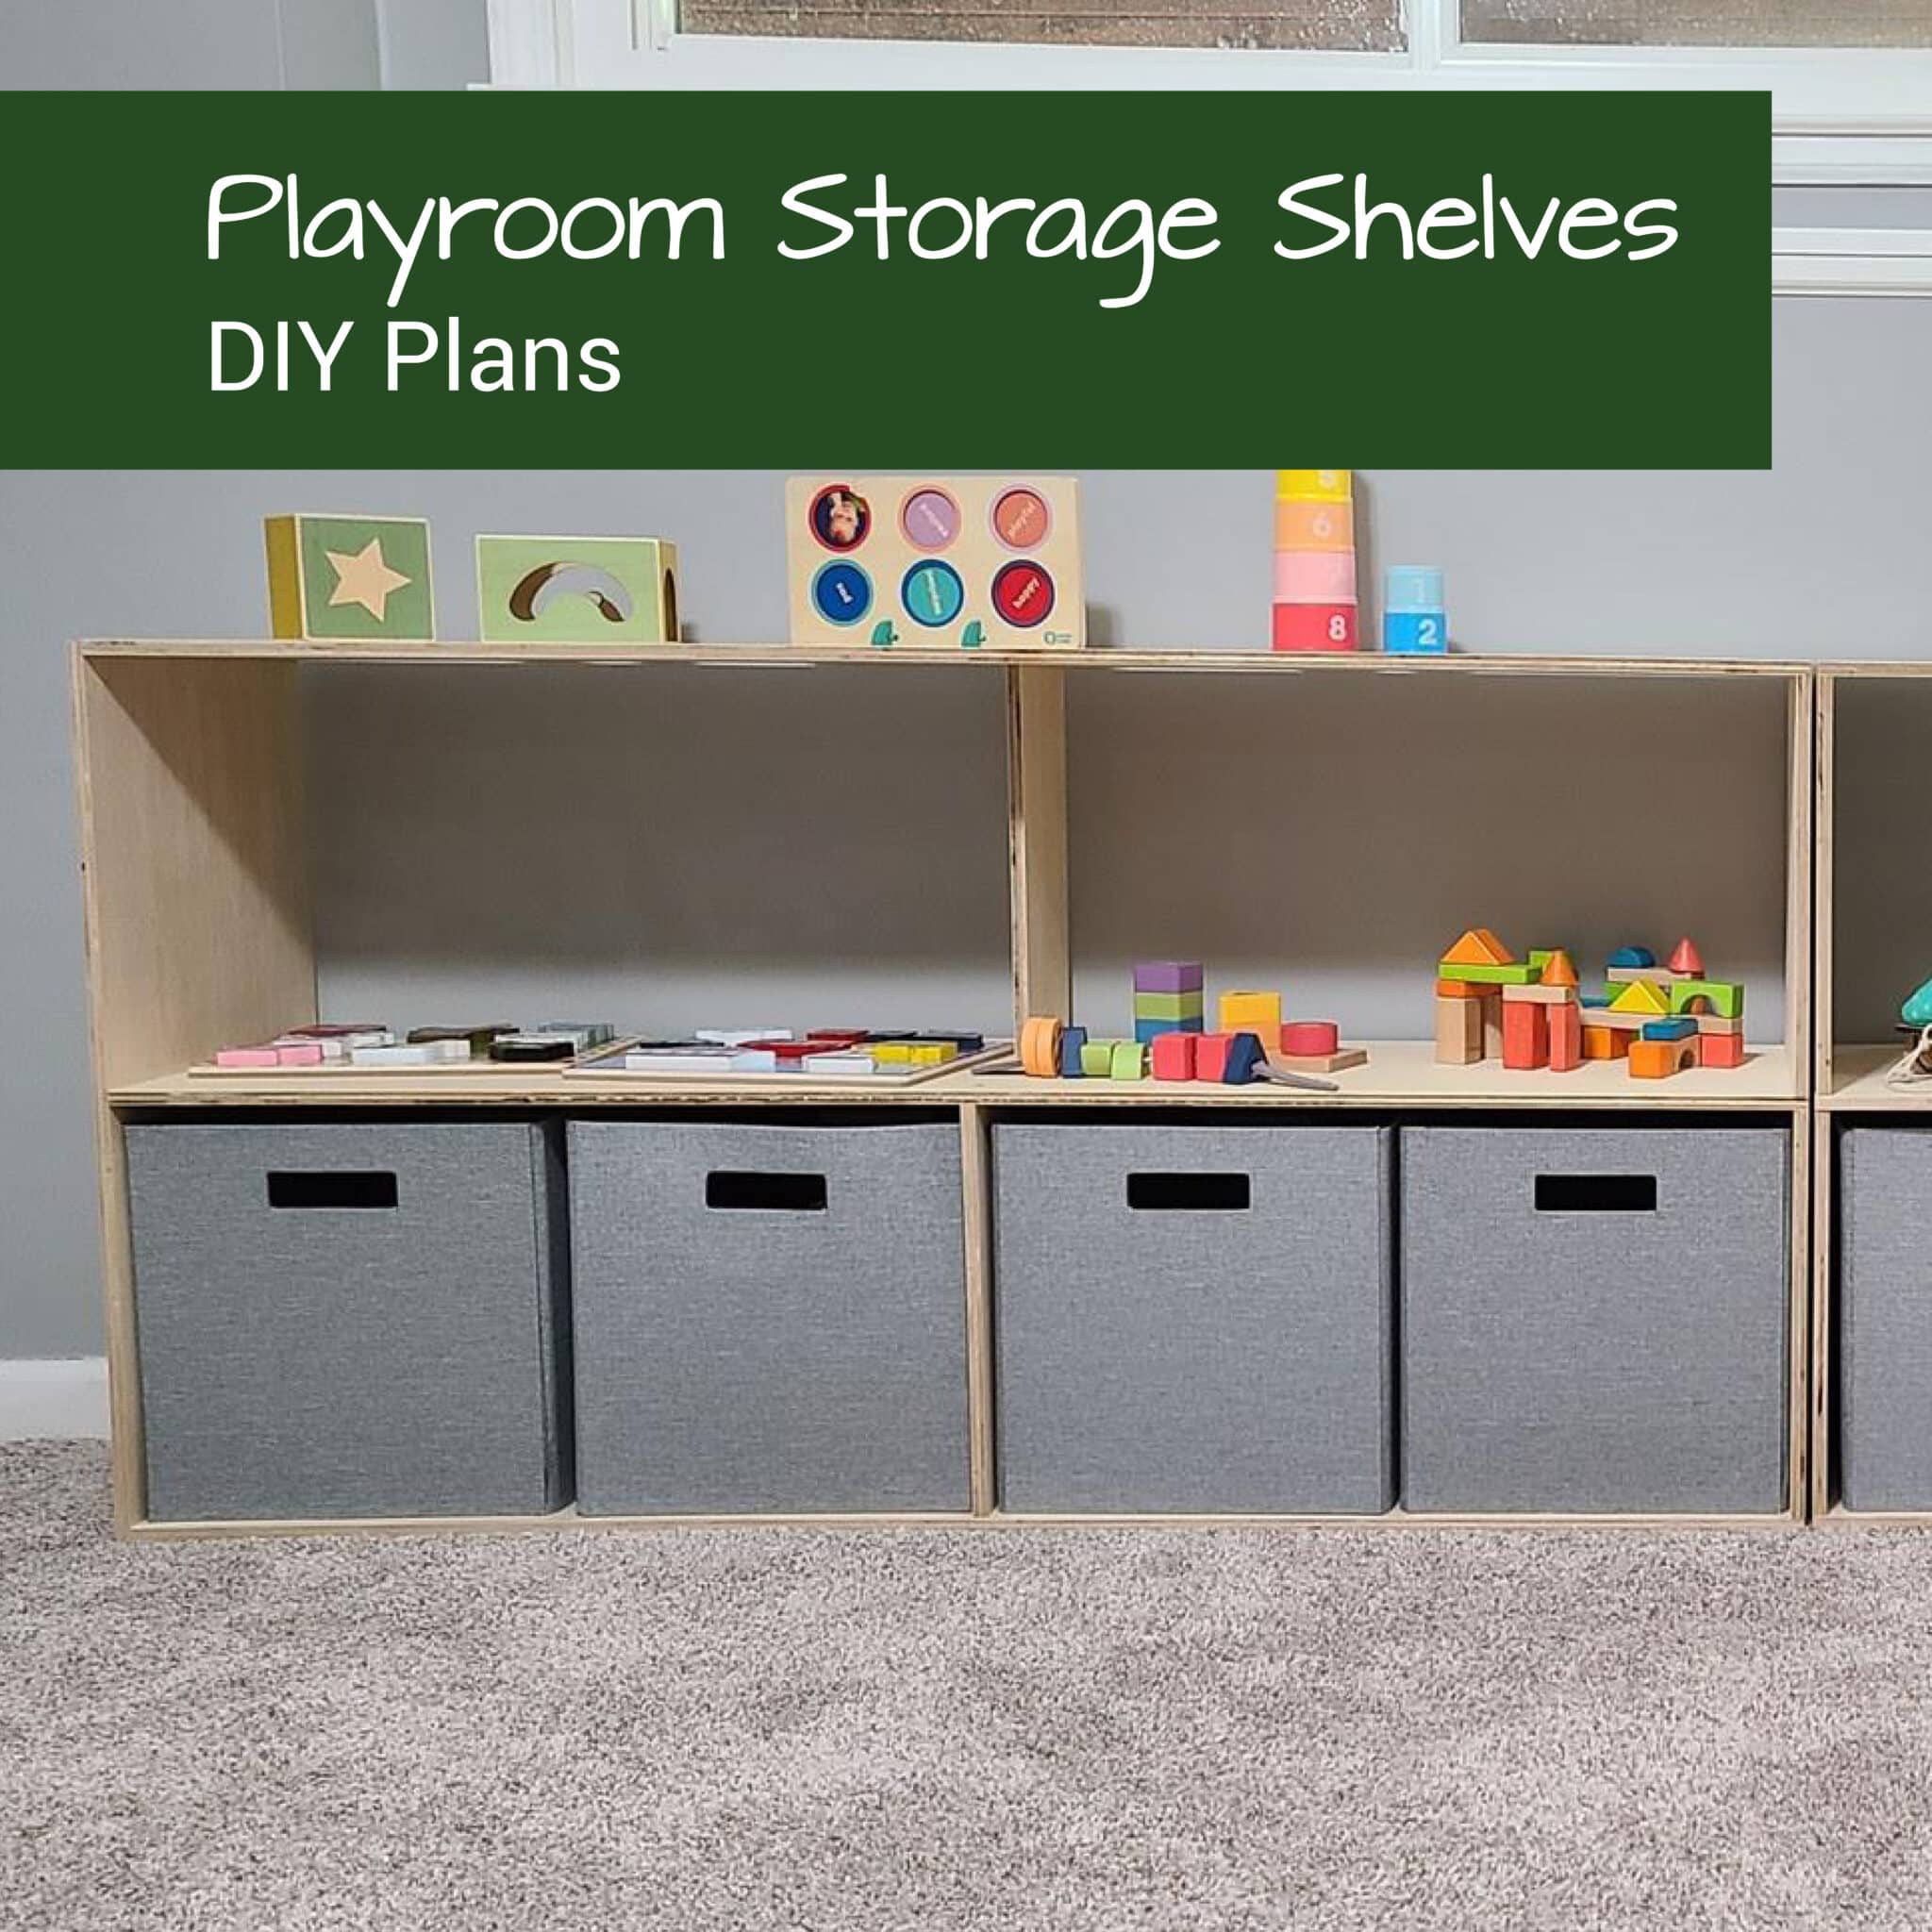
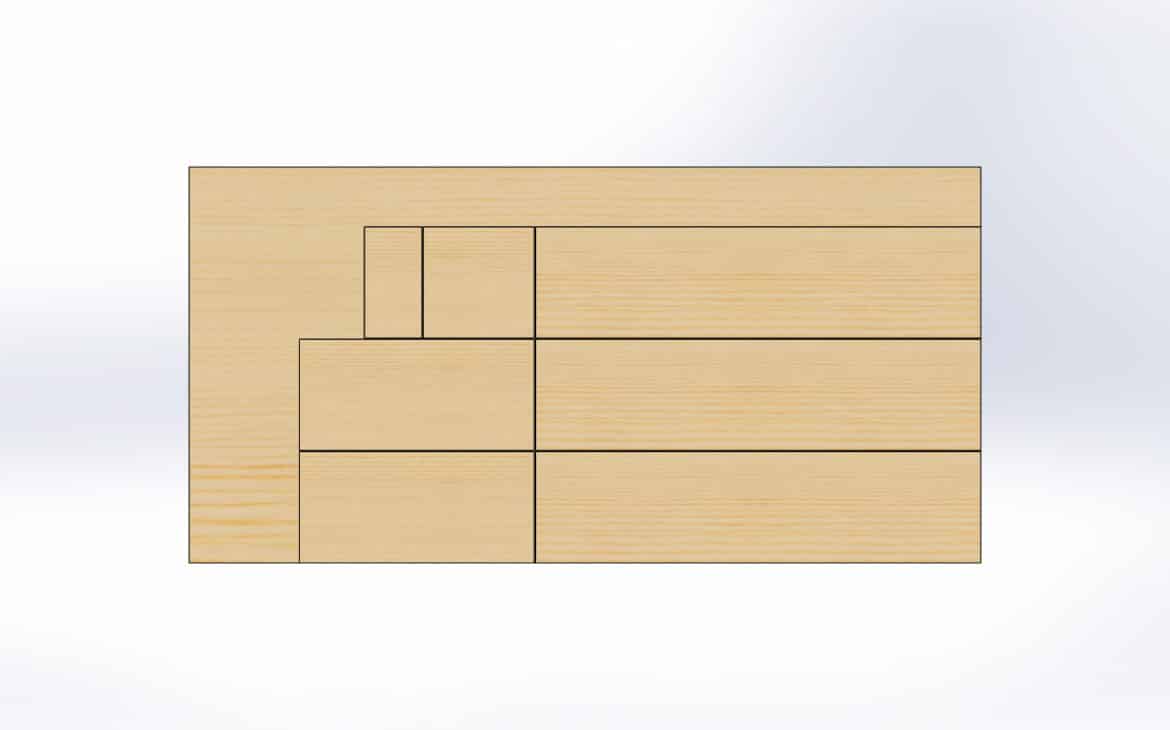
Once you have a copy of those plans, lay out your plywood and mark it up using the dimensions of each piece. These plans were designed to fit a 13x13x13 cloth storage bin from Target. If you are using bins that are a different size, you may want to adjust the dimensions in the prints to accommodate your bins.
For example, if your bin is 12x12x12, then you’ll want to shorten the depth by 1” on all pieces. Additionally, you’ll want to shorten the shelf height on the spacers by 1” each, but you’ll want to shorten the total height of the sideboard by 2” since there are two layers of shelves. Finally, you’ll want to shorten the length of the shelf on the long shelf board by 4” since there are 4 boxes per shelf.
After you are all done marking up your plywood, you should have something that looks a little bit like this.
Step 2: Cut Out Wood Pieces
Begin cutting out the pieces on your table saw or using your preferred saw alternative. Begin by cutting three long strips that are the depth of your shelf wide. Then cut each individual strip into its requisite length boards. All of these cuts are easy straight cuts which is part of what makes this such a DIY friendly project.
However, if you are feeling confident, feel free to miter your corners to give it that extra finished look! Just be sure to add the needed length to your top and bottom board so that you don’t end up too short.
Step 3: Build Base & Sides
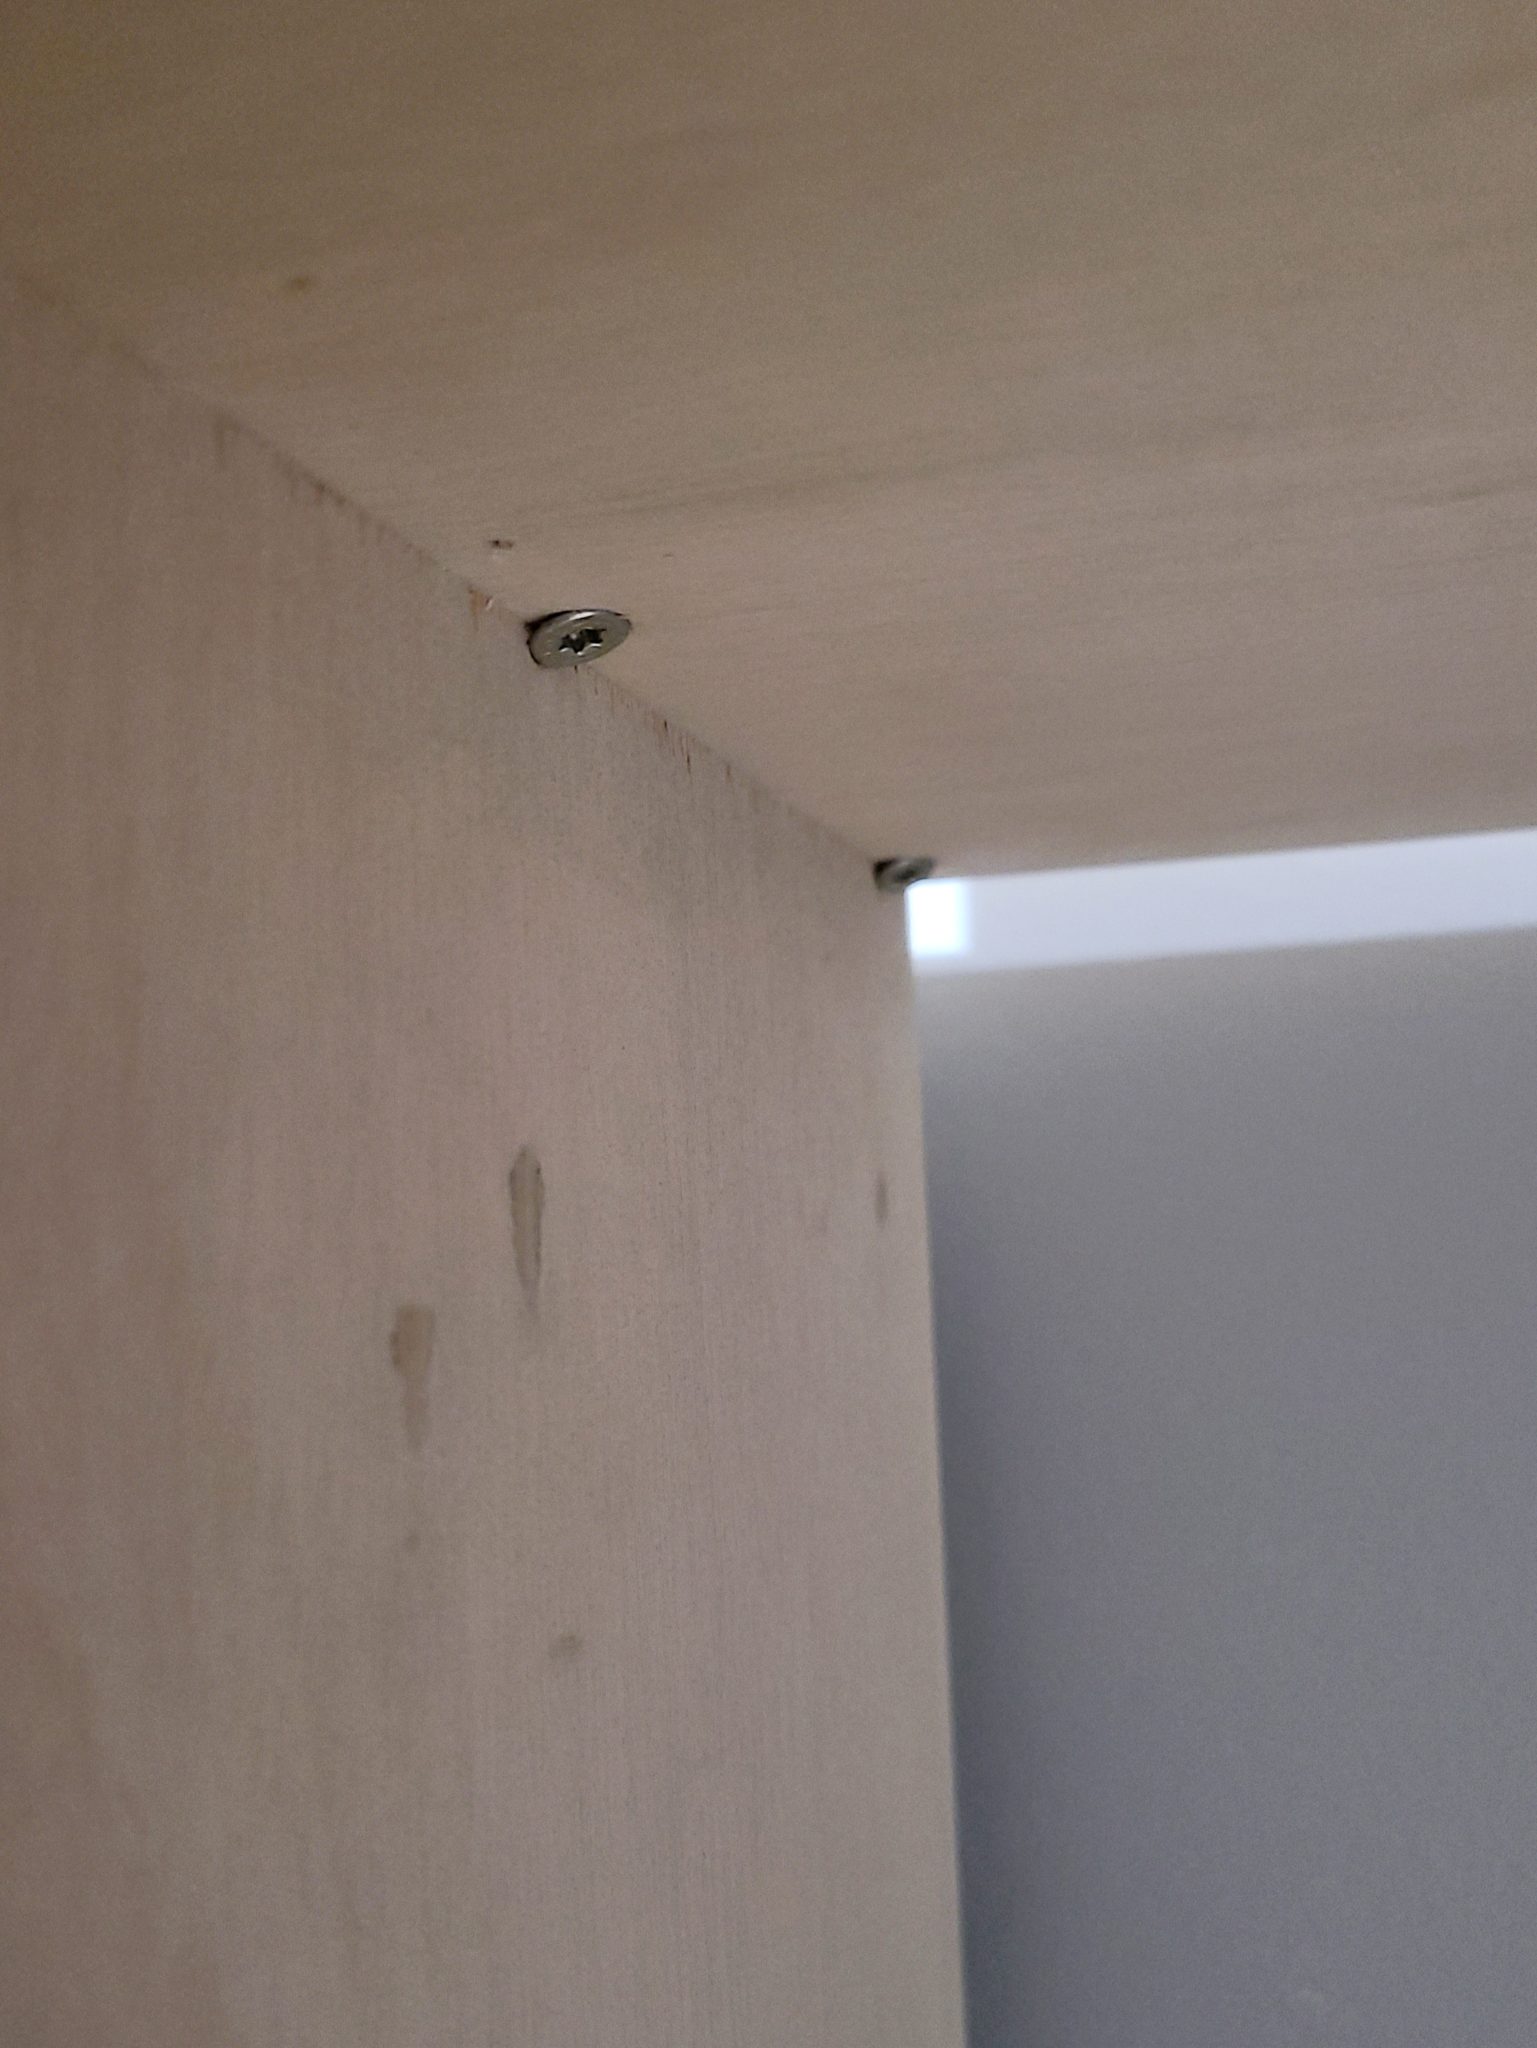
First, we are going to start from the bottom and work our way up. Start by placing the bottom shelf board on your work surface and align the side board with it. Use a framing square or cut board to try and keep the side board straight and square. Since we are going into ½ boards, you’ll want to pre drill your holes to keep from accidentally splitting the wood. Holding your drill bits up to your screws, select one that is about the size of the body of the screw if it didn’t have threads on it. This will probably be ⅛” or smaller. When in doubt, error on the side of caution and go slightly smaller.
Drill 3 holes along the bottom edge of each side board and into the bottom shelf. Drive a screw into each hole and torque it down until it is about flush with the side board. Repeat this for the other side as well.


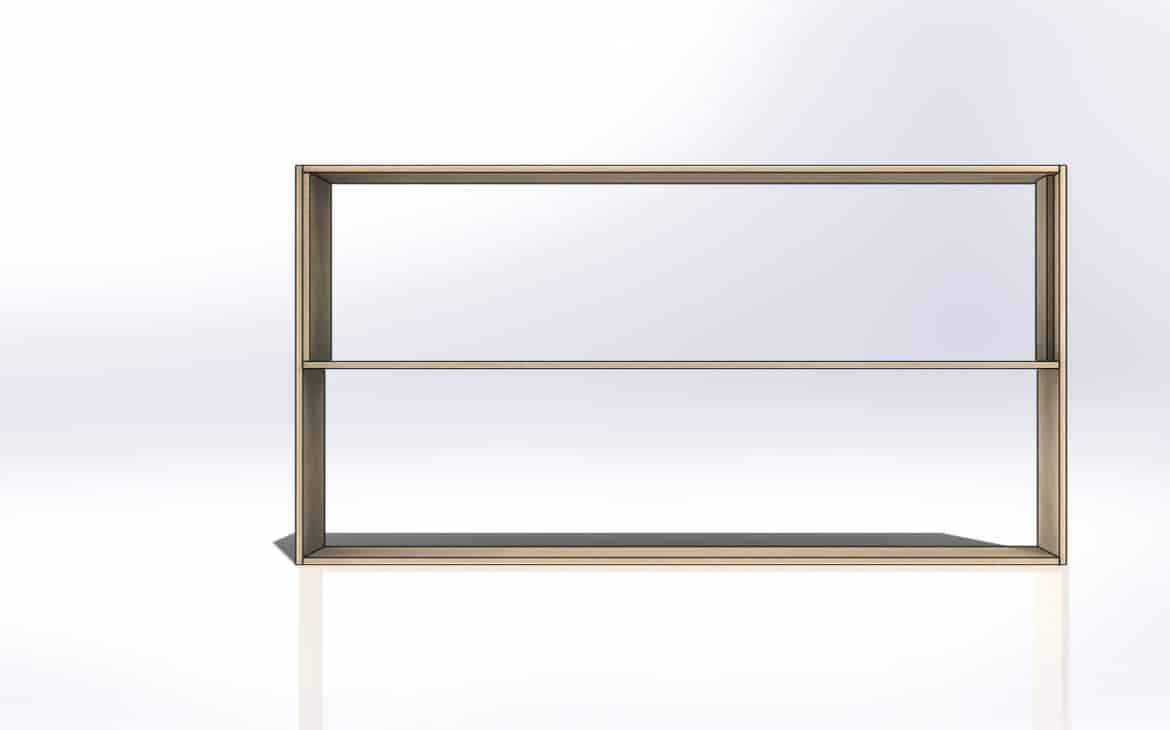
Step 4: Add Middle Shelf
Now it’s time to do the middle shelf. Assuming your spacers for the middle shelf and top shelf are the same height, an easy way to ensure proper shelf spacing is to place one spacer on each side of the bottom shelf and then set the middle shelf on top of that. That will hold the middle shelf at the correct height while you screw it into place. If your shelves are two different heights, then use just the lower shelf spacer on the side you are drilling and have a helper hold the other side for you. Once you have your height correct, drill your three pilot holes and drive three screws into each side of the middle shelf board.
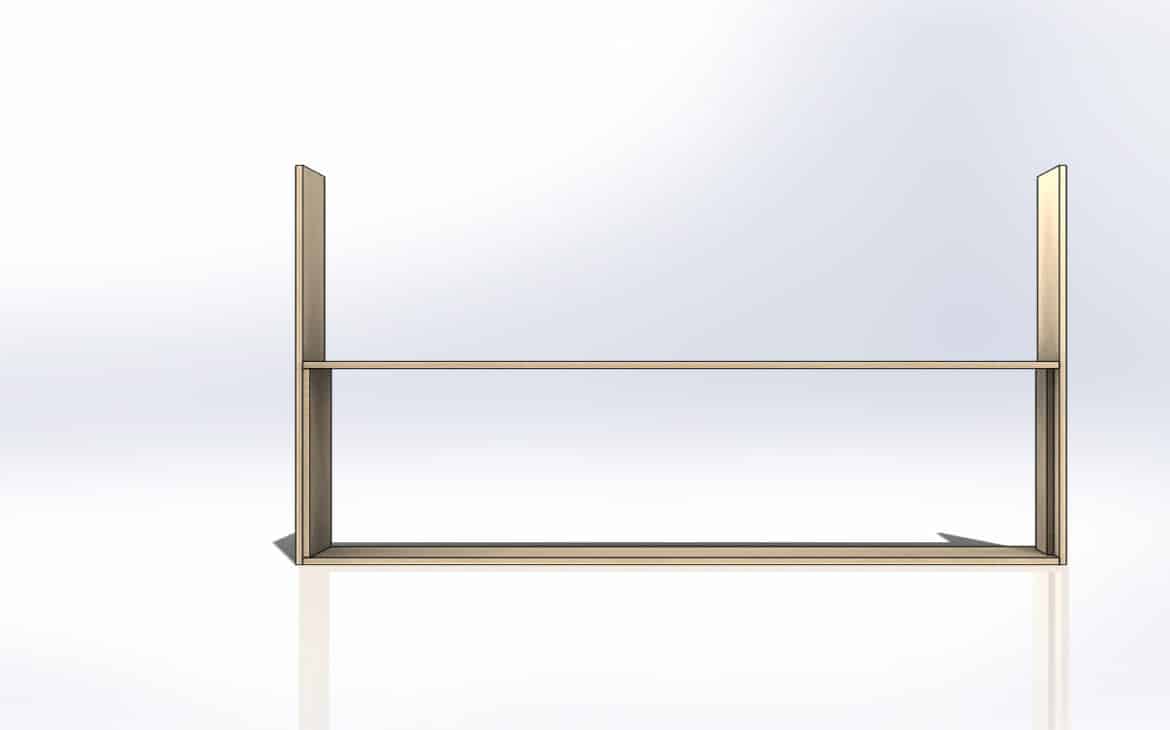
Step 5: Add Top Shelf
The top shelf is much like the middle shelf was. Use your spacer boards on each side or have a helper hold the board for you and you align the top board, drill your three pilot holes, and drive your three screws. Assuming you got your side board lengths exact, the top board should align close to flush with the edge of the side boards. If it does, you can trim it with a saw and/or sand it down. Alternatively, you can force the top board to align with the edge of the side boards and then measure and recut your top shelf spacer to be the required height. You should have plenty of plywood scrap left for this adjustment.
Step 6: Add Shelf Dividers/Supports
Now that the shelves are all screwed together, all that is left is to secure our dividers/supports. Start by measuring and marking the center of each shelf on the front and back edge of the board. Doing the bottom support first, we are going to align it with center marks front and back and then drill three pilot holes downward through the center of the middle shelf and into the bottom board. Drive three screws into these holes and then flip the shelving unit over and drill and drive three screws from the underside of the bottom shelf up into the bottom support.
Next, flip the table back upright and install the top support. We made this board shorter so that there would be more room to play on the middle shelf. For that reason, we only need two screws on the top and bottom. Align it with the center marks and the back edge of the shelves. Starting from the top down, drill and drive two pilot holes down through the top surface of the top shelf and into the top support.
Now for the trickier part.
We need to secure the bottom side of the top shelf support, but we don’t have straight in access to that edge due to the bottom shelf support being in the way. To get around this, we are going to come in at a slight angle to drill up through the bottom surface of the middle shelf and into the bottom edge of the top support. You want to put this hole close to the top edge of the bottom support board and drill at as steep of an angle as your drill physically can. You want to get into the top support board without breaking through either side of it. If you notice your drill bit is breaking through, you can try again at a different angle and fill the hole with wood filler later if you need to.
Once you have your two pilot holes drilled, drive in two screws. If the screws are too long so that they will be sticking out the other side, you should swap to smaller screws or cut your current screws shorter if you don’t have shorter screws.
Step 7: Apply Finish to Shelves
Congratulations! All that’s left now is to apply your finish of choice. If you are going to paint the cabinet, try putting wood filler on the exposed edges of the plywood and then sanding it smooth so that it hides better when painted. Otherwise, go ahead and stain or oil it to your desired finish. You don’t want to skip this step or else your little one will inevitably put greasy fingerprints on it.. Ask me how I know.. *shrug*
That’s it! Put in your storage bins, load it up and you have yourself a complete custom shelving unit! Good job!


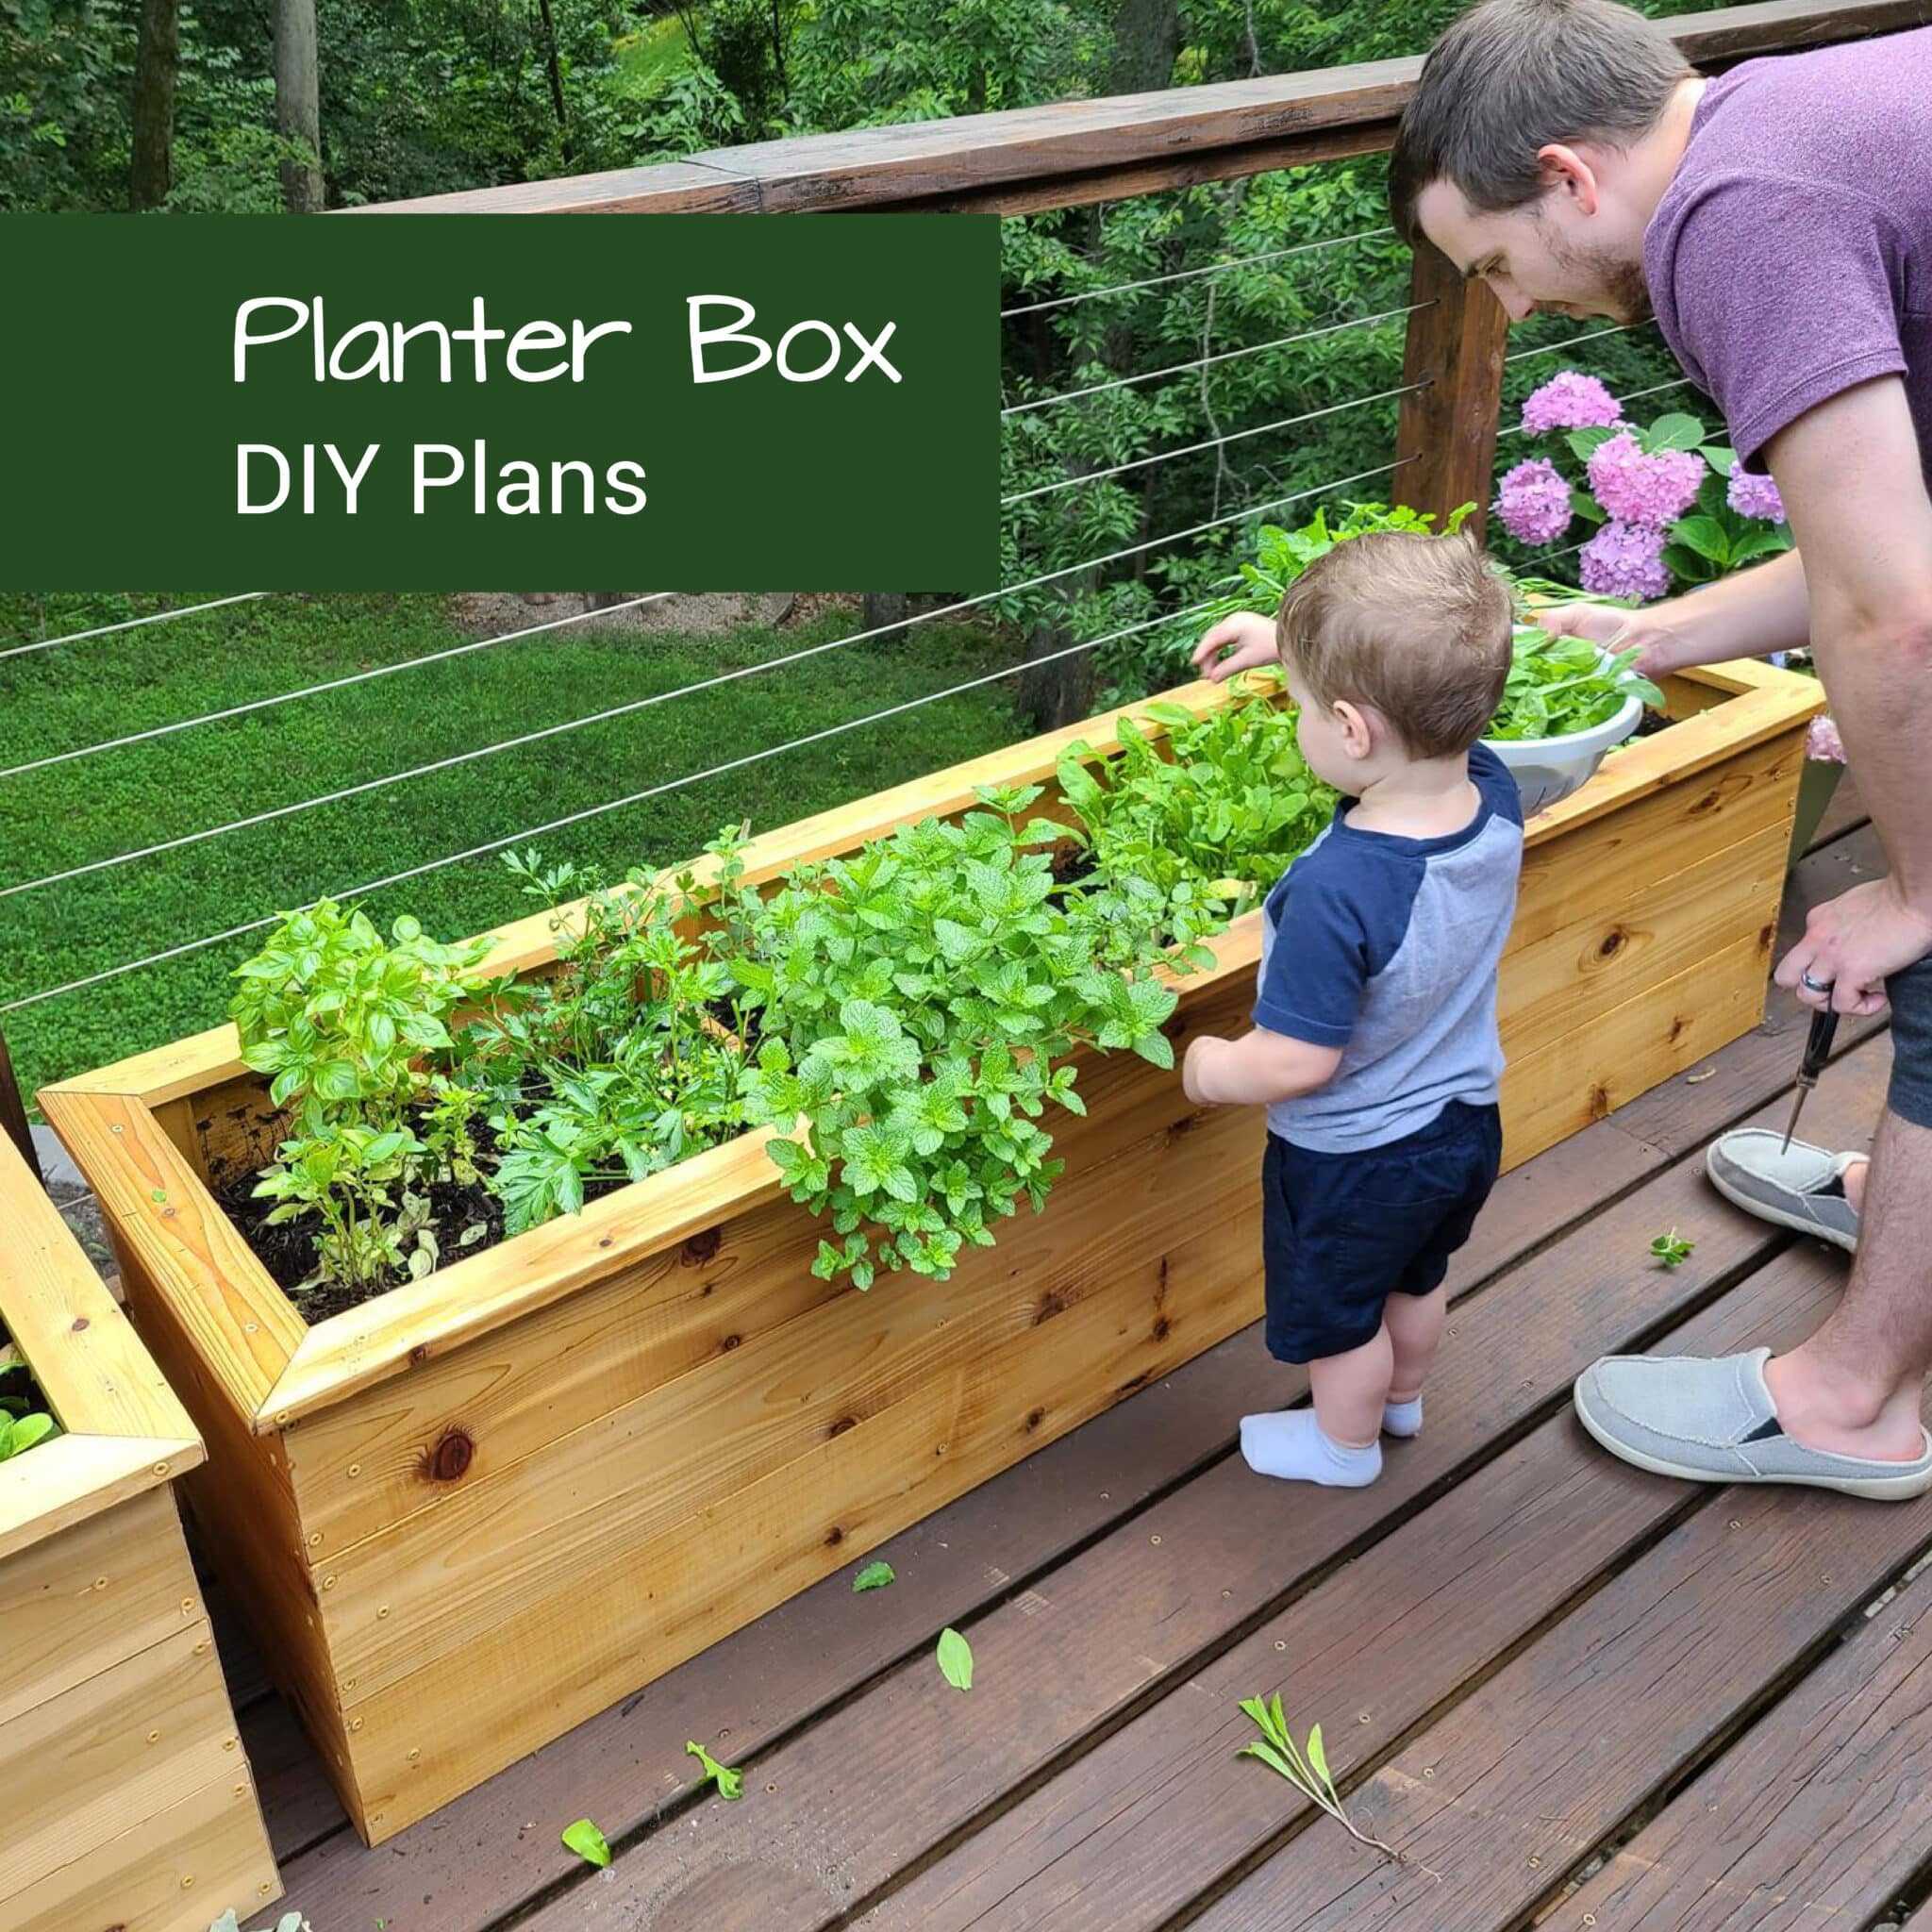
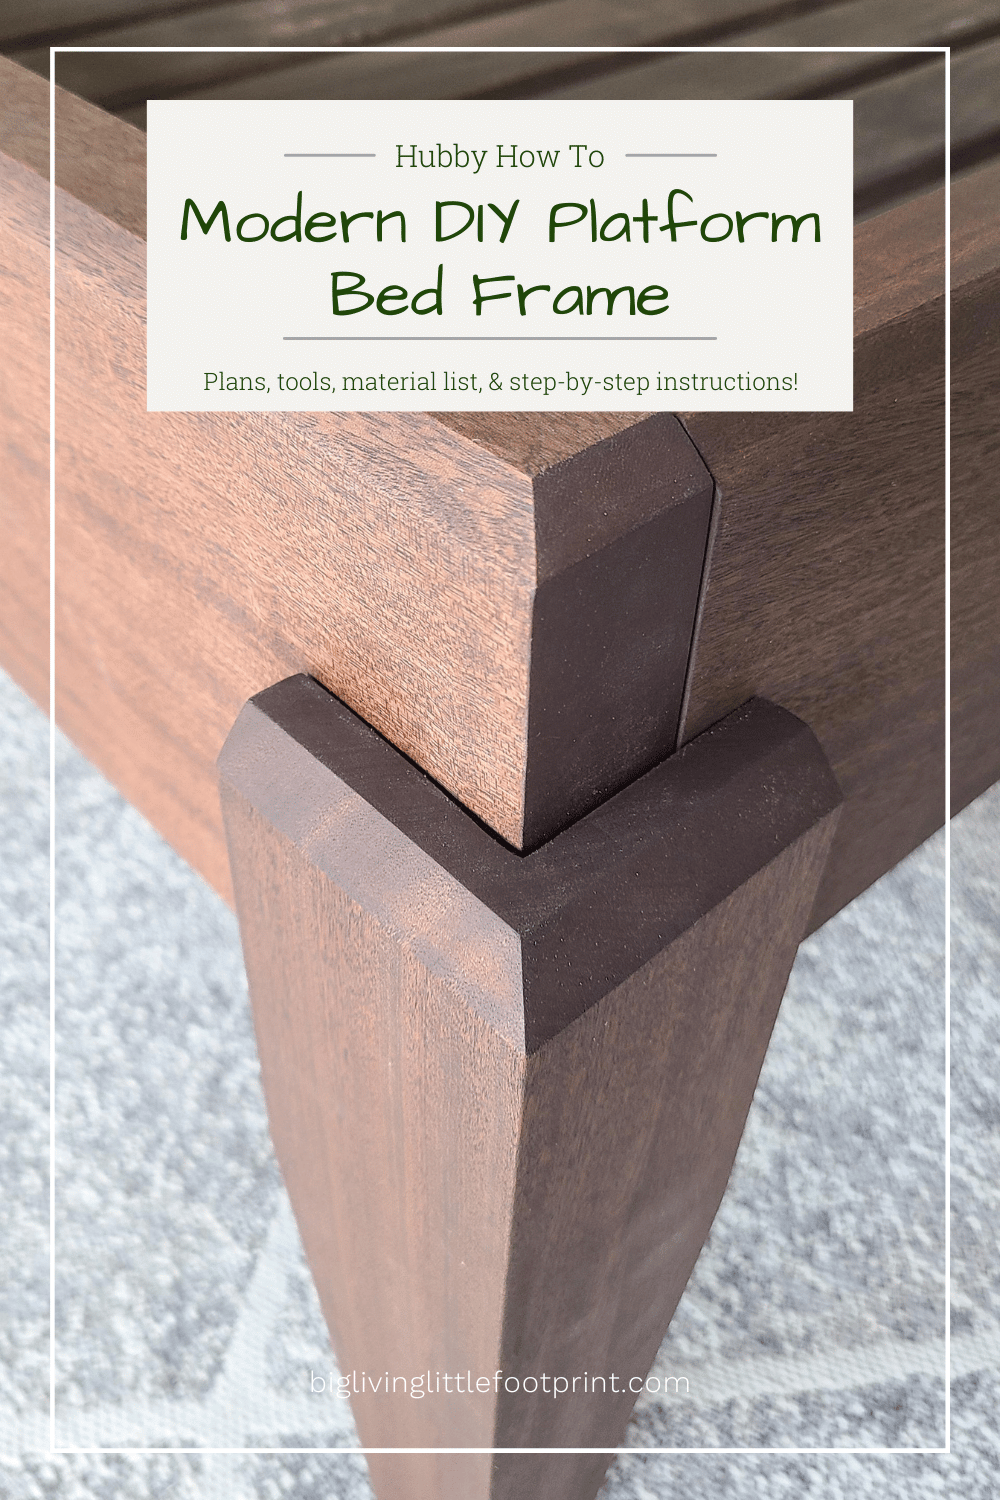
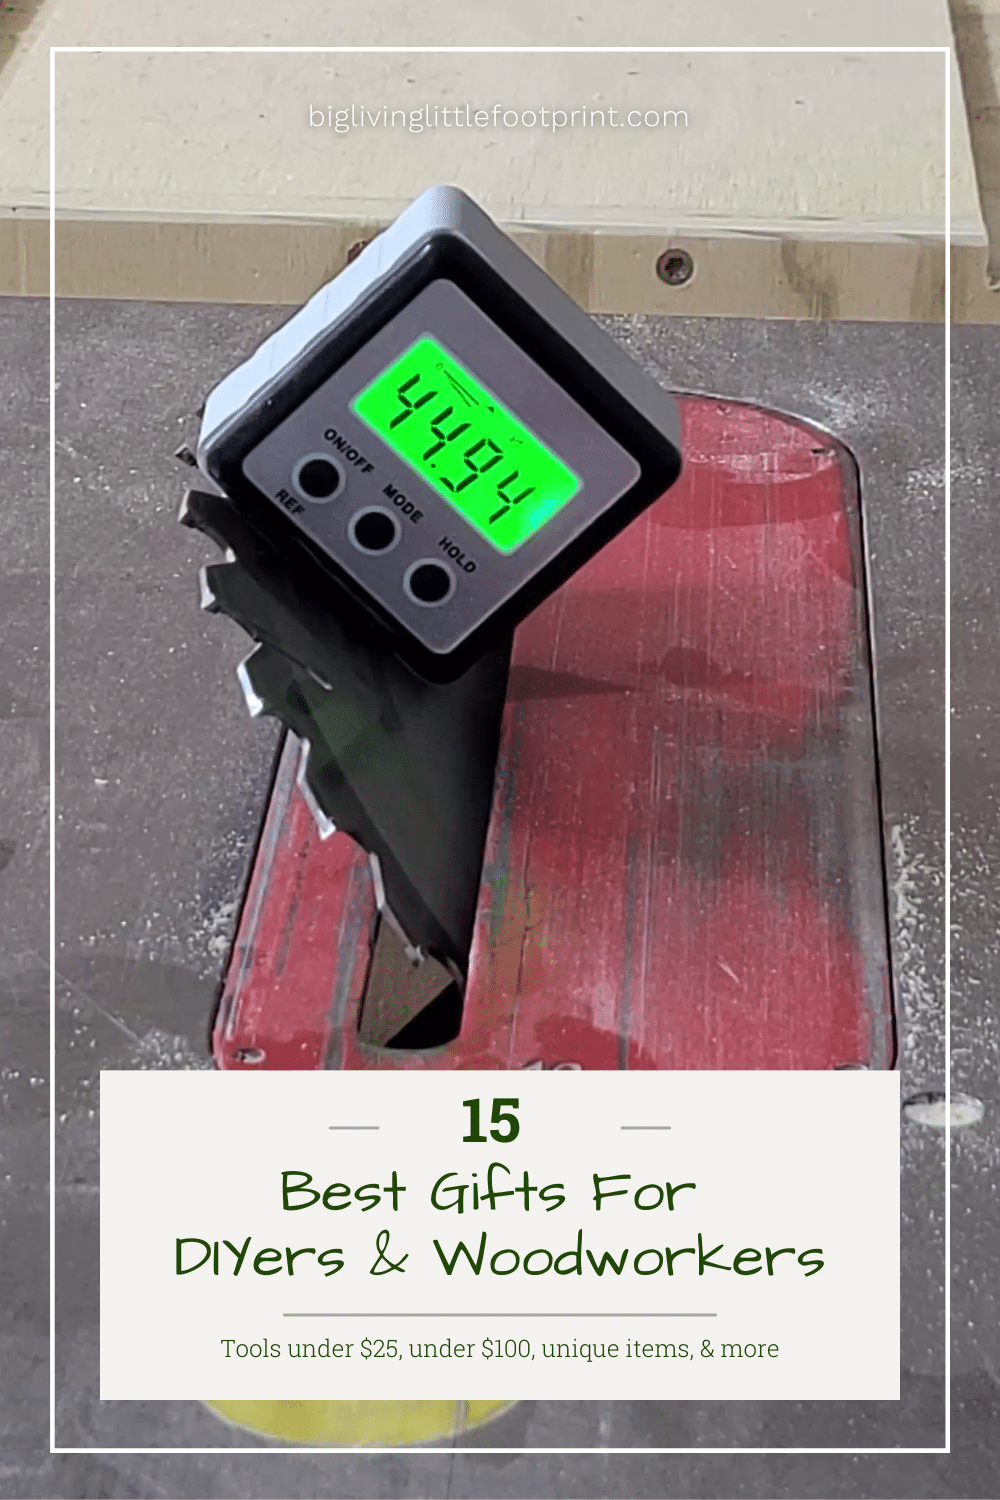
More DIY Projects
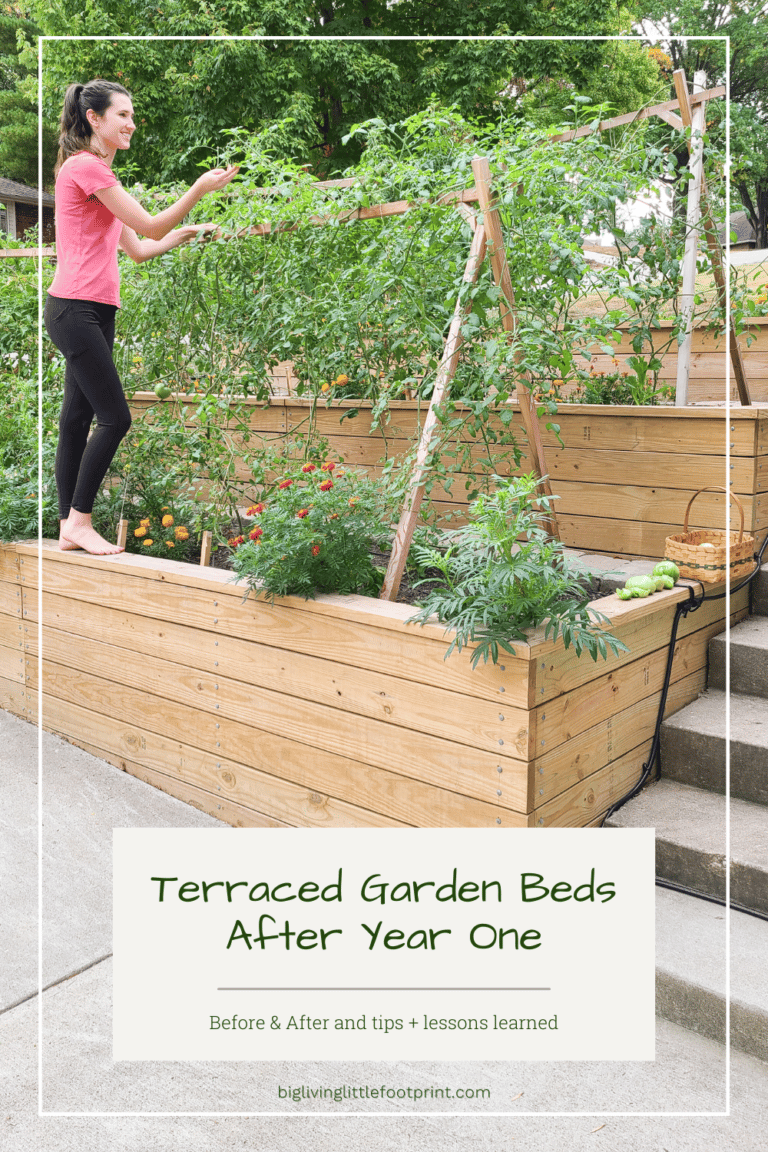
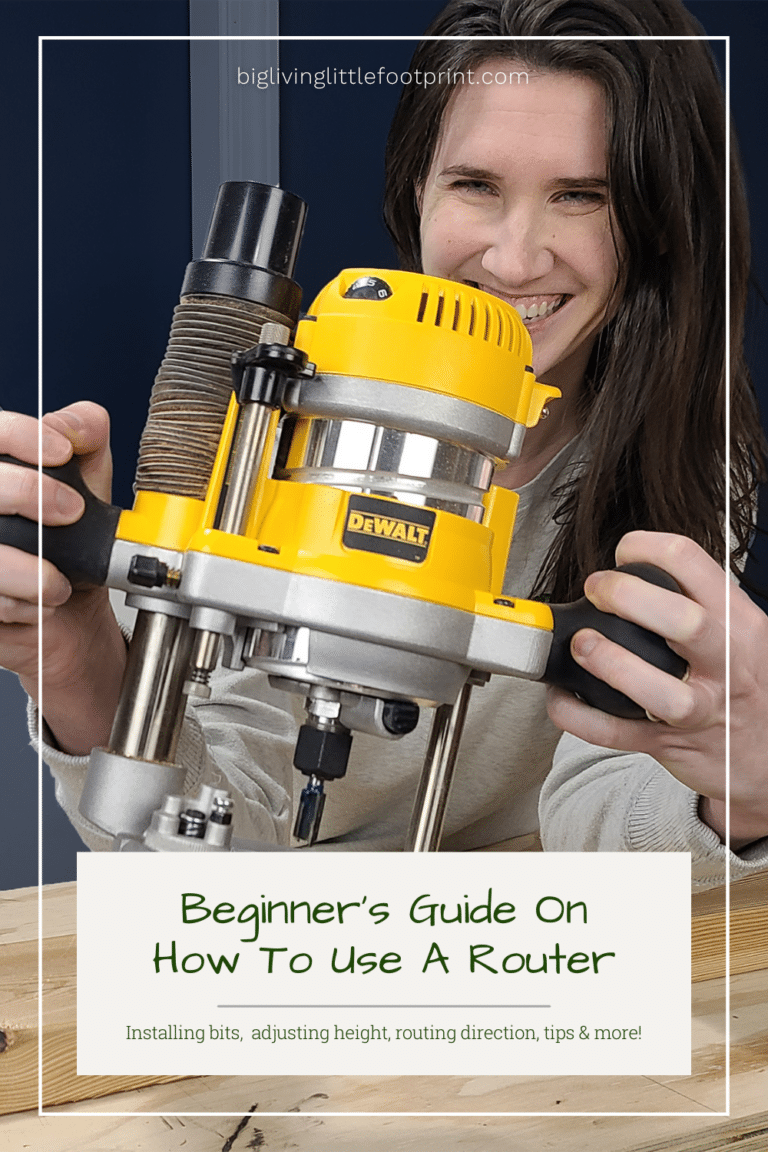
Now you have a guide on how to build playroom, so make sure to check out these 15 DIY projects at home you can do or our DIY project archives! Whether you’re looking to DIY furniture like a hanging bed or for the perfect balance of DIY and sustainable living with a stacked rain barrel system, we’ve got a ton of resources for you.

Let us know what you think of our DIY playroom storage shelves in the comments below!
Disclaimer:
1. As detailed, this project produces a storage shelf that will occupy a large amount of floor space. You are responsible for ensuring that the storage shelves fits your space and for securing it for child safety.
2. Safety: You are responsible for your own workplace safety. You are responsible for following the manufacturers safety protocols and recommendations for the tools you use to build this project.
Disclaimer: This post includes affiliate links, and I will earn a commission if you purchase through these links. Please note that I’ve linked to these products purely because I recommend them and they are from companies I trust. There is no additional cost to you.
