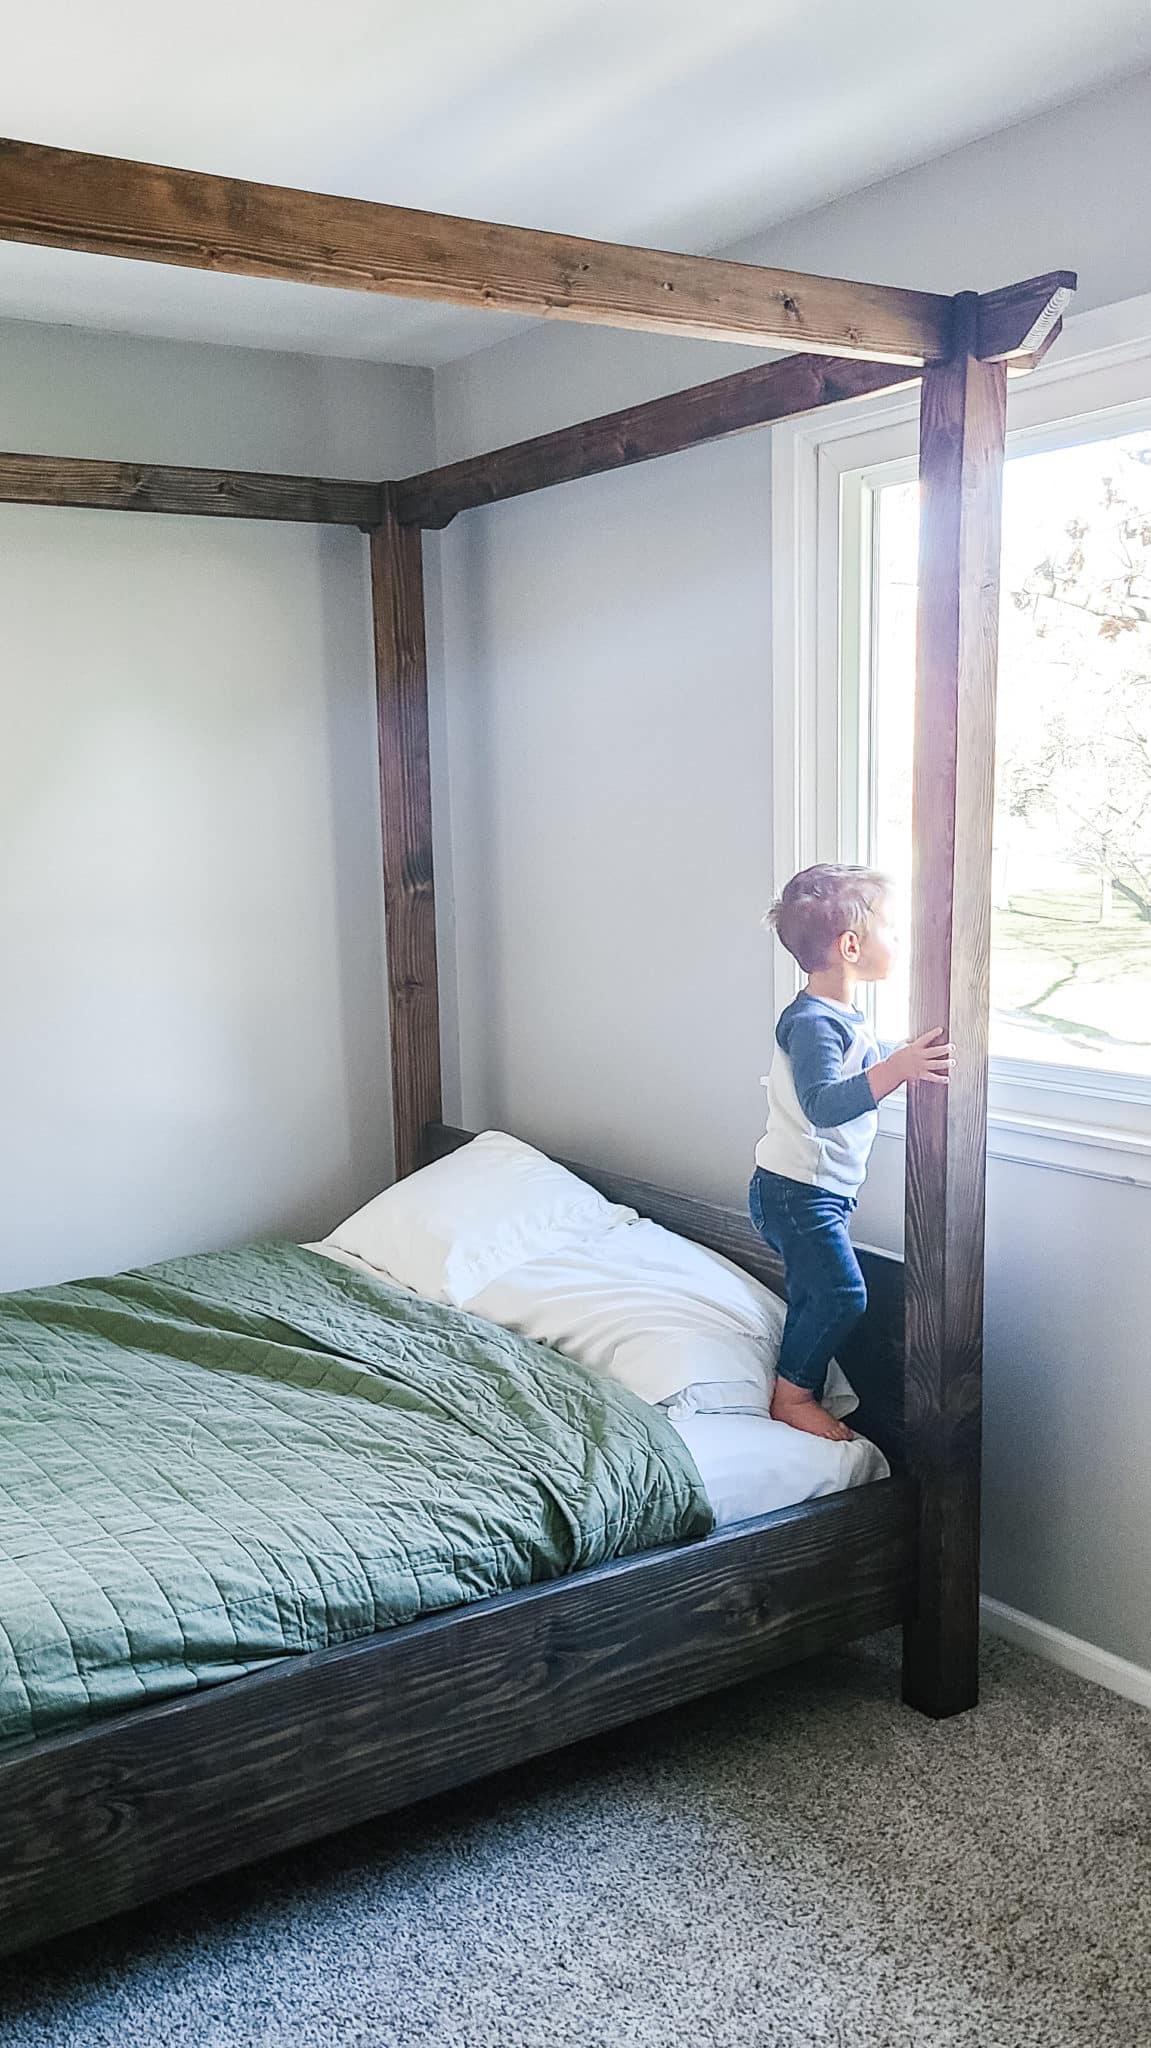
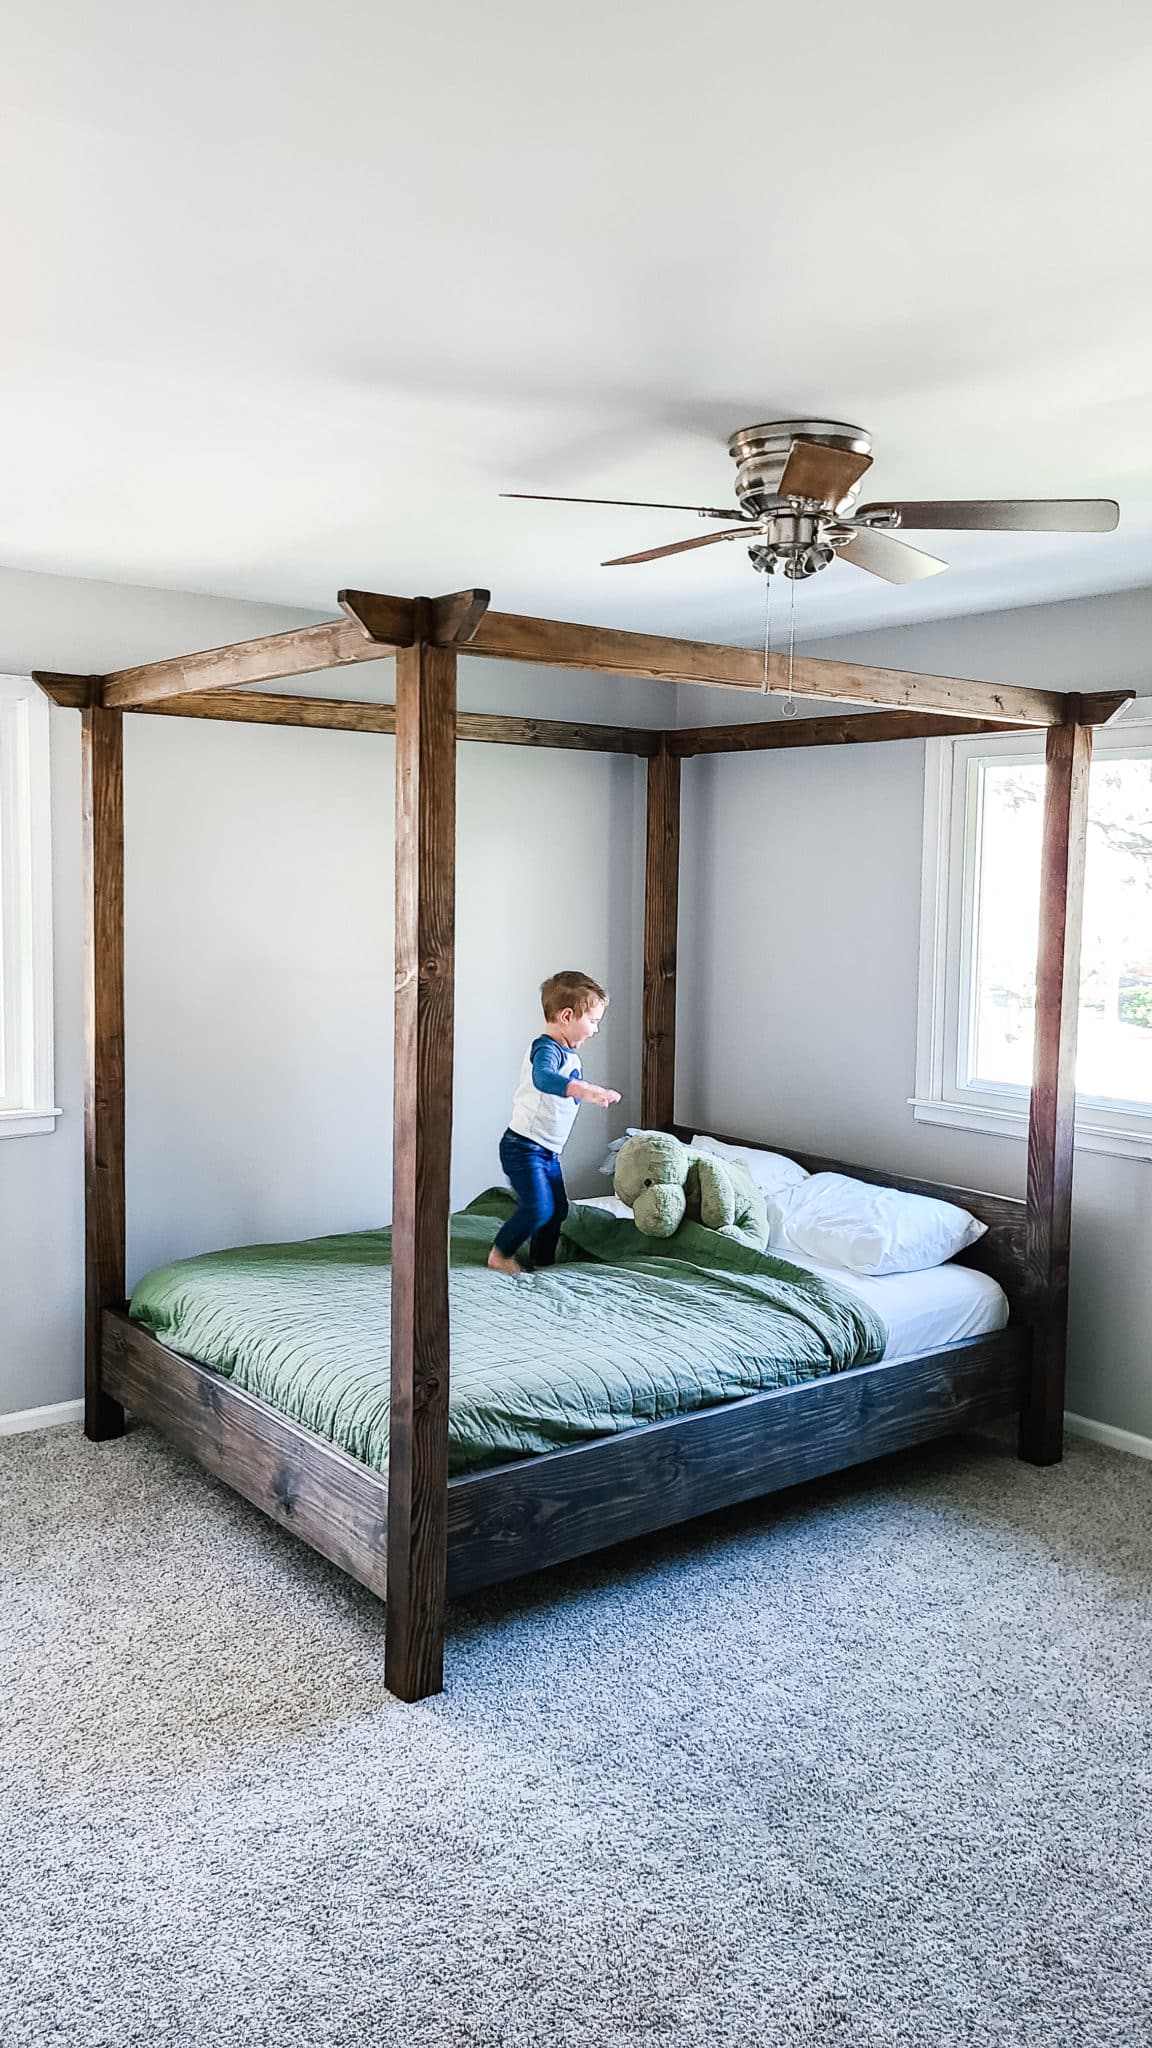
Hubby How To: DIY Canopy Bed
Always wanted a clean-lined canopy bed with beautiful joinery or just looking to build a canopy bed? Well, we built an elegant platform canopy bed and created plans to share with anyone who wants to build a beautiful oasis for their room. This post covers, the tools, materials, and how-to for your own DIY canopy bed plans!
Updated 3/23/2024

This post may contain affiliate links. Read about our privacy policy.
Many of us are spending more time at home, which means we want to create more comfortable relaxing spaces. In this post we are going to show you how to build a simple clean line canopy bed. Canopy bed are the best for several reasons. Firstly, the wow-factor of the canopy bed with clean lines and a little Japanese joinery flare. Secondly, you can add fun accessories like curtains, lights, plants, and more to personalize them.
This Hubby How To shows the building process of the Queen sized canopy bed. If you’re going to build this DIY canopy bed, I recommend you grab our printable drawing plans to make building this much easier! You can also get the canopy bed plans for the following sizes: twin, full, queen, and king. All the sizes to fit your space and needs! You can also get them through our Etsy Shop, if you prefer.
For this design, we wanted a very clean line platform bed with a little Japanese feel to how the edges joined for the canopy. All the screws and hardware are nicely hidden too creating an elegant look. We were able to build this canopy bed for around $379 (not including the mattress/accessories). Obviously, the price will vary based on what wood you choose, stain, and where you get your wood (and then purchasing a mattress/accessories).
Tools For DIY Canopy Bed:
- Tape Measure
- Drill
- Framing Square
- Sliding Miter Saw (Preferred) OR Table Saw
- Oscillating Multitool AND/OR Chisels
- Random Orbital Sander OR Handheld Belt Sander
Materials For DIY Canopy Bed:
- (20) – 1X4X6 Board
- (6) – 2x4x8 Board
- (4) – 2x10x8 Board
- (4) – 4x4x8 Board
- 2 to 2 ½” Screws
- Preferred Stain + Rags or Socks and Gloves – We recommend Rubio Monocoat
DIY Canopy Bed – Build Process

Step 1: Get Your Plans and Materials
First and foremost, you’re going to need a drawing packet, if you haven’t grabbed one already. We are going to be building the Queen sized DIY canopy bed today, but you can find the plans for all standard sized mattresses in our Shop or our Etsy Shop, if you’d prefer.
-
DIY Canopy Bed Plans$12.00
-
-
If you’d like to build this bed in other sizes, please email us at Amanda@biglivinglittlefootprint.com. We would be happy to put together a custom sized set of plans for you!
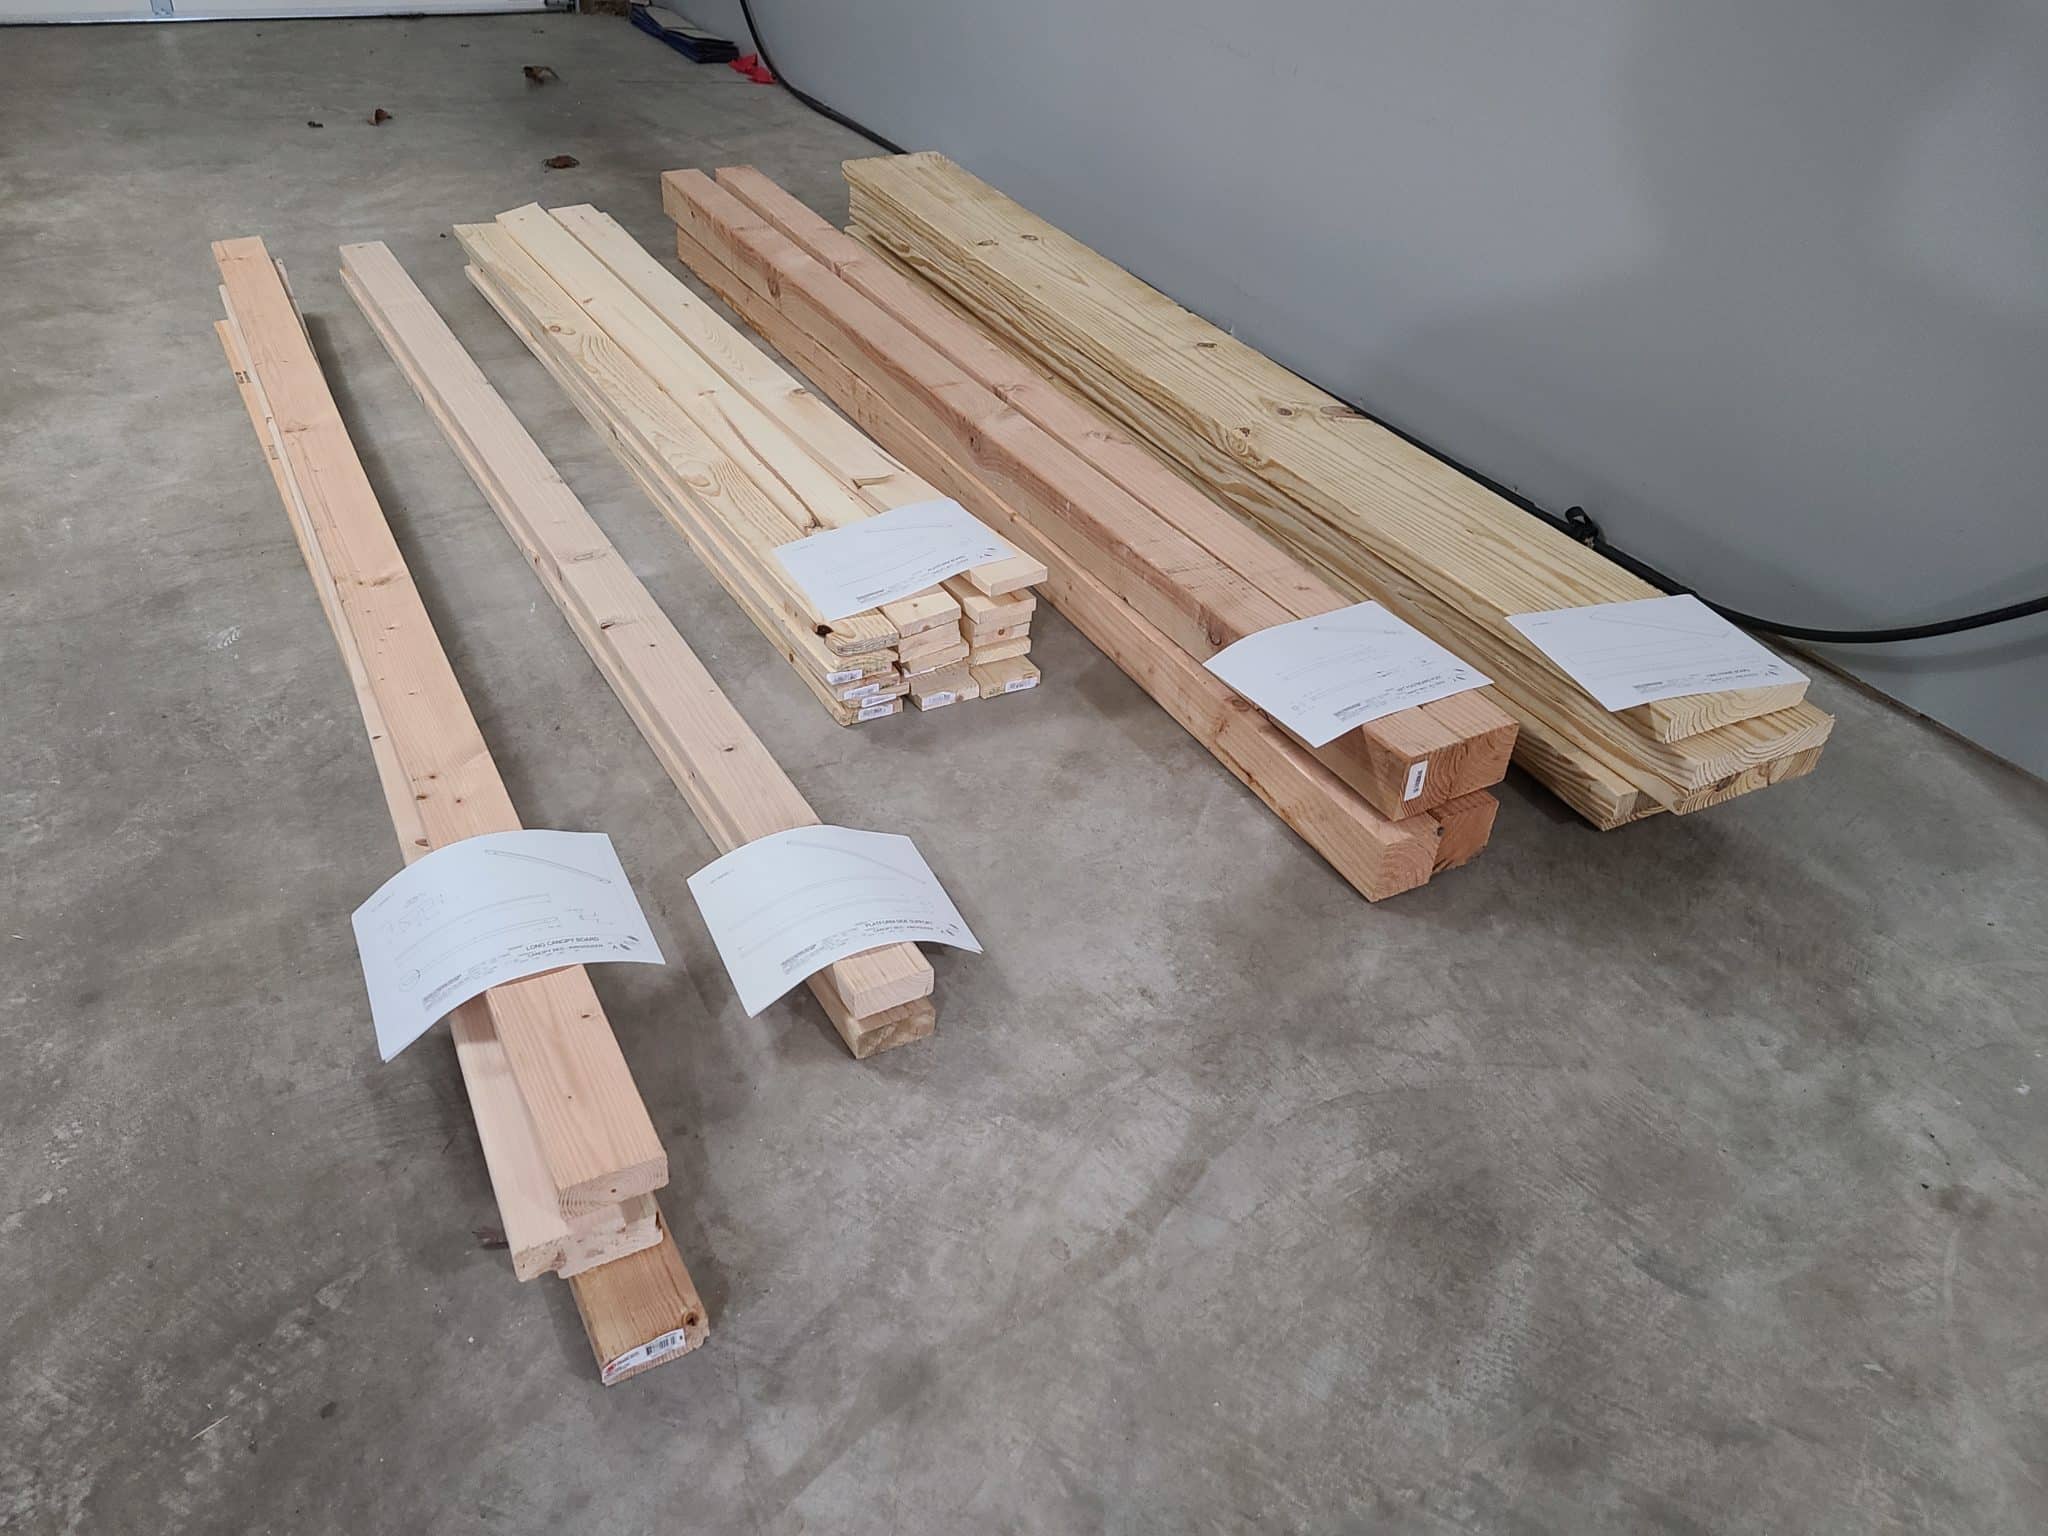
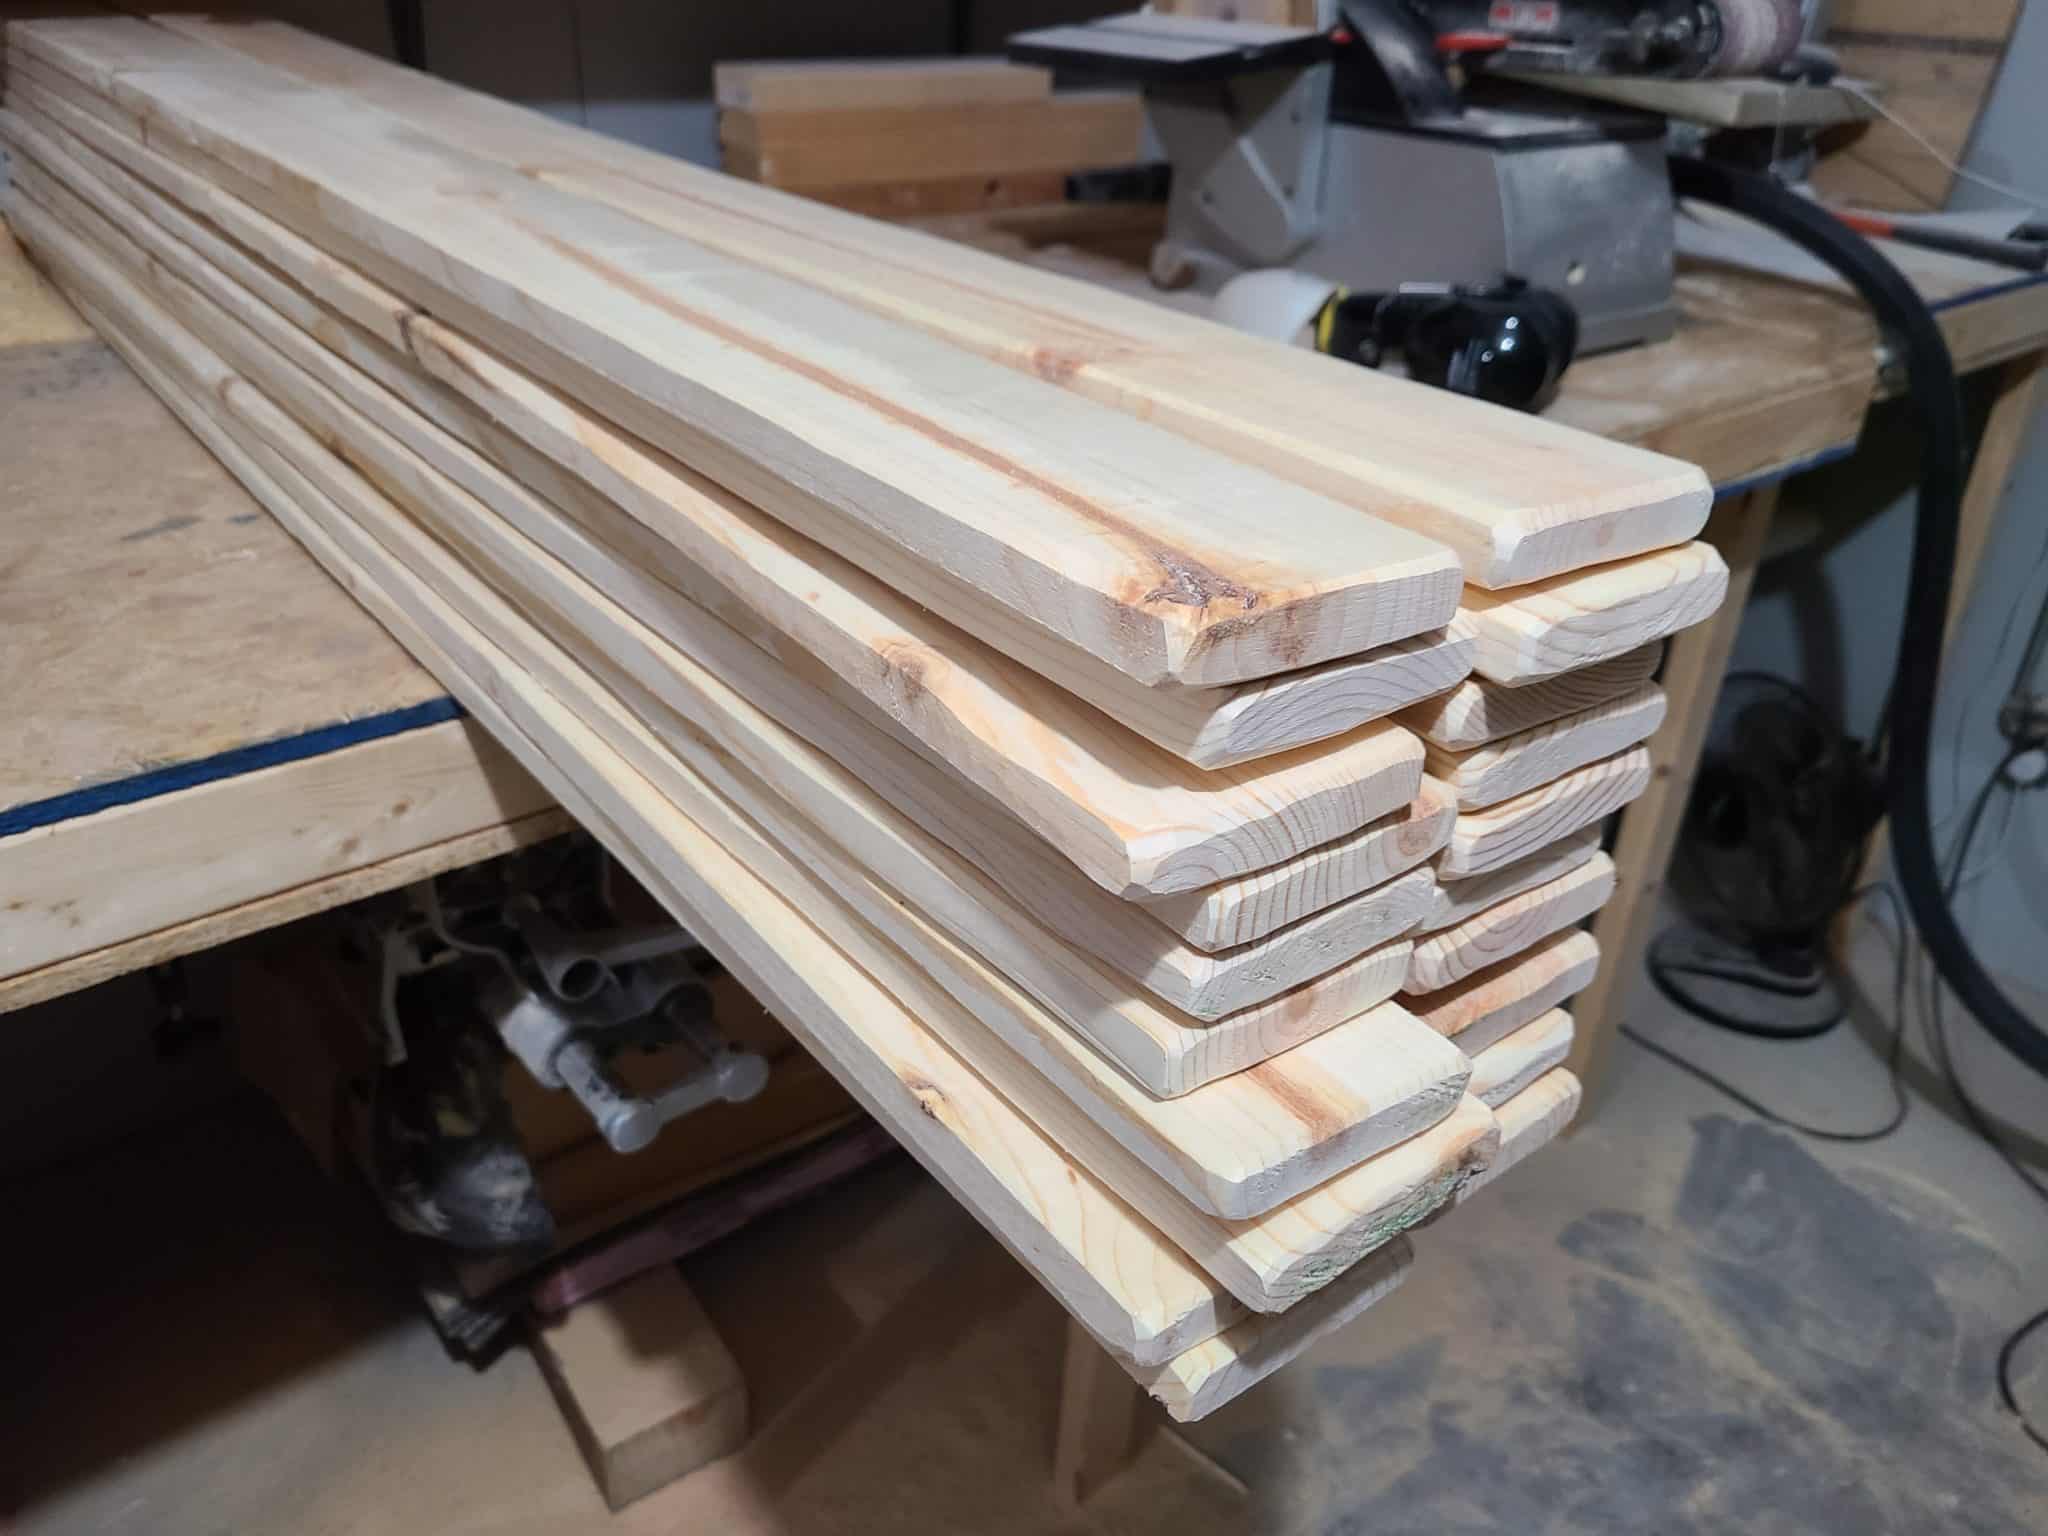
Alright! Now that you have our design plans in hand, it’s time to acquire our materials for the DIY canopy bed. For this build, we expect this DIY canopy bed to be indoors and we intend to stain it. For that purpose, we want to buy standard grade lumber (not pressure treated) and we want to pay attention to the look of the boards since the grain and any defects will be visible. This is most important on the 2×10’s, the 4×4’s, and 5 of the 2×4’s being used for the canopy and headboard. The remaining 2×4’s and the 1×4’s will all be under the mattress so their appearance doesn’t matter.
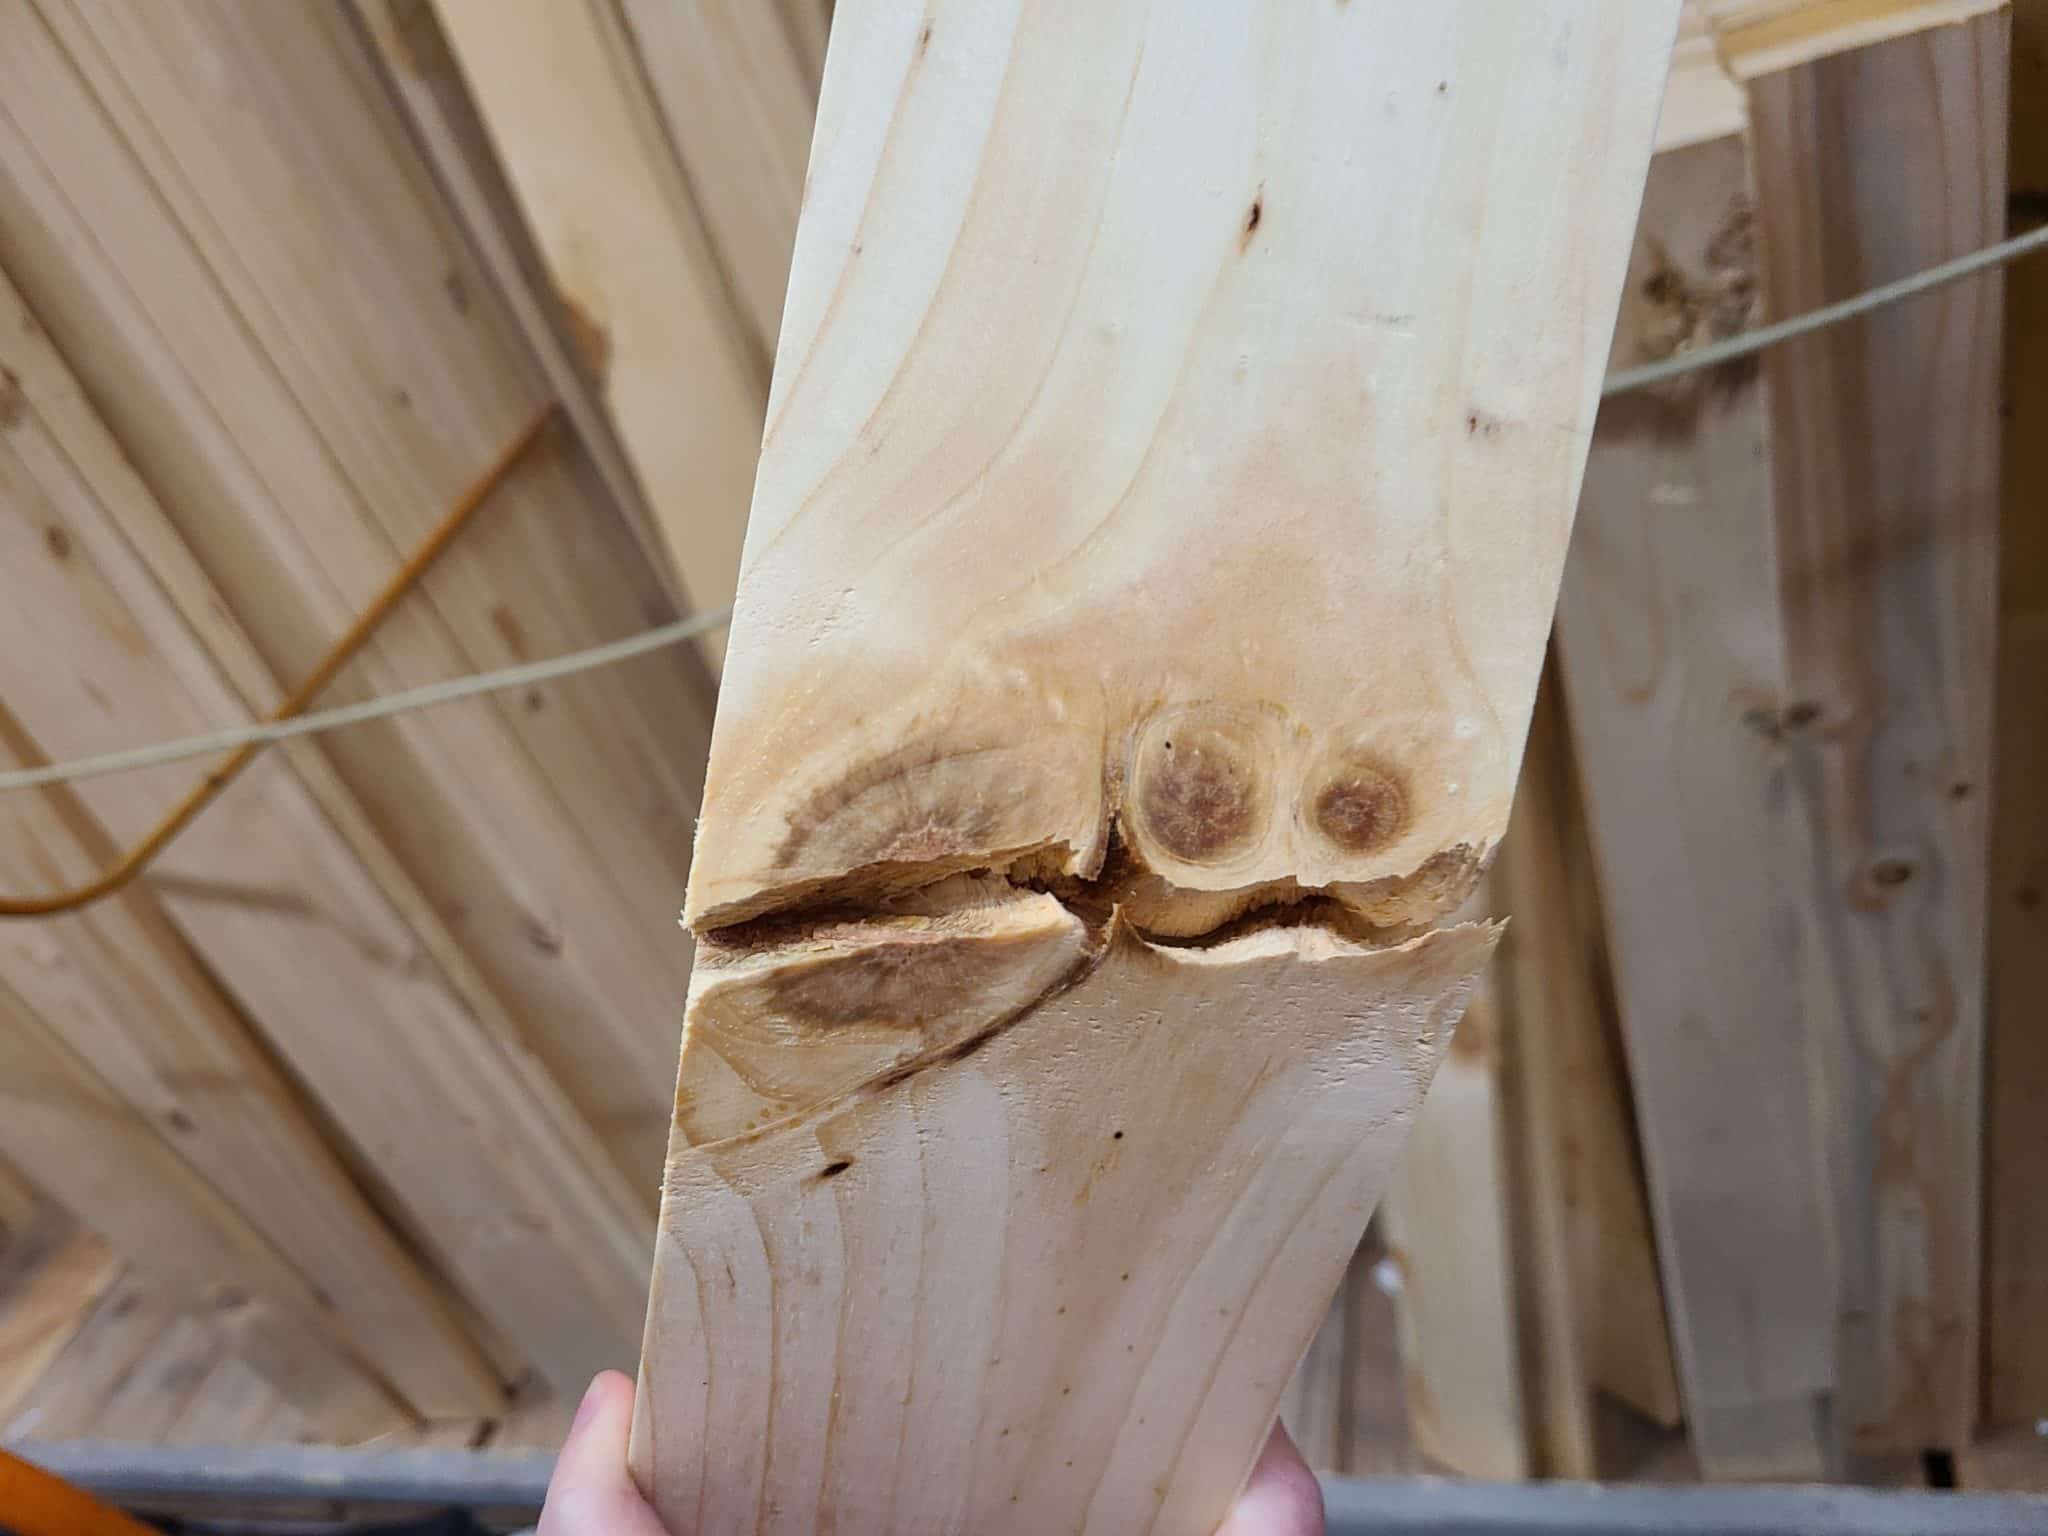
For all of our boards we also want to watch out for any large knots, a series of knots that go the width of the board, or splits in the boards. These could create a critical weakness in the boards. This is most important in the 2×4’s for the canopy structure. It’s likely our child will be hanging from them, so need it structurally sound. It’s also important to pick platform boards that won’t crack when you put weight on them. And don’t forget to check each board for any bowing or curvature.
- Look for series of knots in boards before buying
- All the wood boards for the project
Step 2: Cut the Hardest Boards First
Okay, we’ve got all of our boards. Now we have to decide where to start. I recommend we start with the hardest boards first and work our way to the simpler ones. This project will seem to go fast once we have the hardest boards cut, so it’s better to tackle them while we’re fresh.
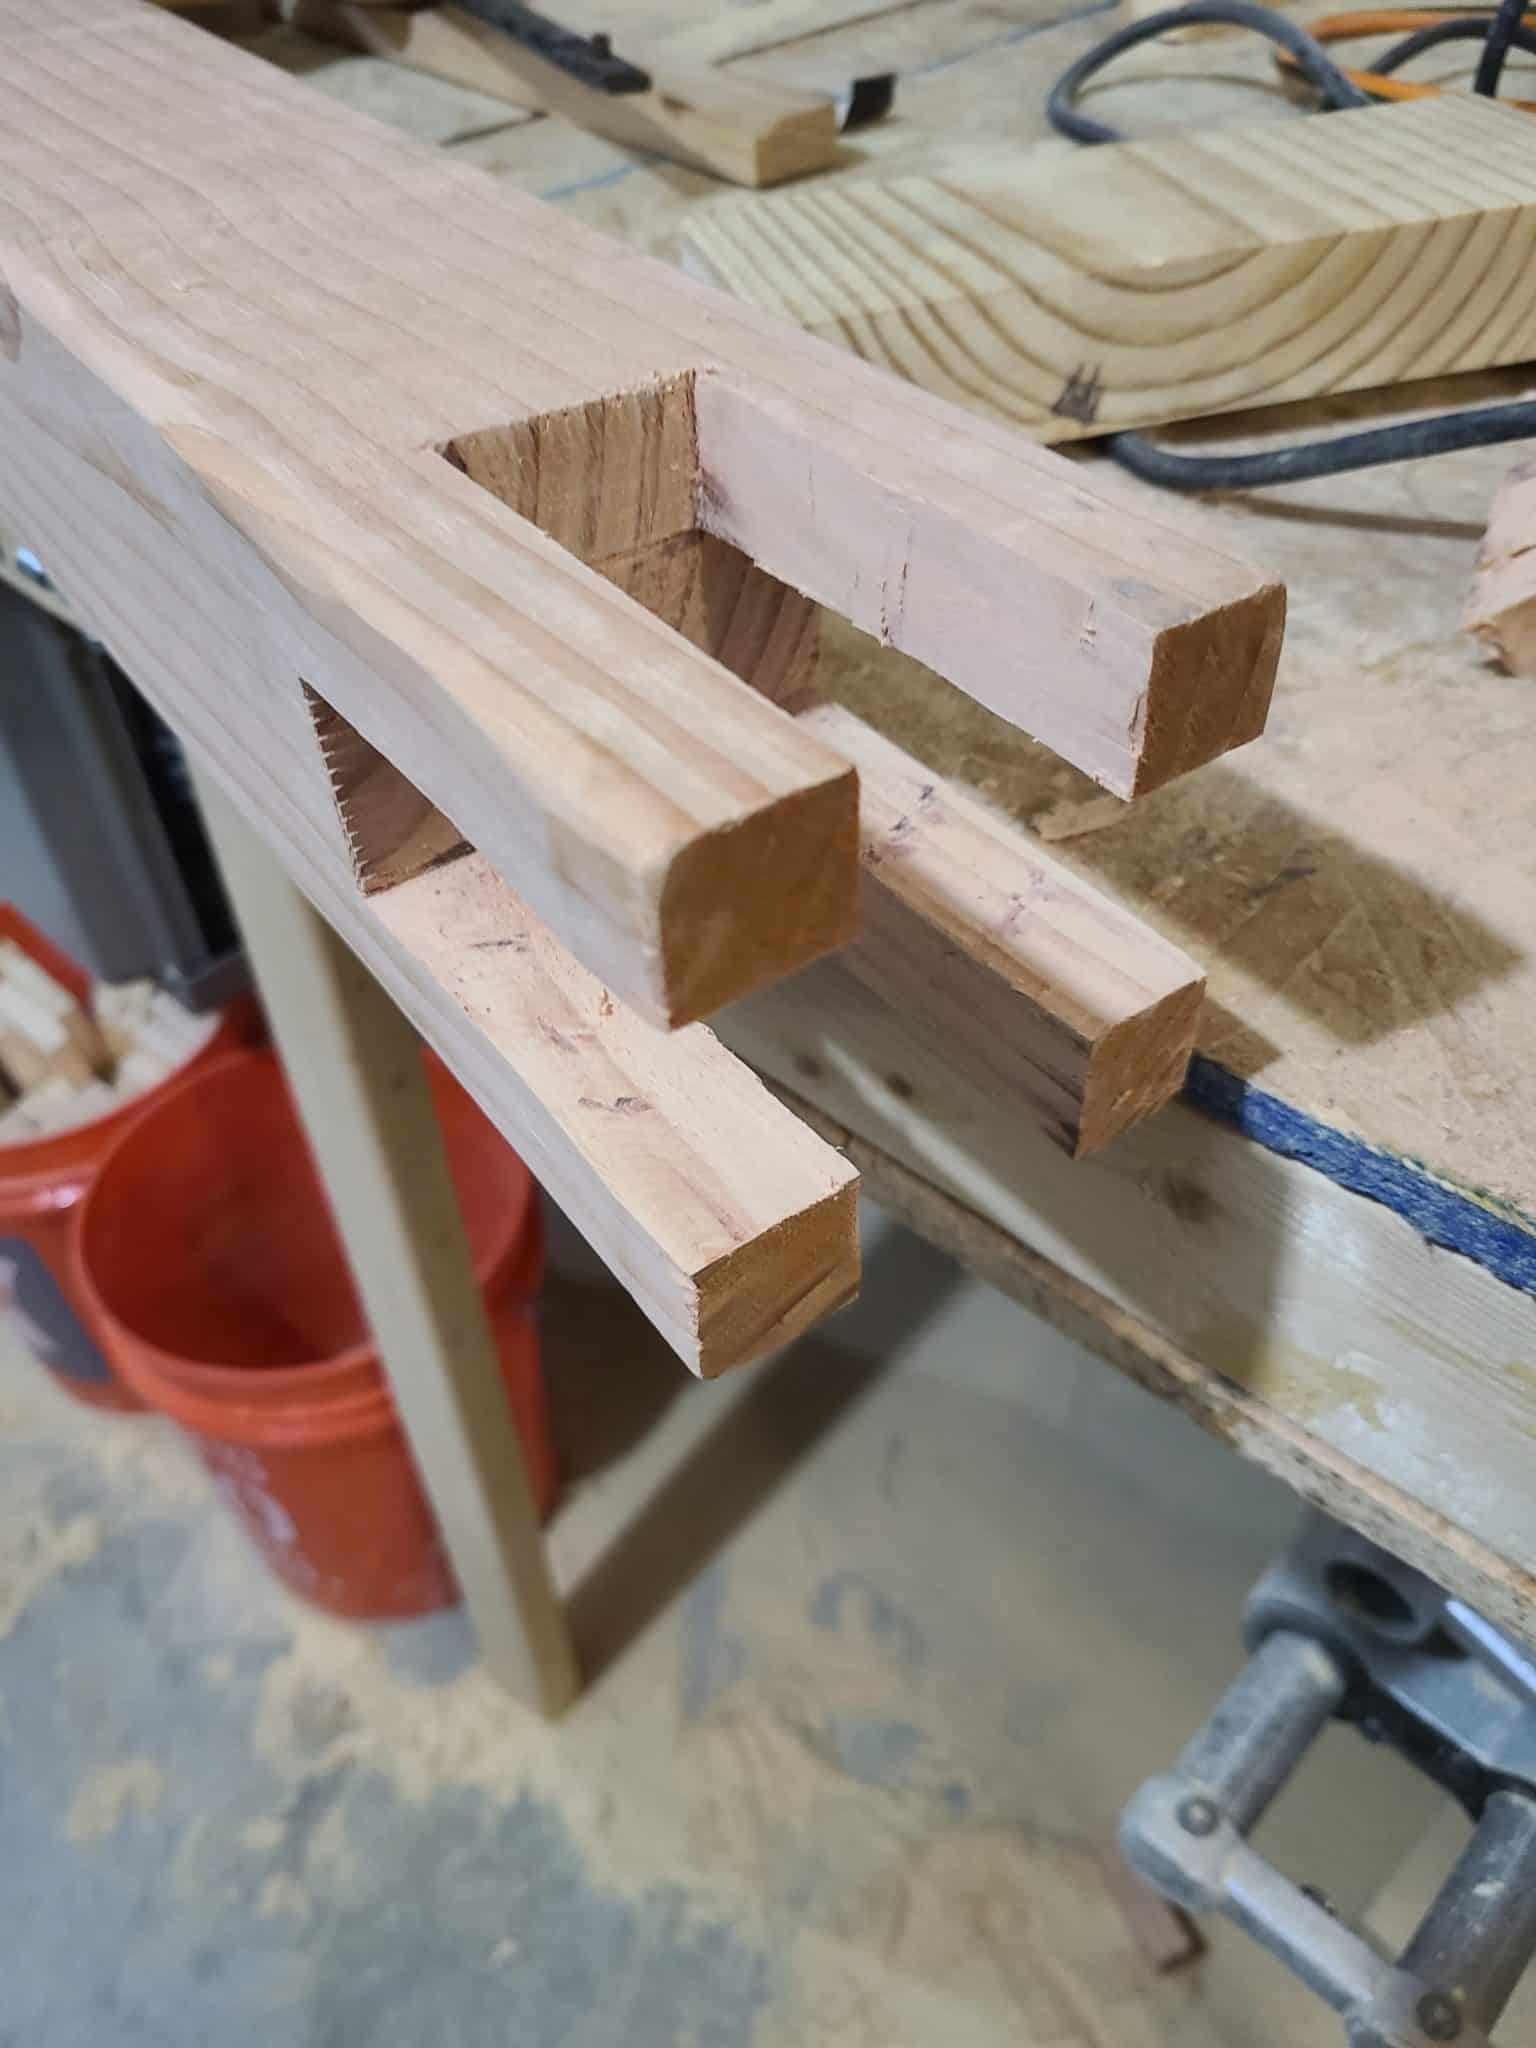
This means we are starting with our 4×4 posts. We designed this bed frame in a way that we can hide all of our fasteners and give our joints a lot of strength without the need for additional brackets. To do this, we need to cut notches into our 4×4 posts for our 2x10s and 2×6’s to sit into.
Before we begin getting into the notch work on the 4×4’s, start by cutting them to their final length using your miter saw. This will make them easier to handle and make sure you have a straight clean cut on the end. It will also make tracing the cut pattern for the 2×4 notches much easier. You’ll also be using one of the dropped pieces from the posts to cut your platform support board. This is a small foot that will go under the center of our mattress to help keep it from sagging.
Tracing Patterns
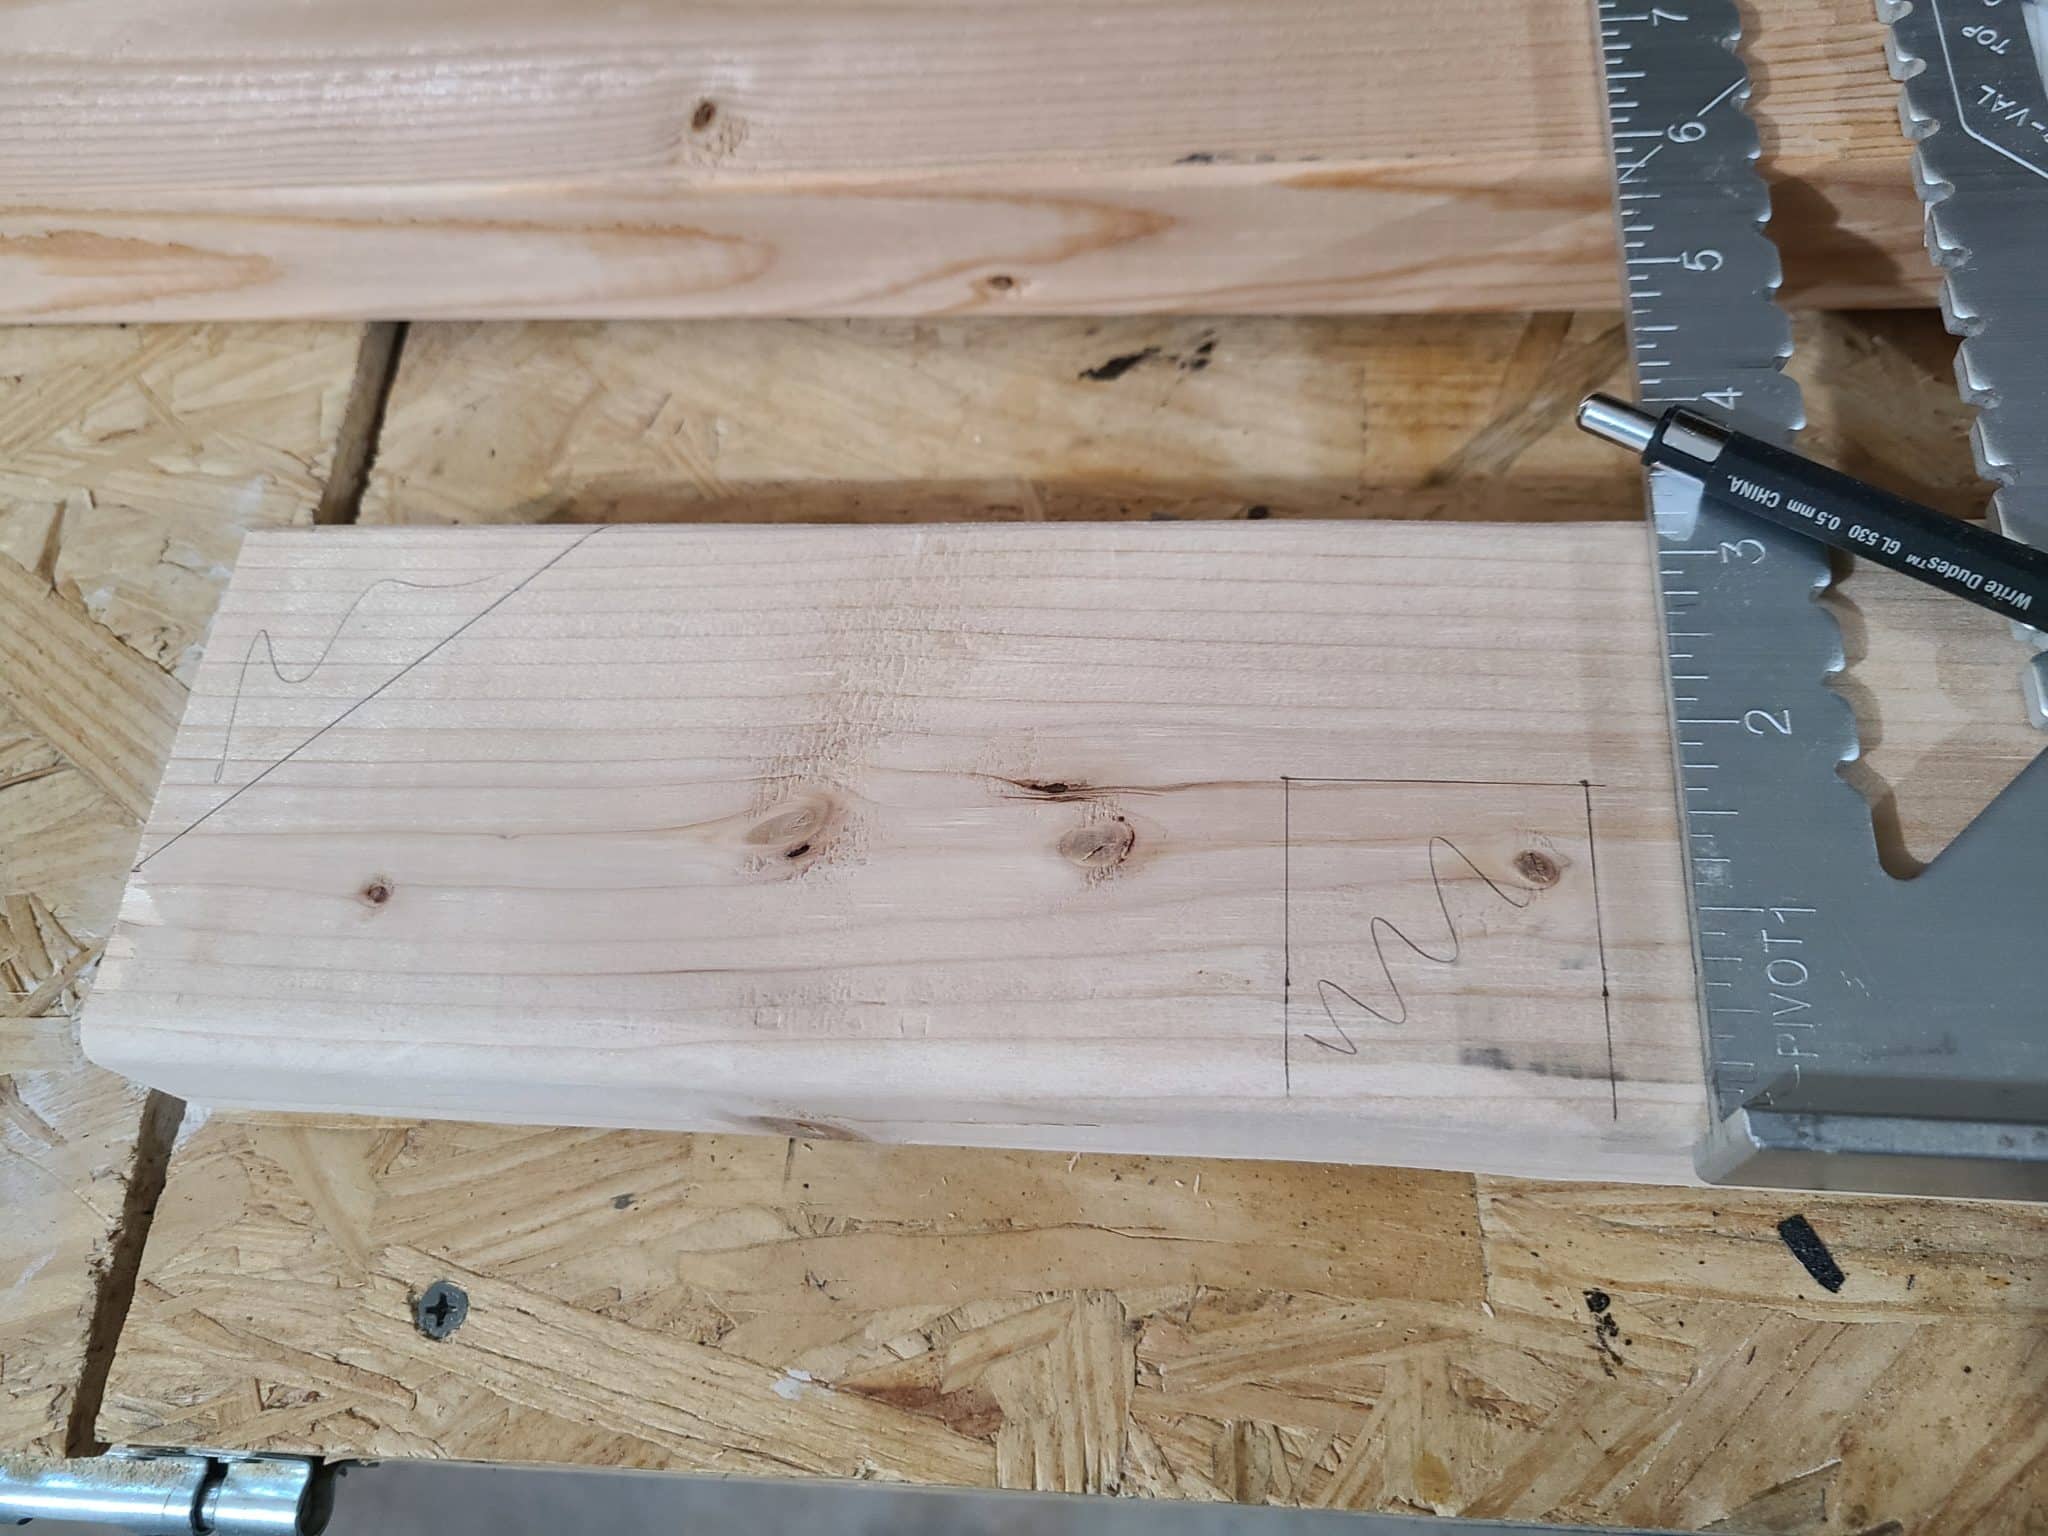
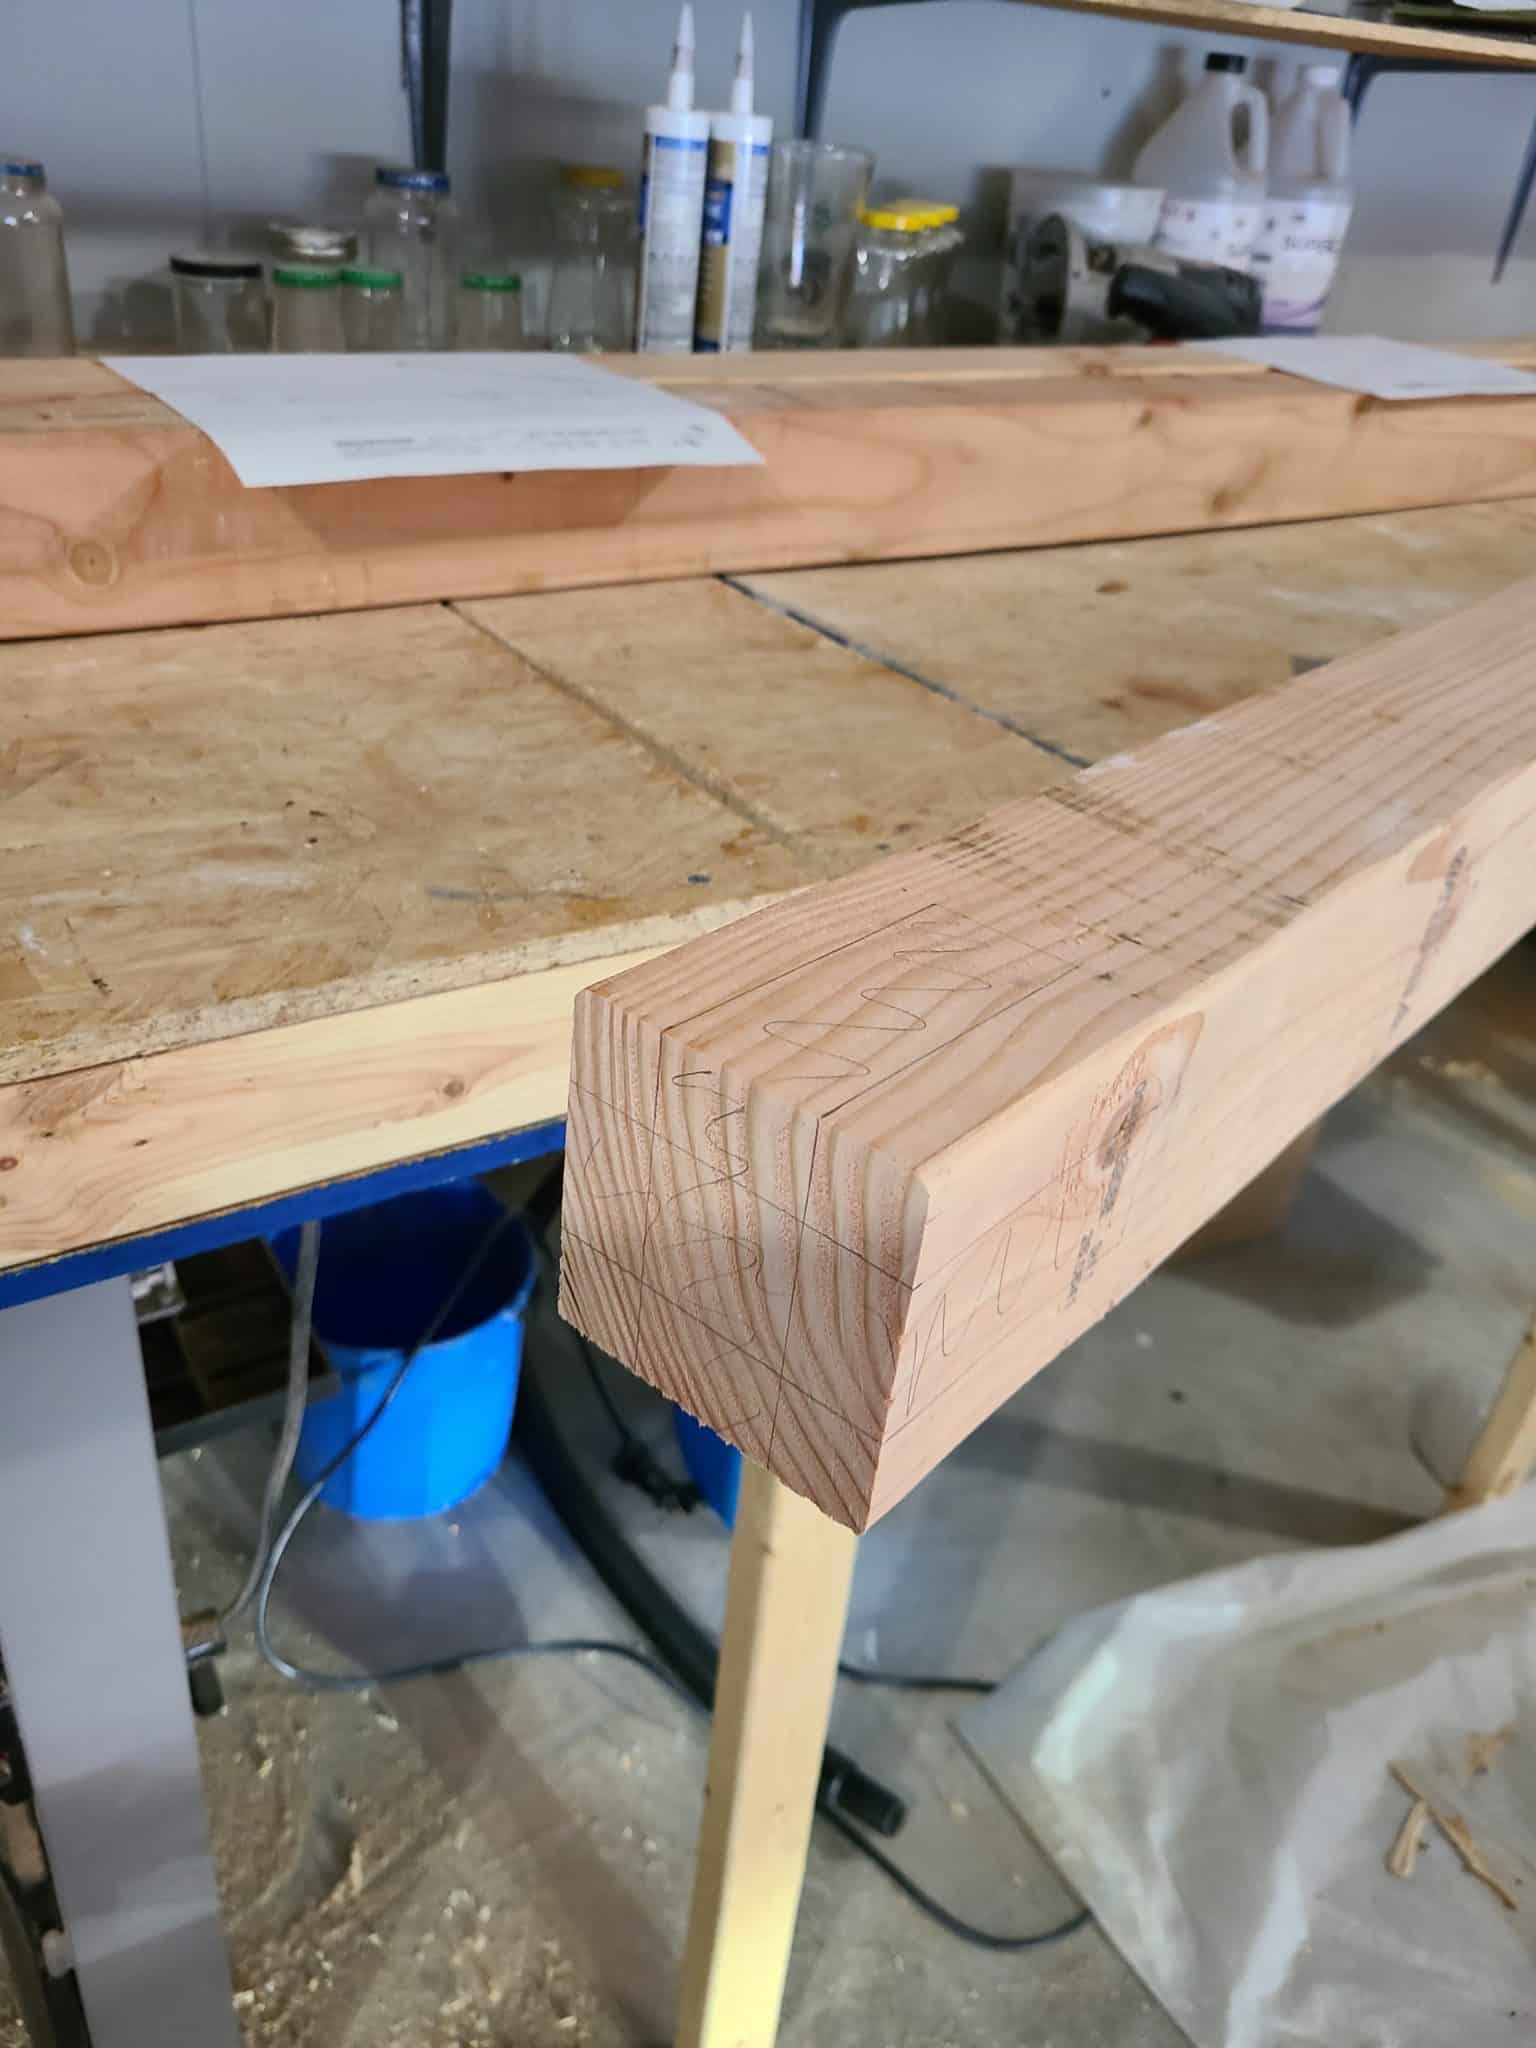
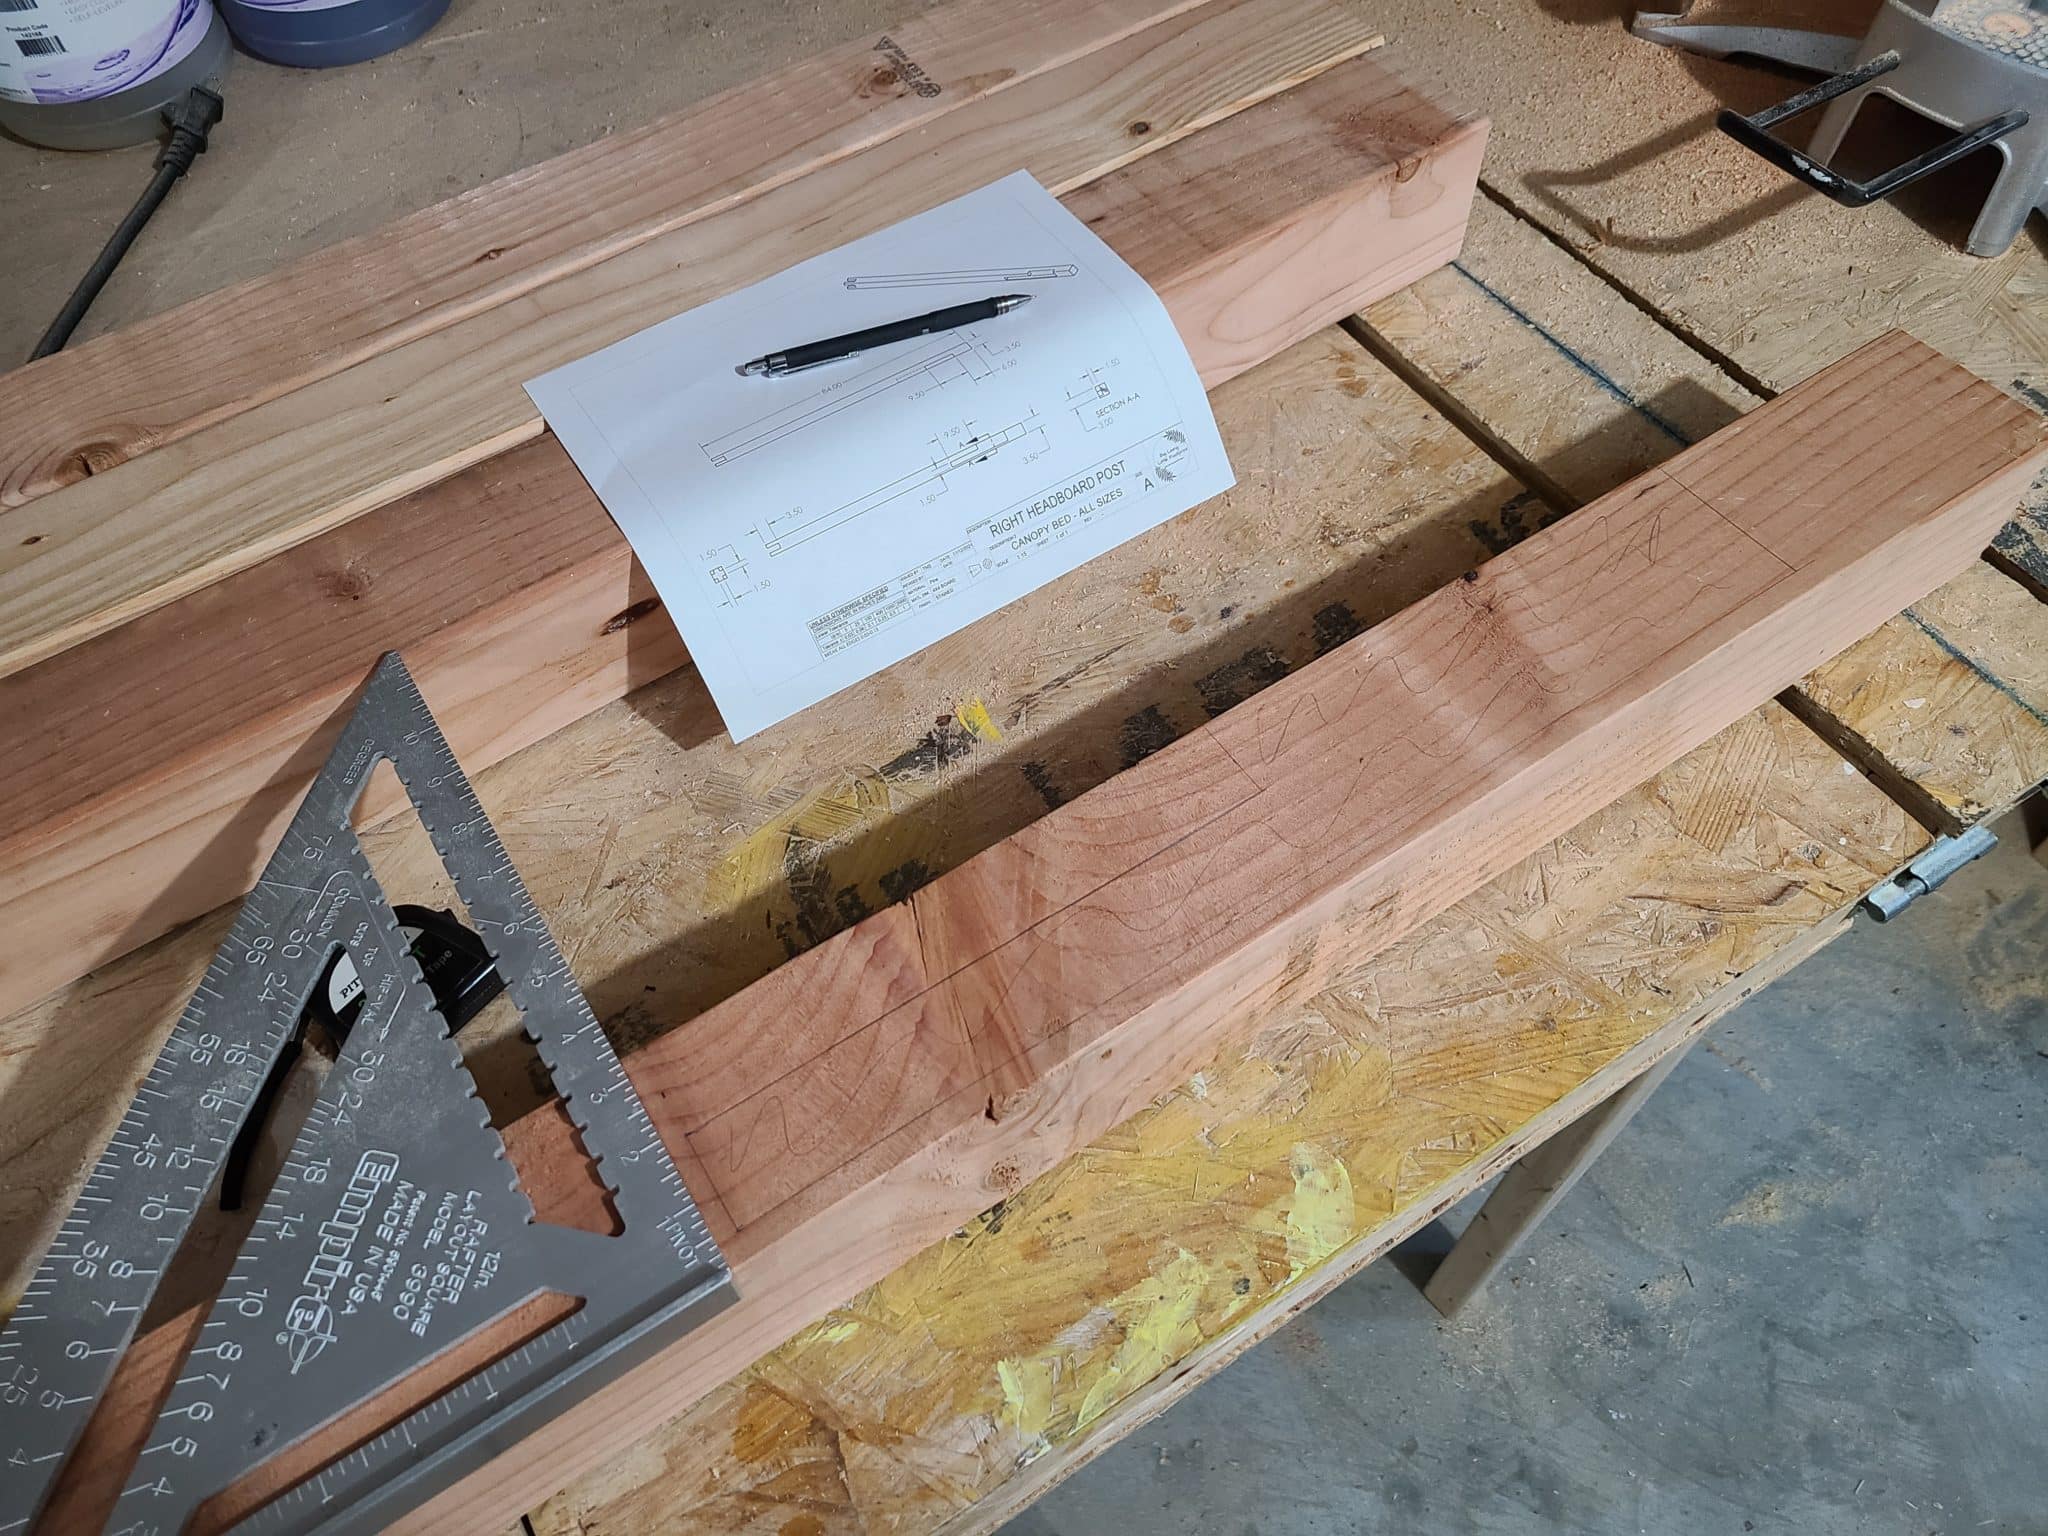
Next up, we will be tracing our cut pattern out on our 4×4 boards. Grab your plans, your speed square, and a sharp pencil. Measure carefully, mark and trace your entire cut path as shown on the plans. You can always remove additional material later but if you create too big of a cut, it can be hard to hide the gap, so try to be as precise as you can and make sure to keep your lines straight and square. When you are done tracing out the cut pattern, compare it with the drawing one last time to make sure it matches.
Once you have one of the patterns traced out, leave the drawing with that board so that you can keep track of which one is which. The boards are pretty similar so it can get a touch confusing. The left and right foot boards are mirror opposites of each other. The left foot board is identical to the right headboard except that there is an extra notch for the headboard piece. And the left and right headboards are mirror opposites of each other. If that sounds confusing to read, it will all make sense once you start laying out the piece and putting it together. It can only go together one way, so don’t worry if you get the parts mixed up. So long as you follow the drawings, it will all work out in the end.
Begin Cutting the 4×4 Notches
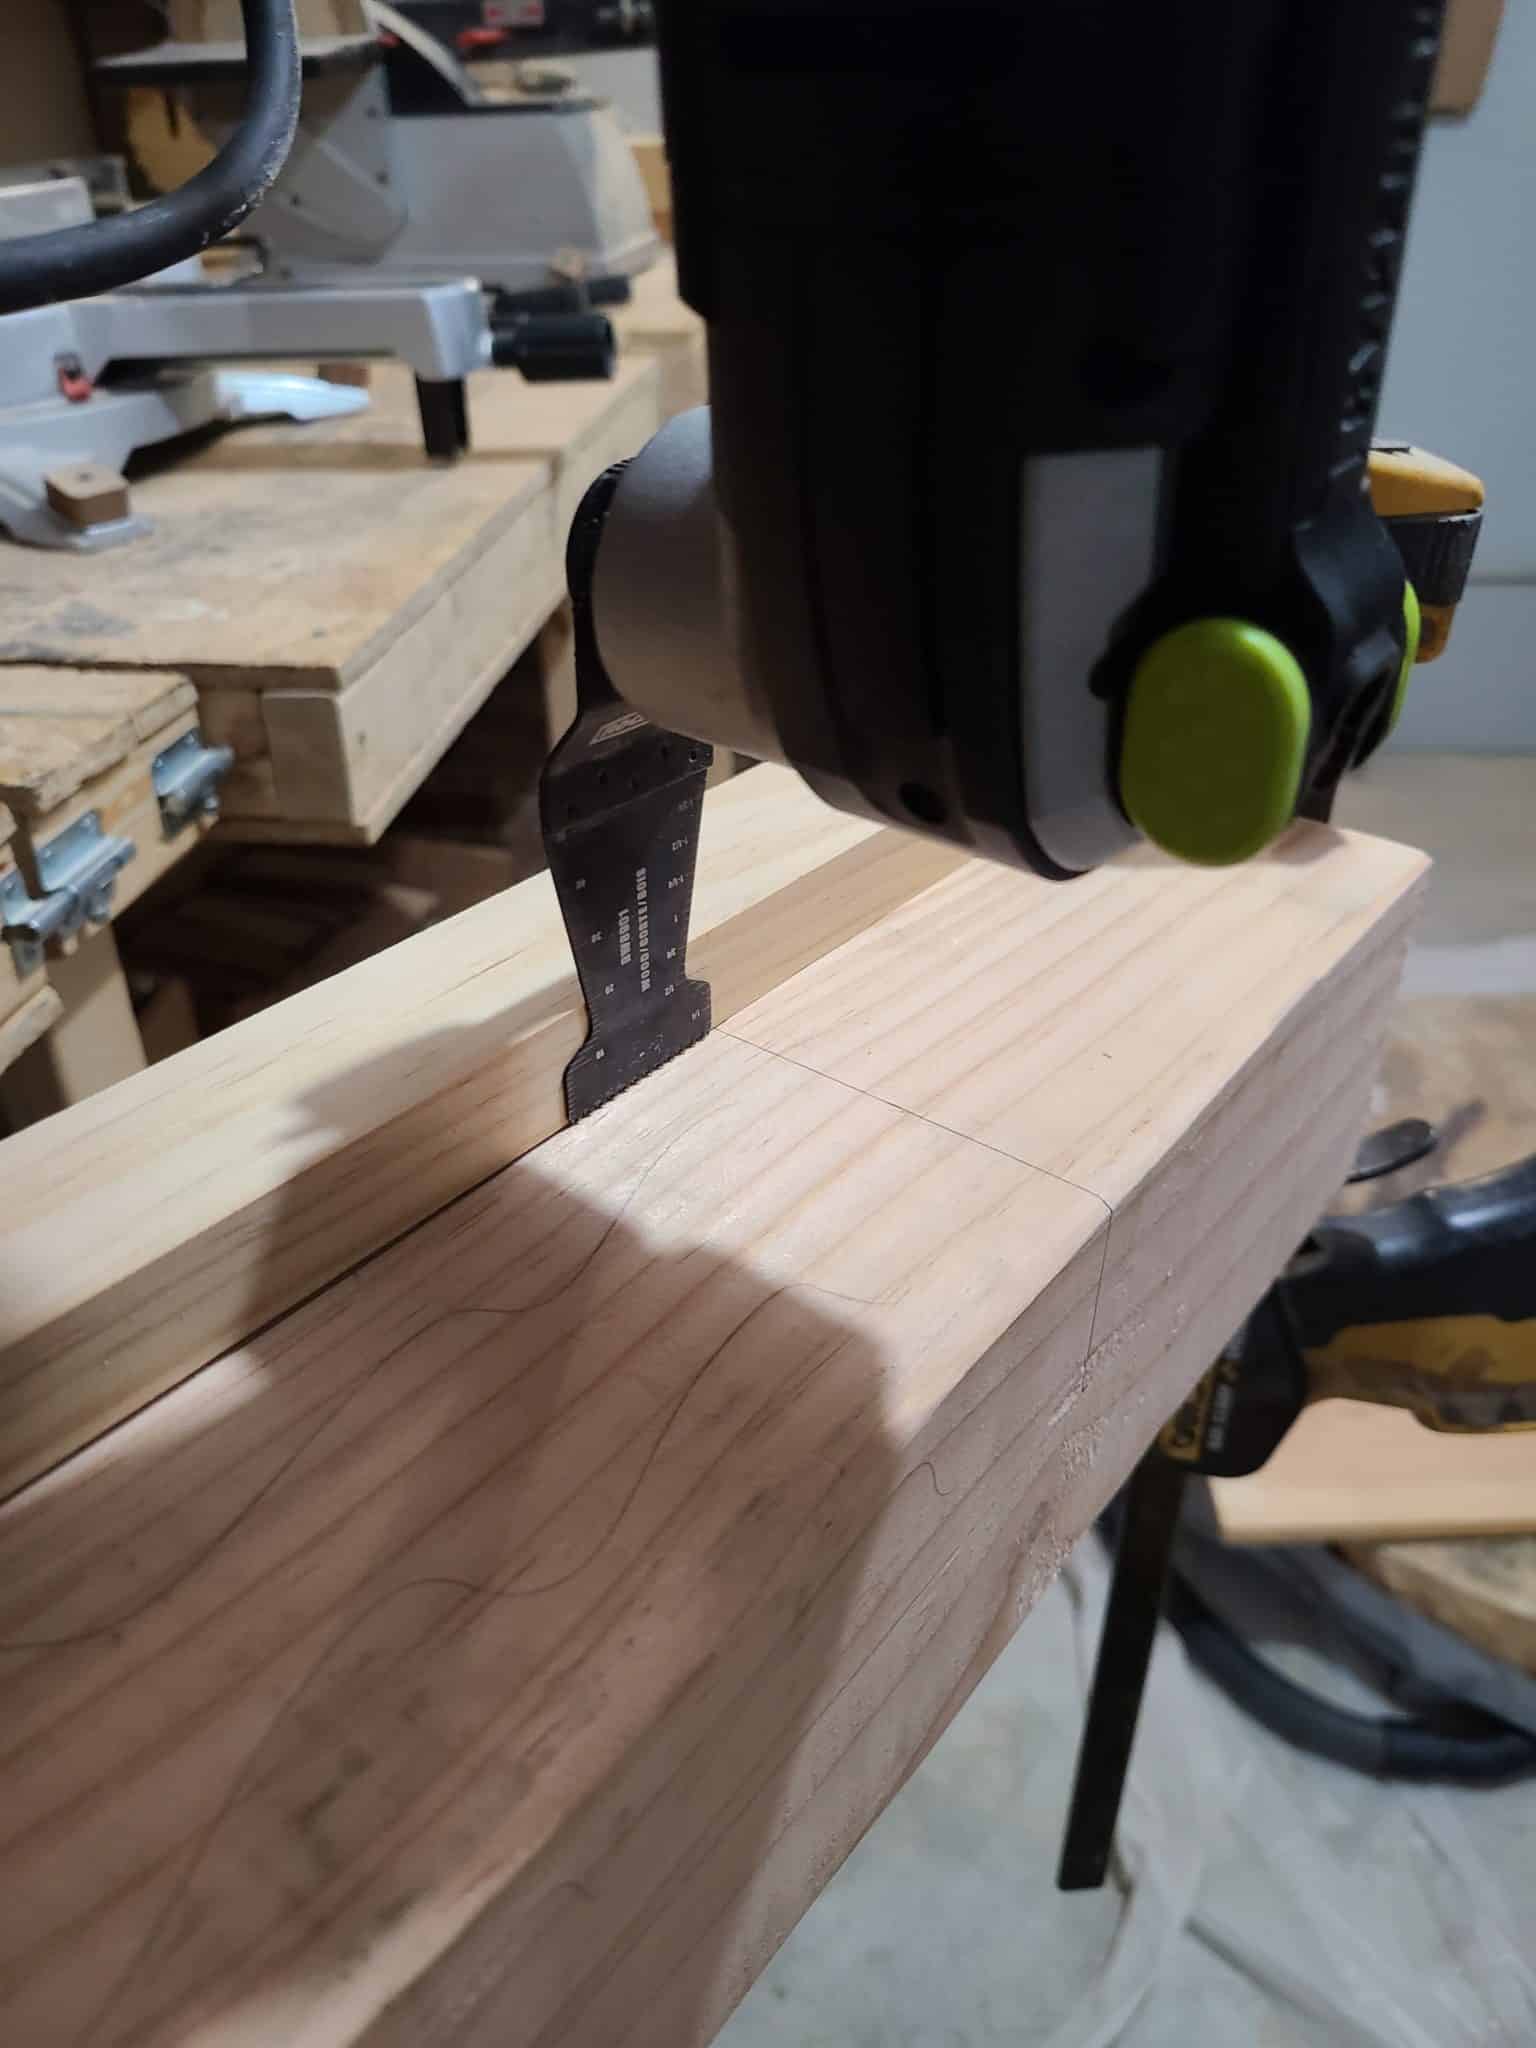
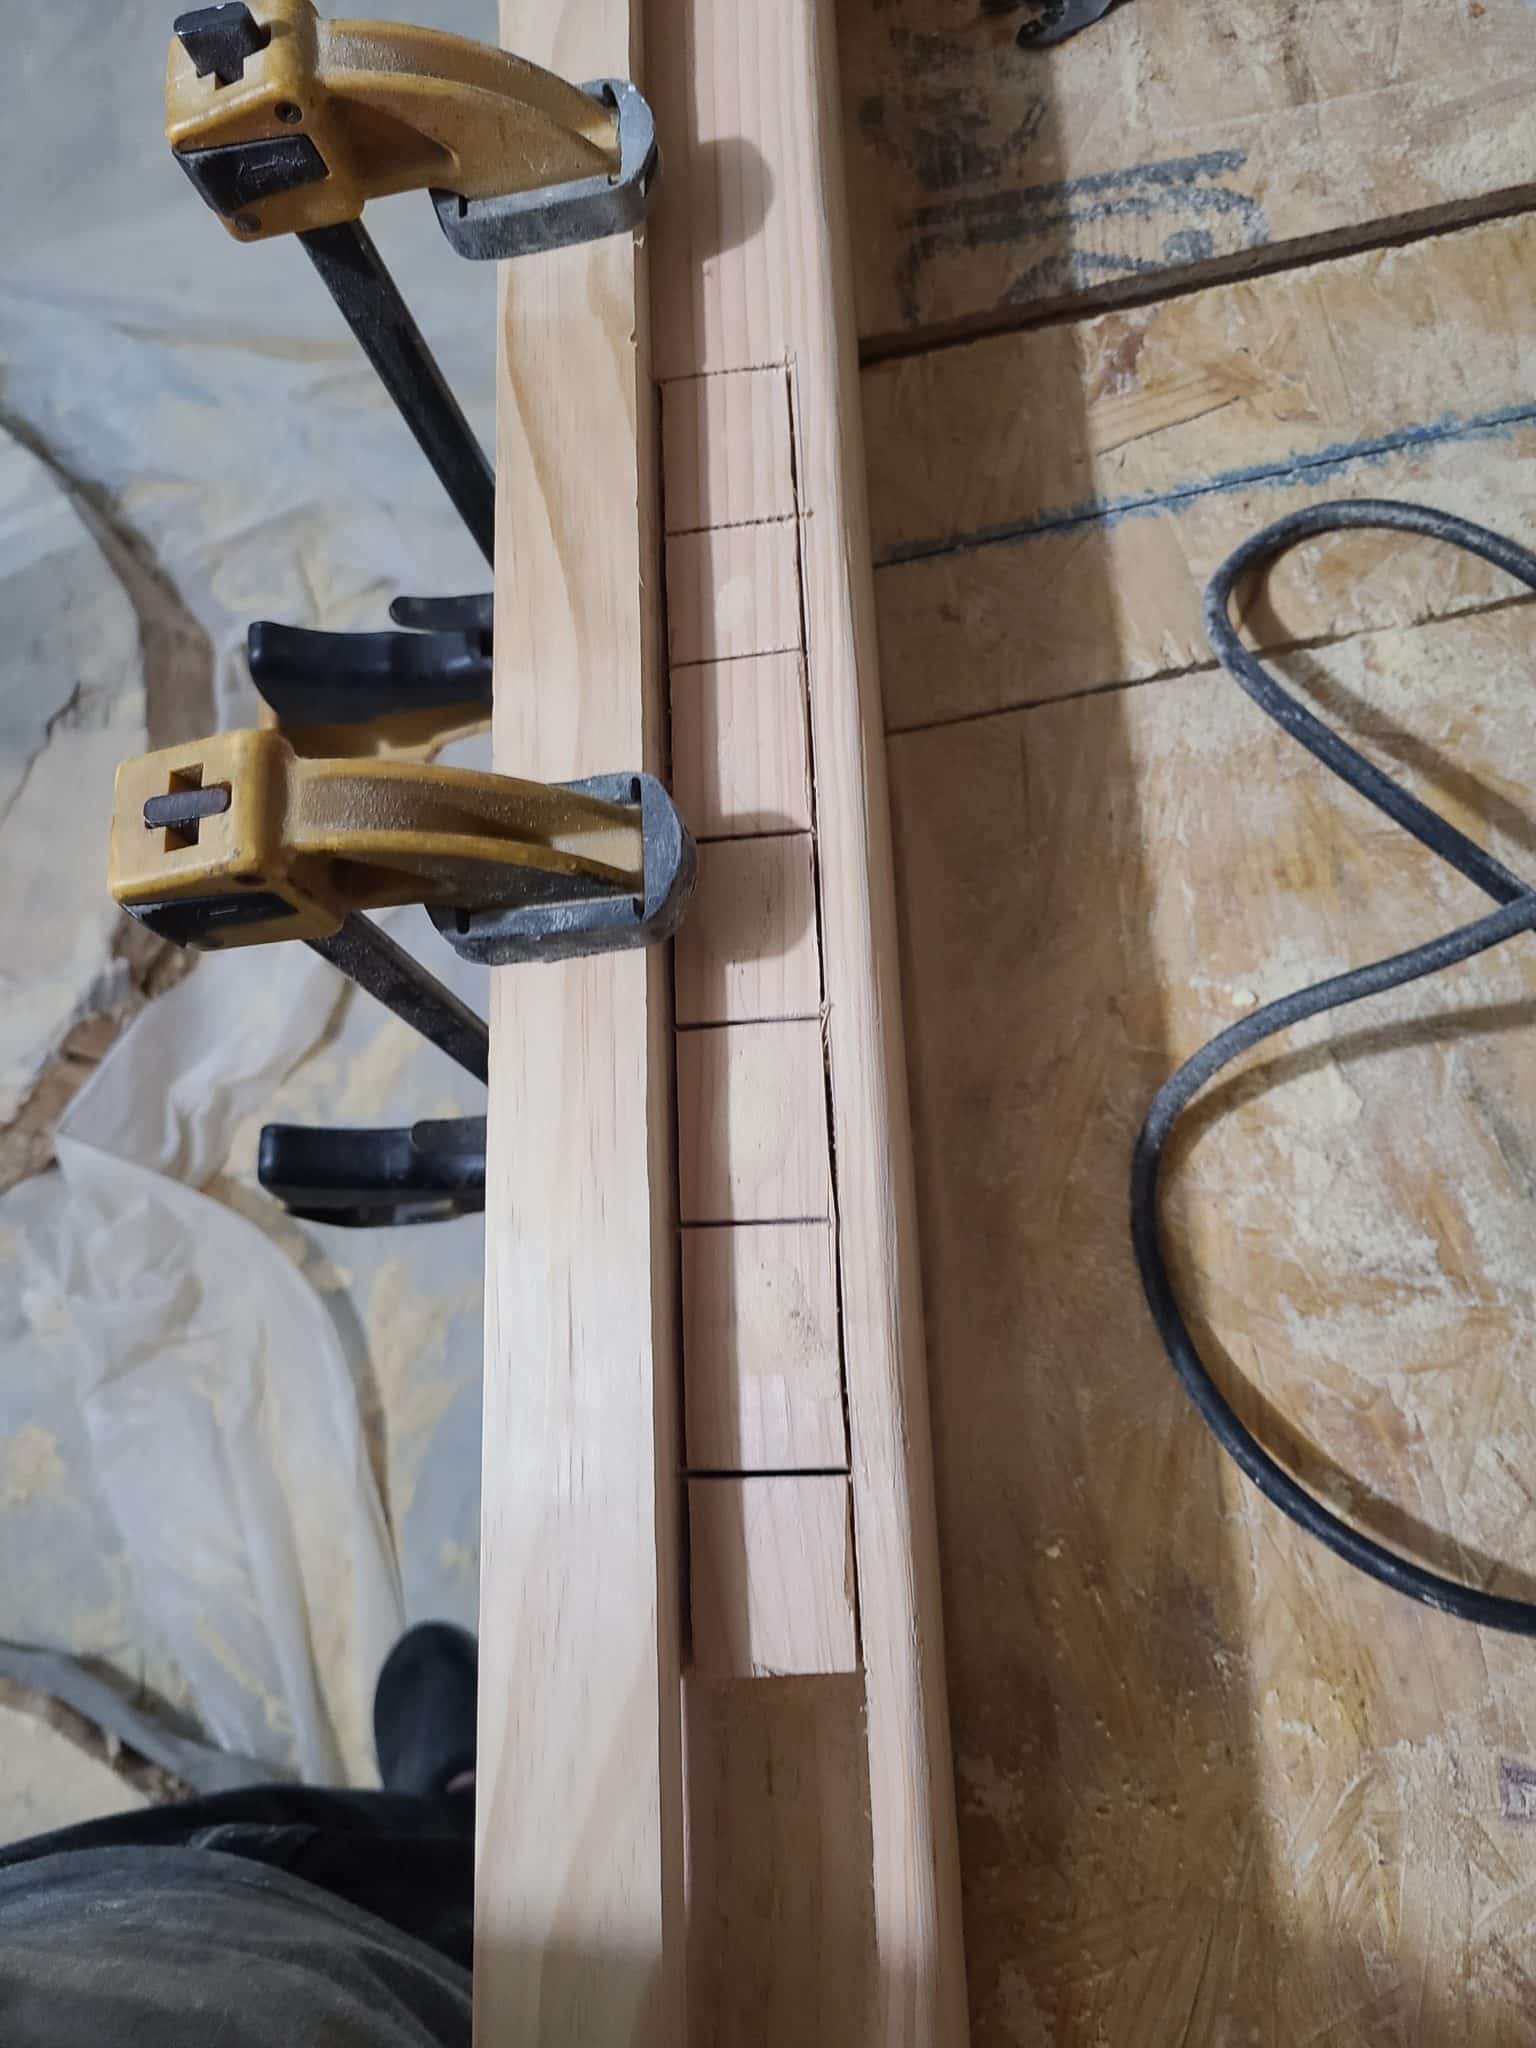
Now that we have our notches traced, it is time to begin cutting. For this notch work, I highly recommend you use an oscillating multitool to make the series of plunge cuts required. To make your cuts more accurate, you can use an additional block of wood clamped to your piece as a backrest to keep your blade vertical and your cut straight. It may also be helpful to use a piece of painter’s tape or masking tape on your blade as a depth gauge to keep you from cutting deeper than you need to. Many blades have depth markers on them, but these can be hard to see when the blade is oscillating.
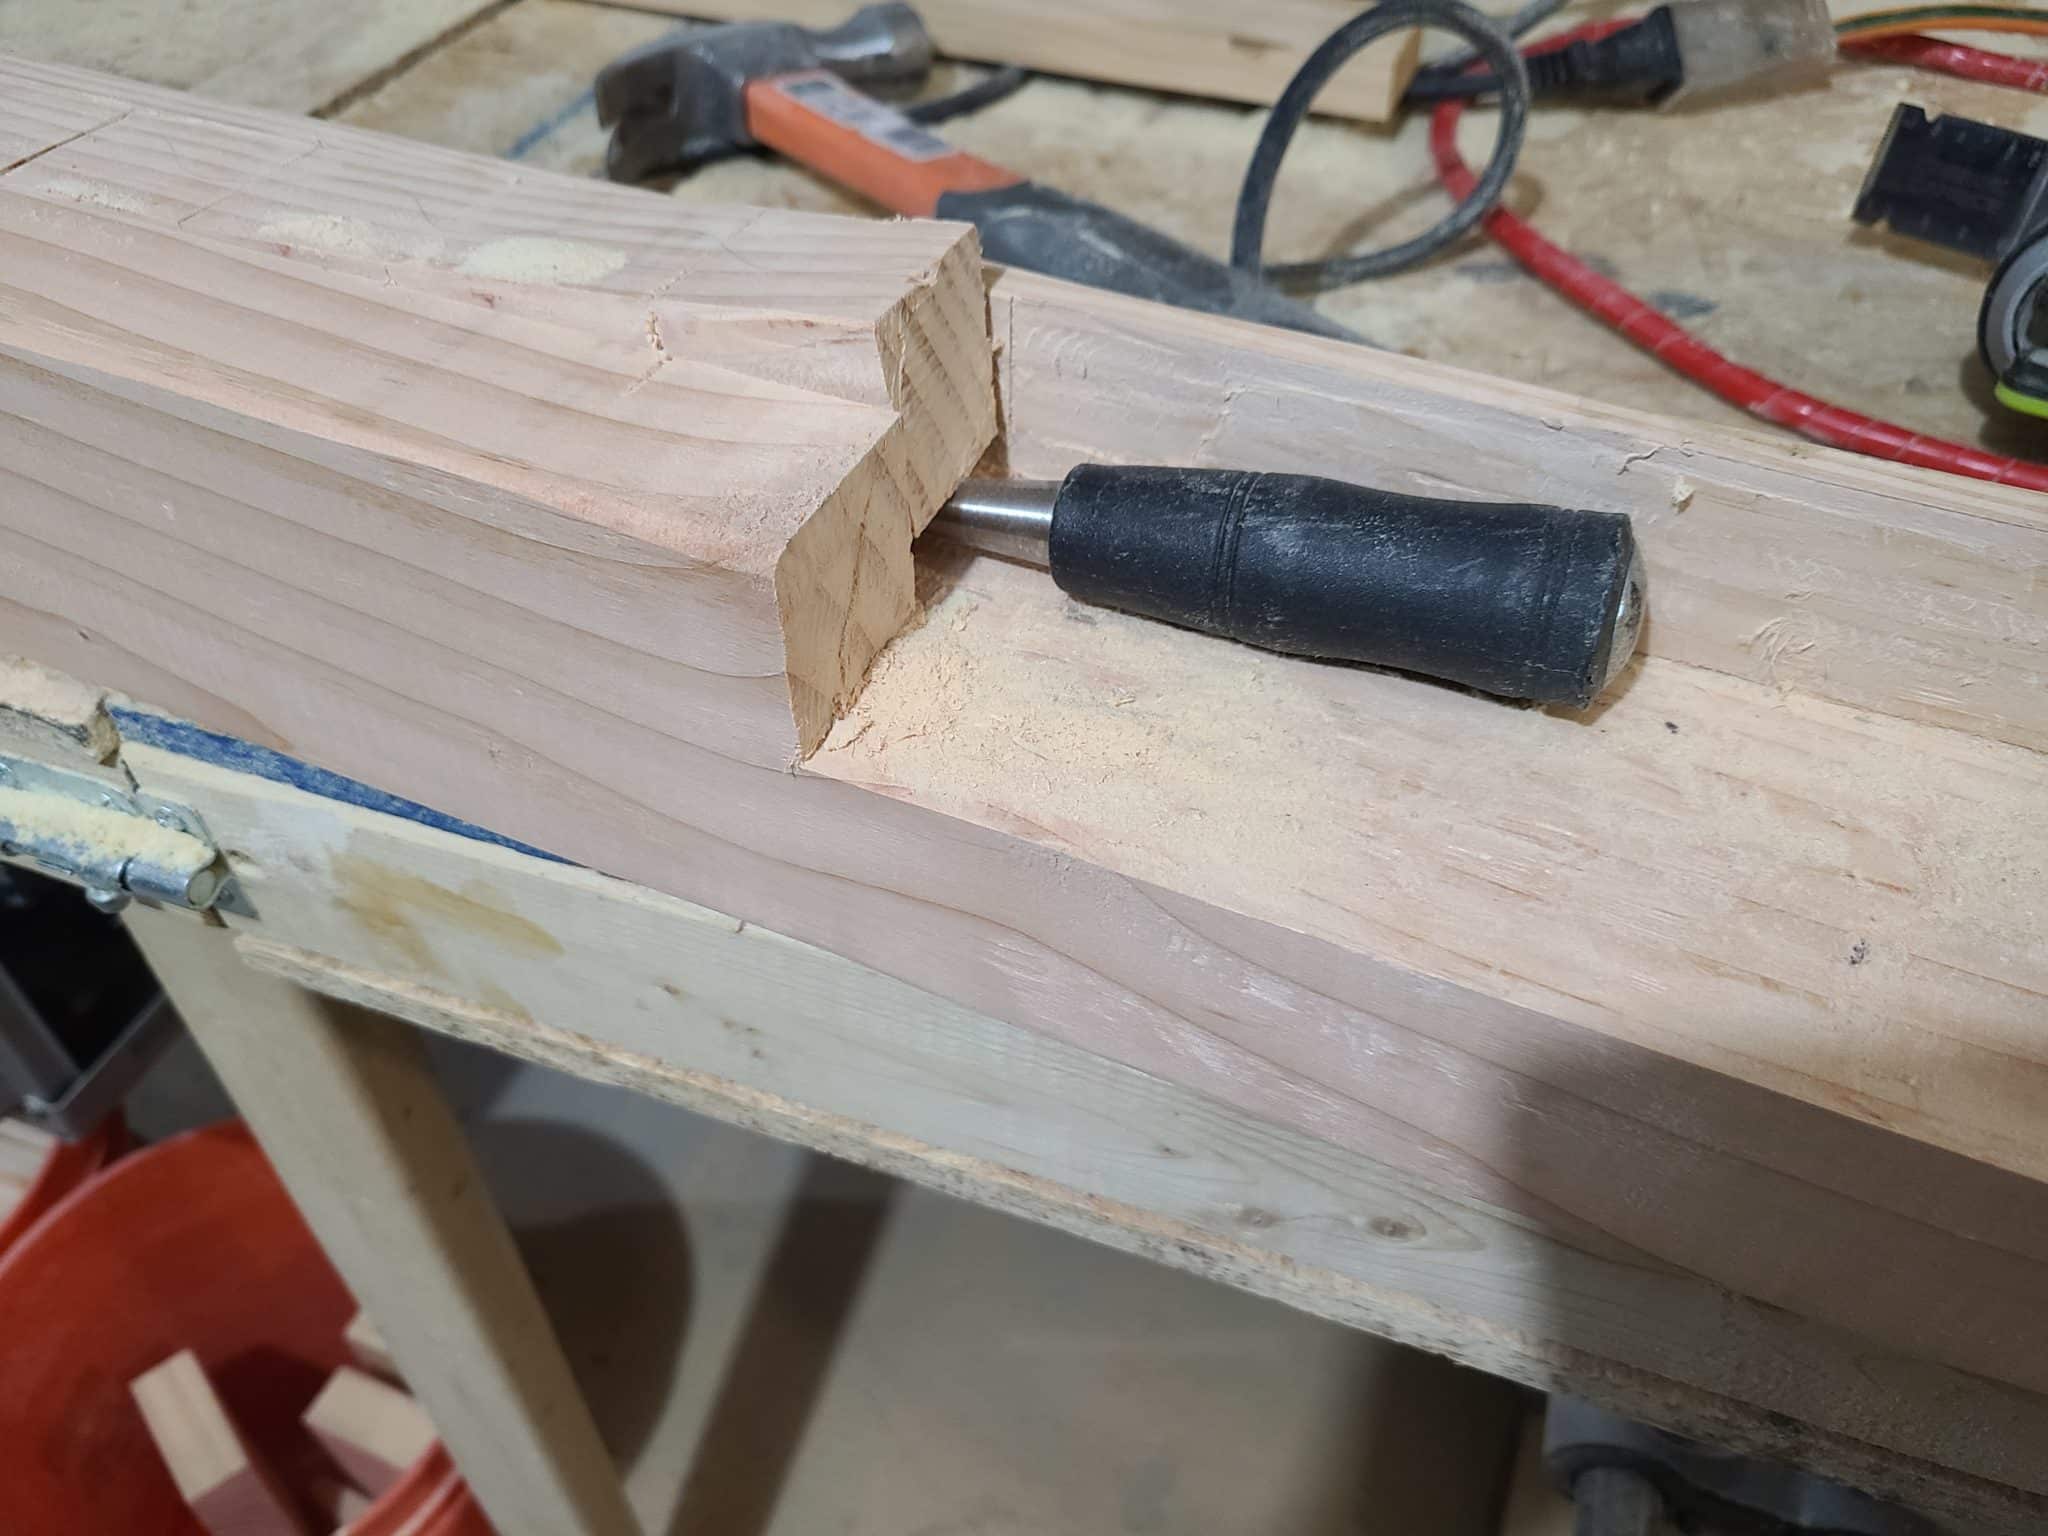
If you prefer, you can use a pair of chisels instead or alternate between the two to achieve your desired results. For example, I found it easier to cut the perimeter of the blind cut for the headboard using my multitool, and then use a chisel to come in and actually remove the material by chiseling into it from the cutout for the frame boards. There are multiple ways to approach this so take your time and go slow. If you do decide to use chisels, just make sure that they are nice and sharp beforehand so that they cut through the wood grain instead of breaking their way through.
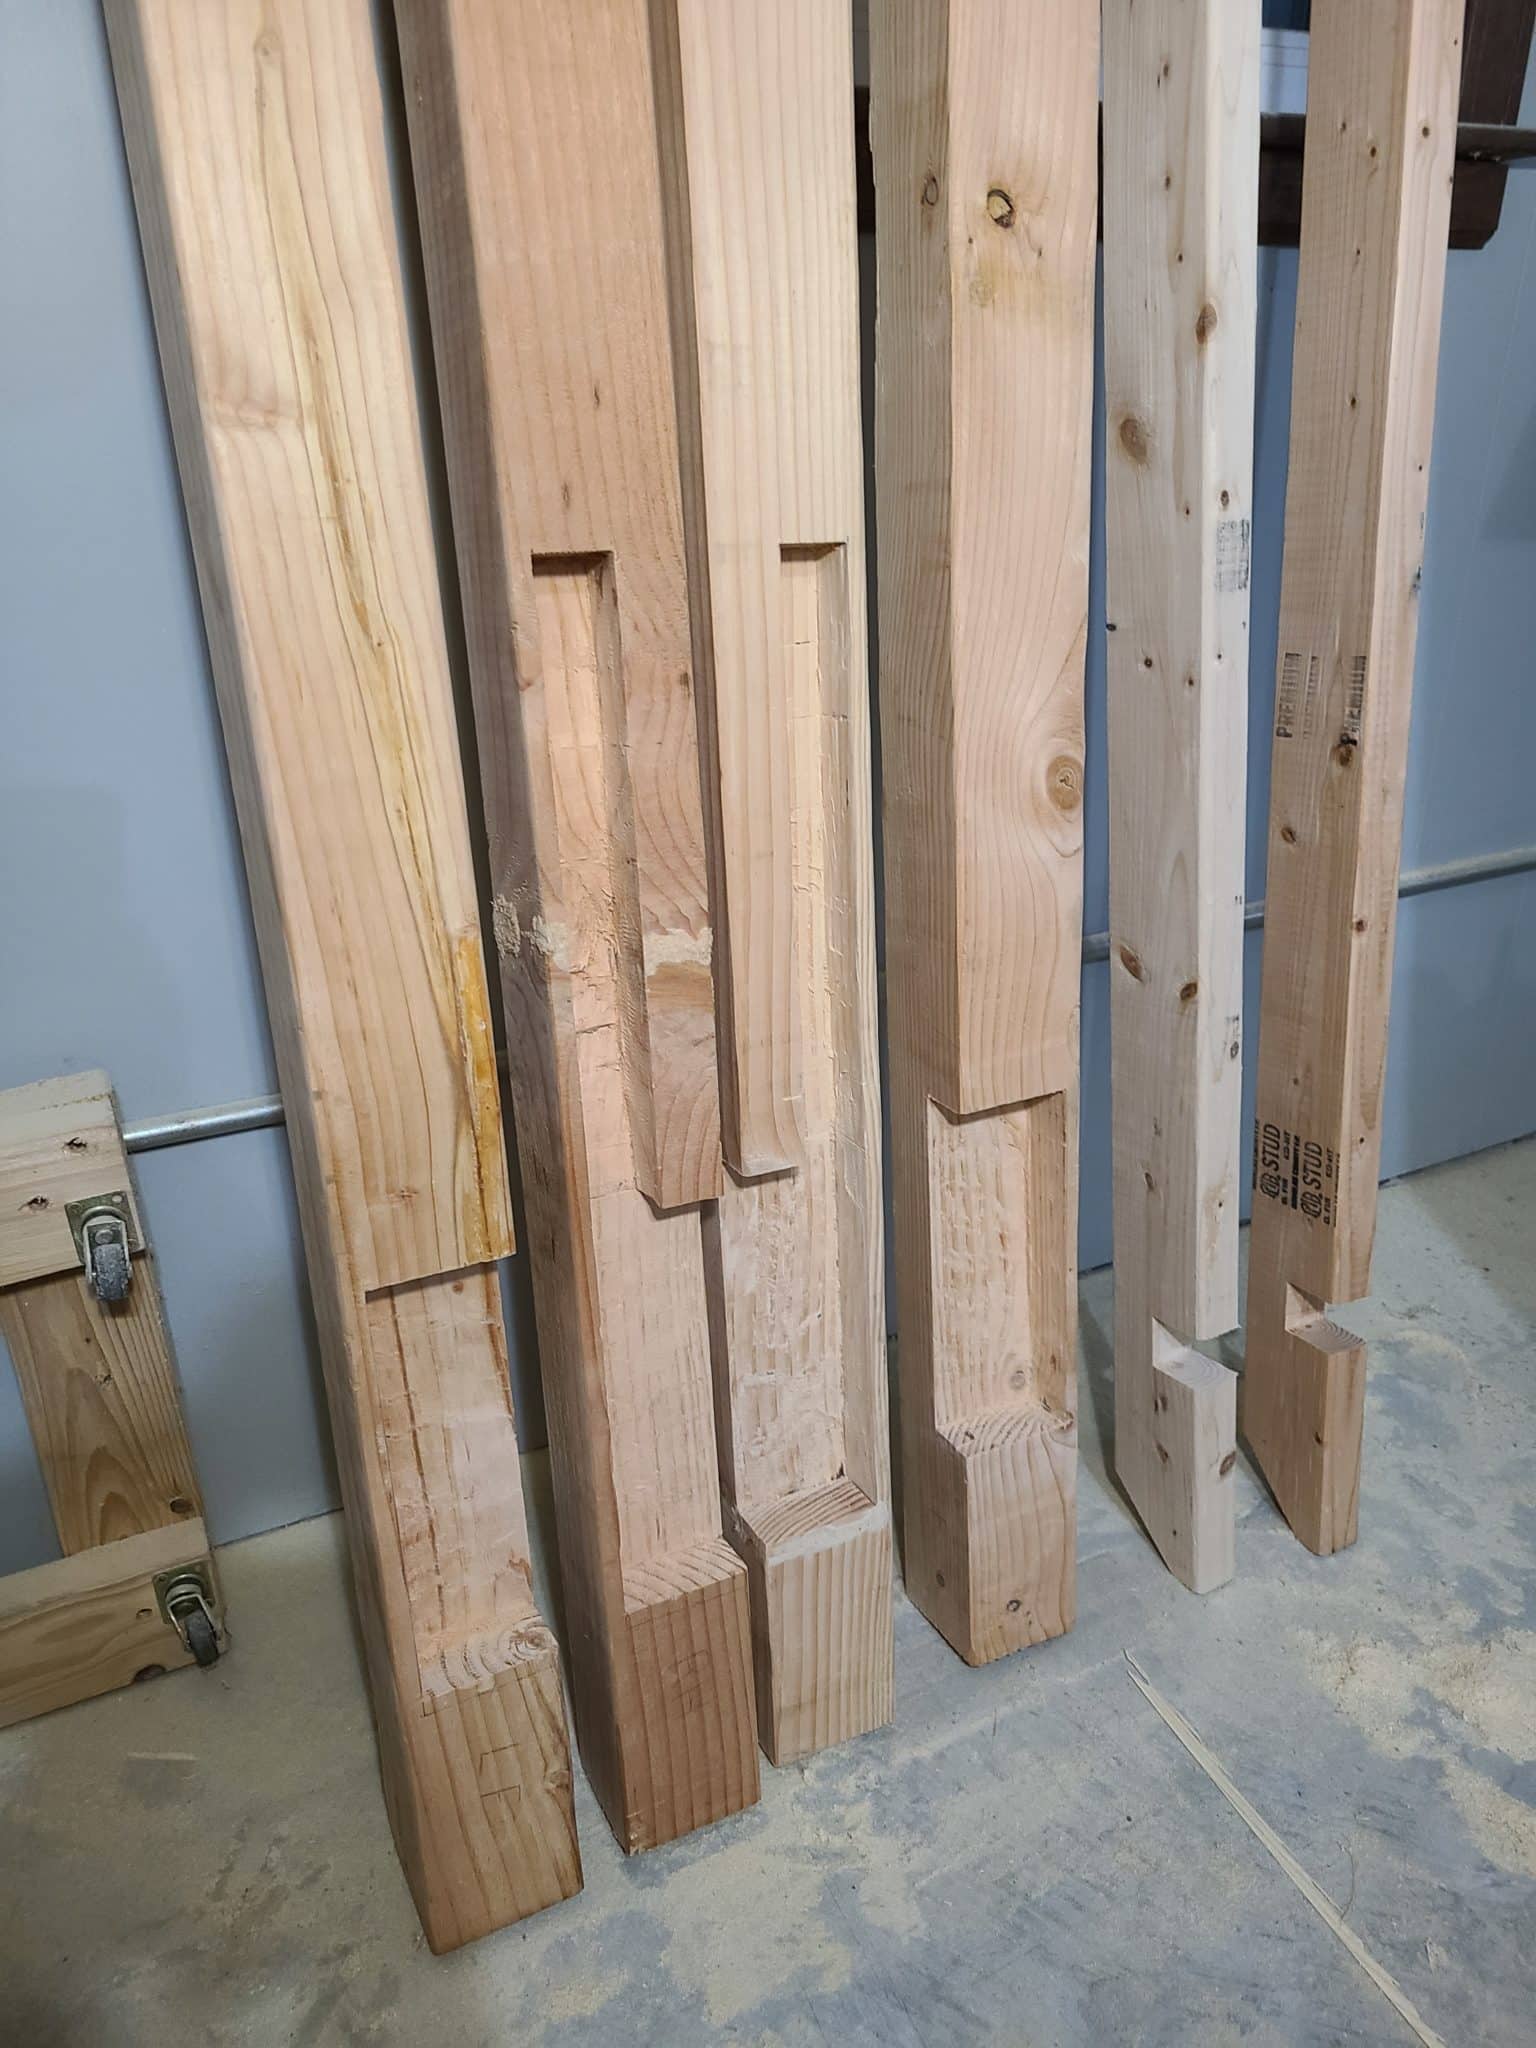
Once you have one board done, give yourself a pat on the back. The first one is the hardest. Now that you know what to do, each next one will get easier and by the end you’ll have an amazing sense of accomplishment! Keep going until you get each board done and then take a break. You’ve earned it!
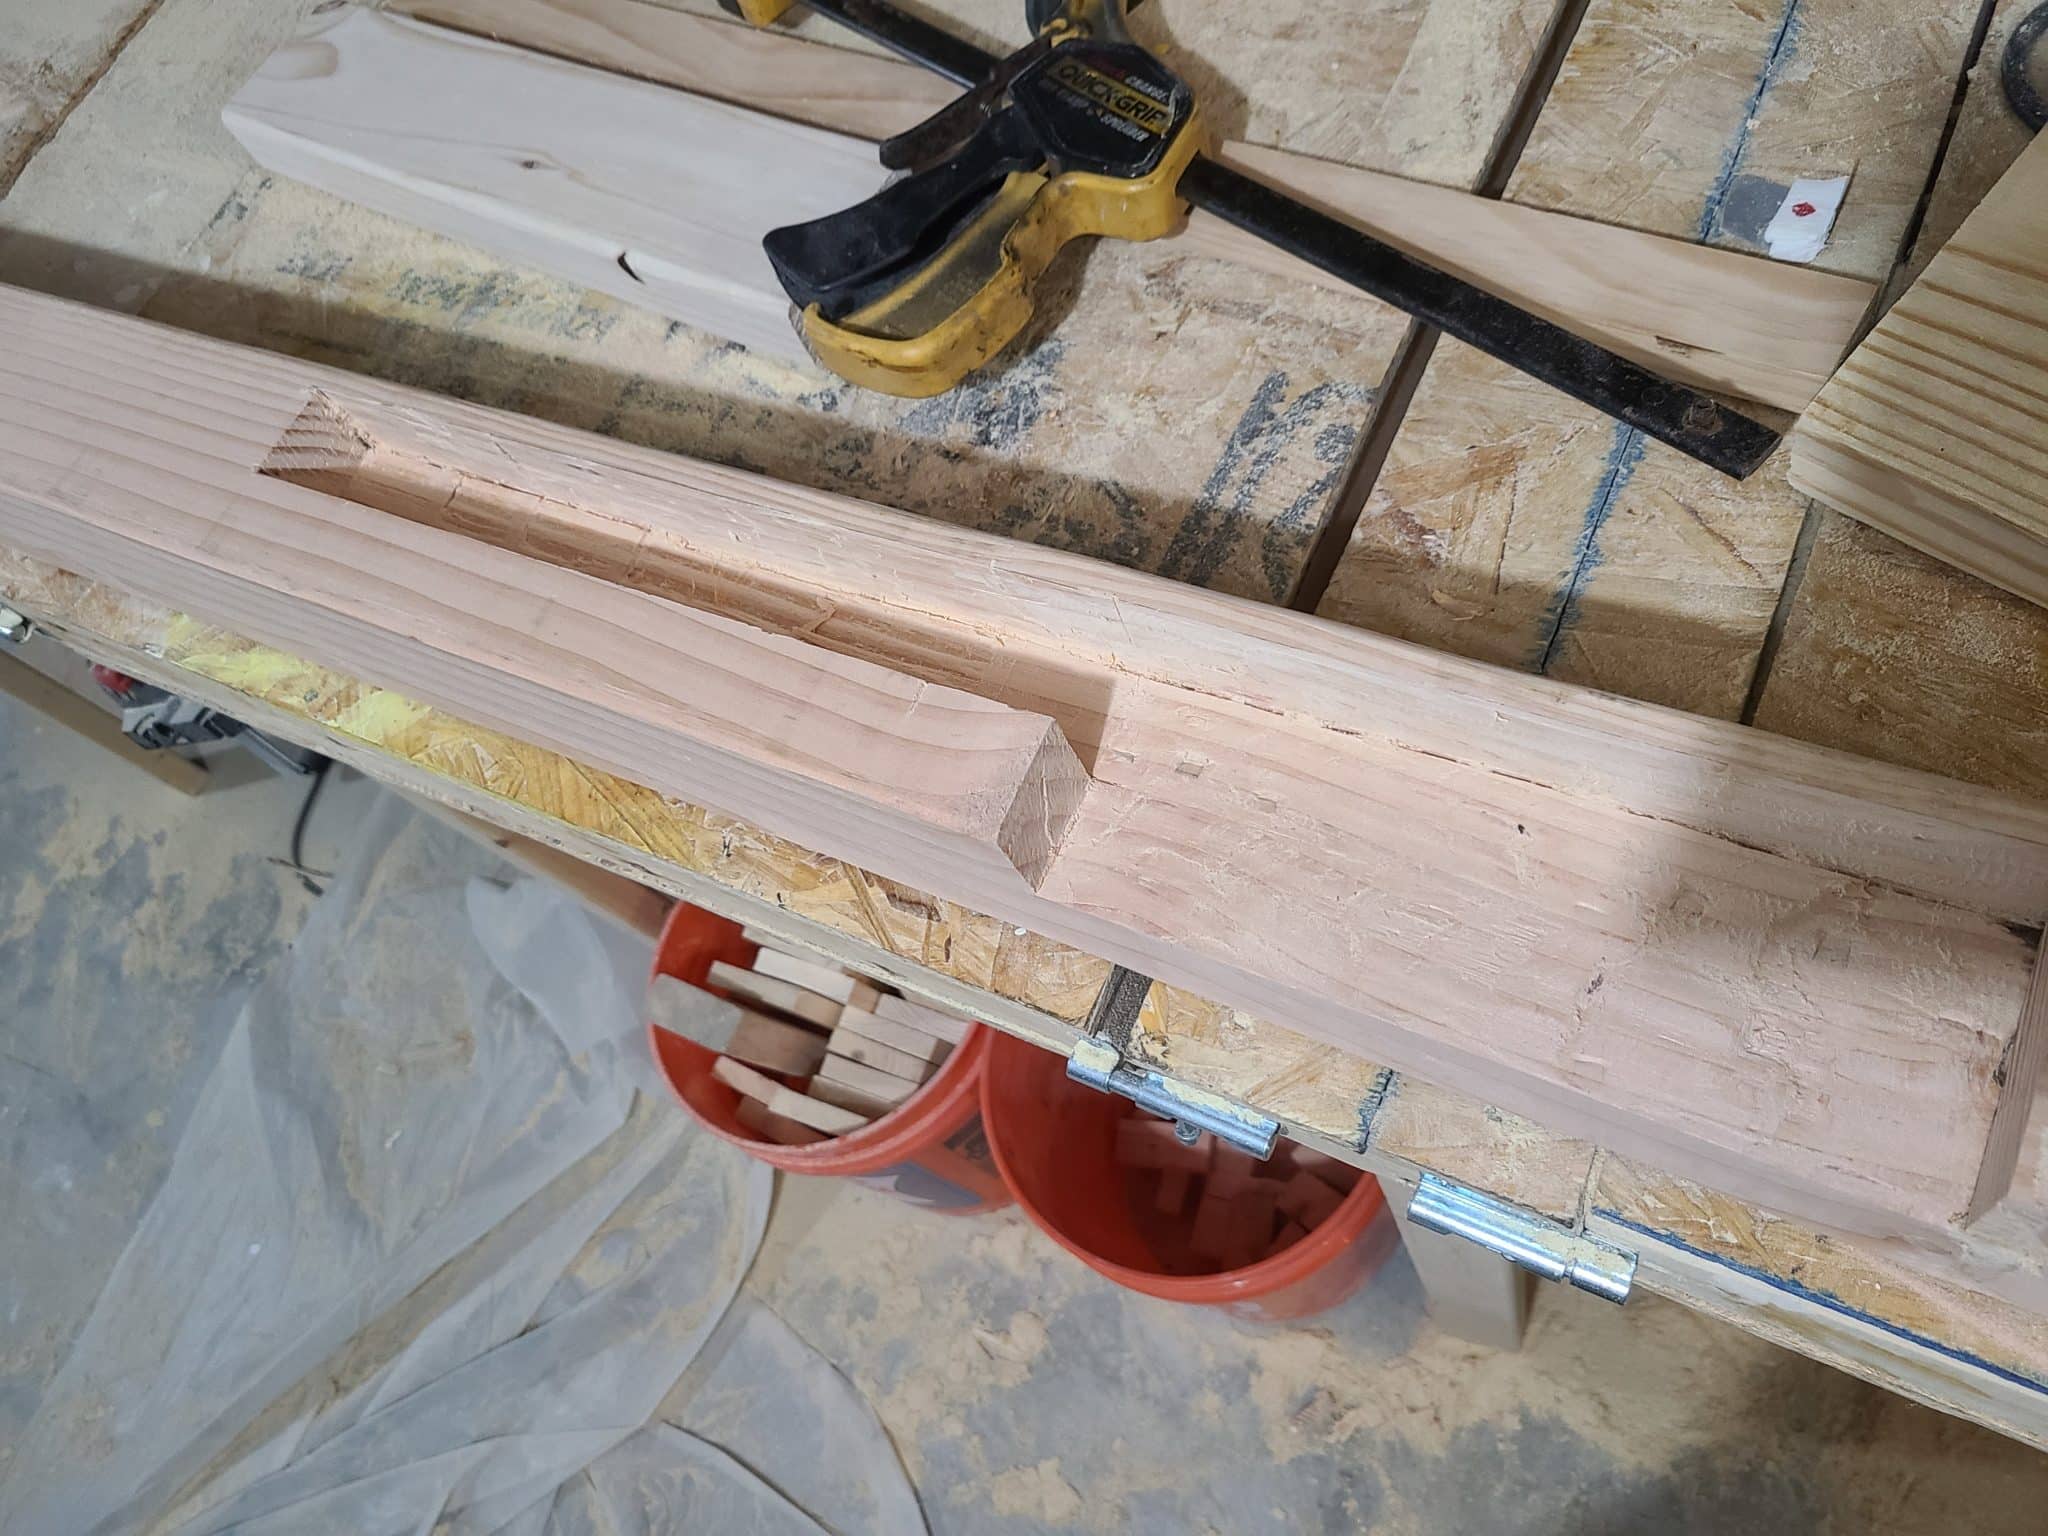
- Completed Post Notch for Canopy Boards
- Completed Post Notch for Frame and Head Boards
Tracing & Cutting 2×4 Notches
Alright, with those out of the way, you may be reluctant to realize that there are notches on the 2×4’s for the canopy as well. Don’t fret just yet. Compared to the notches we just cut for the 4×4’s, these will be a walk in the park. You could even do them by making repeated cuts with a table saw or cutting the pattern out with a jigsaw instead of the oscillating multi-tool if you’d rather.
Before we get into the notches, we’ll want to prepare their final shape first. Begin by cutting them to their final length using your miter saw. Next up, measure and mark your chamfers on the corners of the board using your framing square. Match the angle by rotating your miter saw, and then align and cut the boards. Don’t worry if the angle isn’t completely perfect as it is just cosmetic.
Now it’s time to trace our notches. Just like with our 4×4’s, you’ll want to use your framing square and a pencil to trace the cut path. Pay attention to whether the notch is on the same side of the board as the chamfered corner or not. The long boards will have it on the opposite side that the short boards do. This allows them to fit together and form a strong joint.
Once your notches are all traced, cut them out using your preferred method. These notches will be hidden inside of the 4×4 post. They don’t have to be as precise and clean as the notches for the 4×4’s, but let’s be honest. You’re already an expert notch cutter so this will be a piece of cake for you.
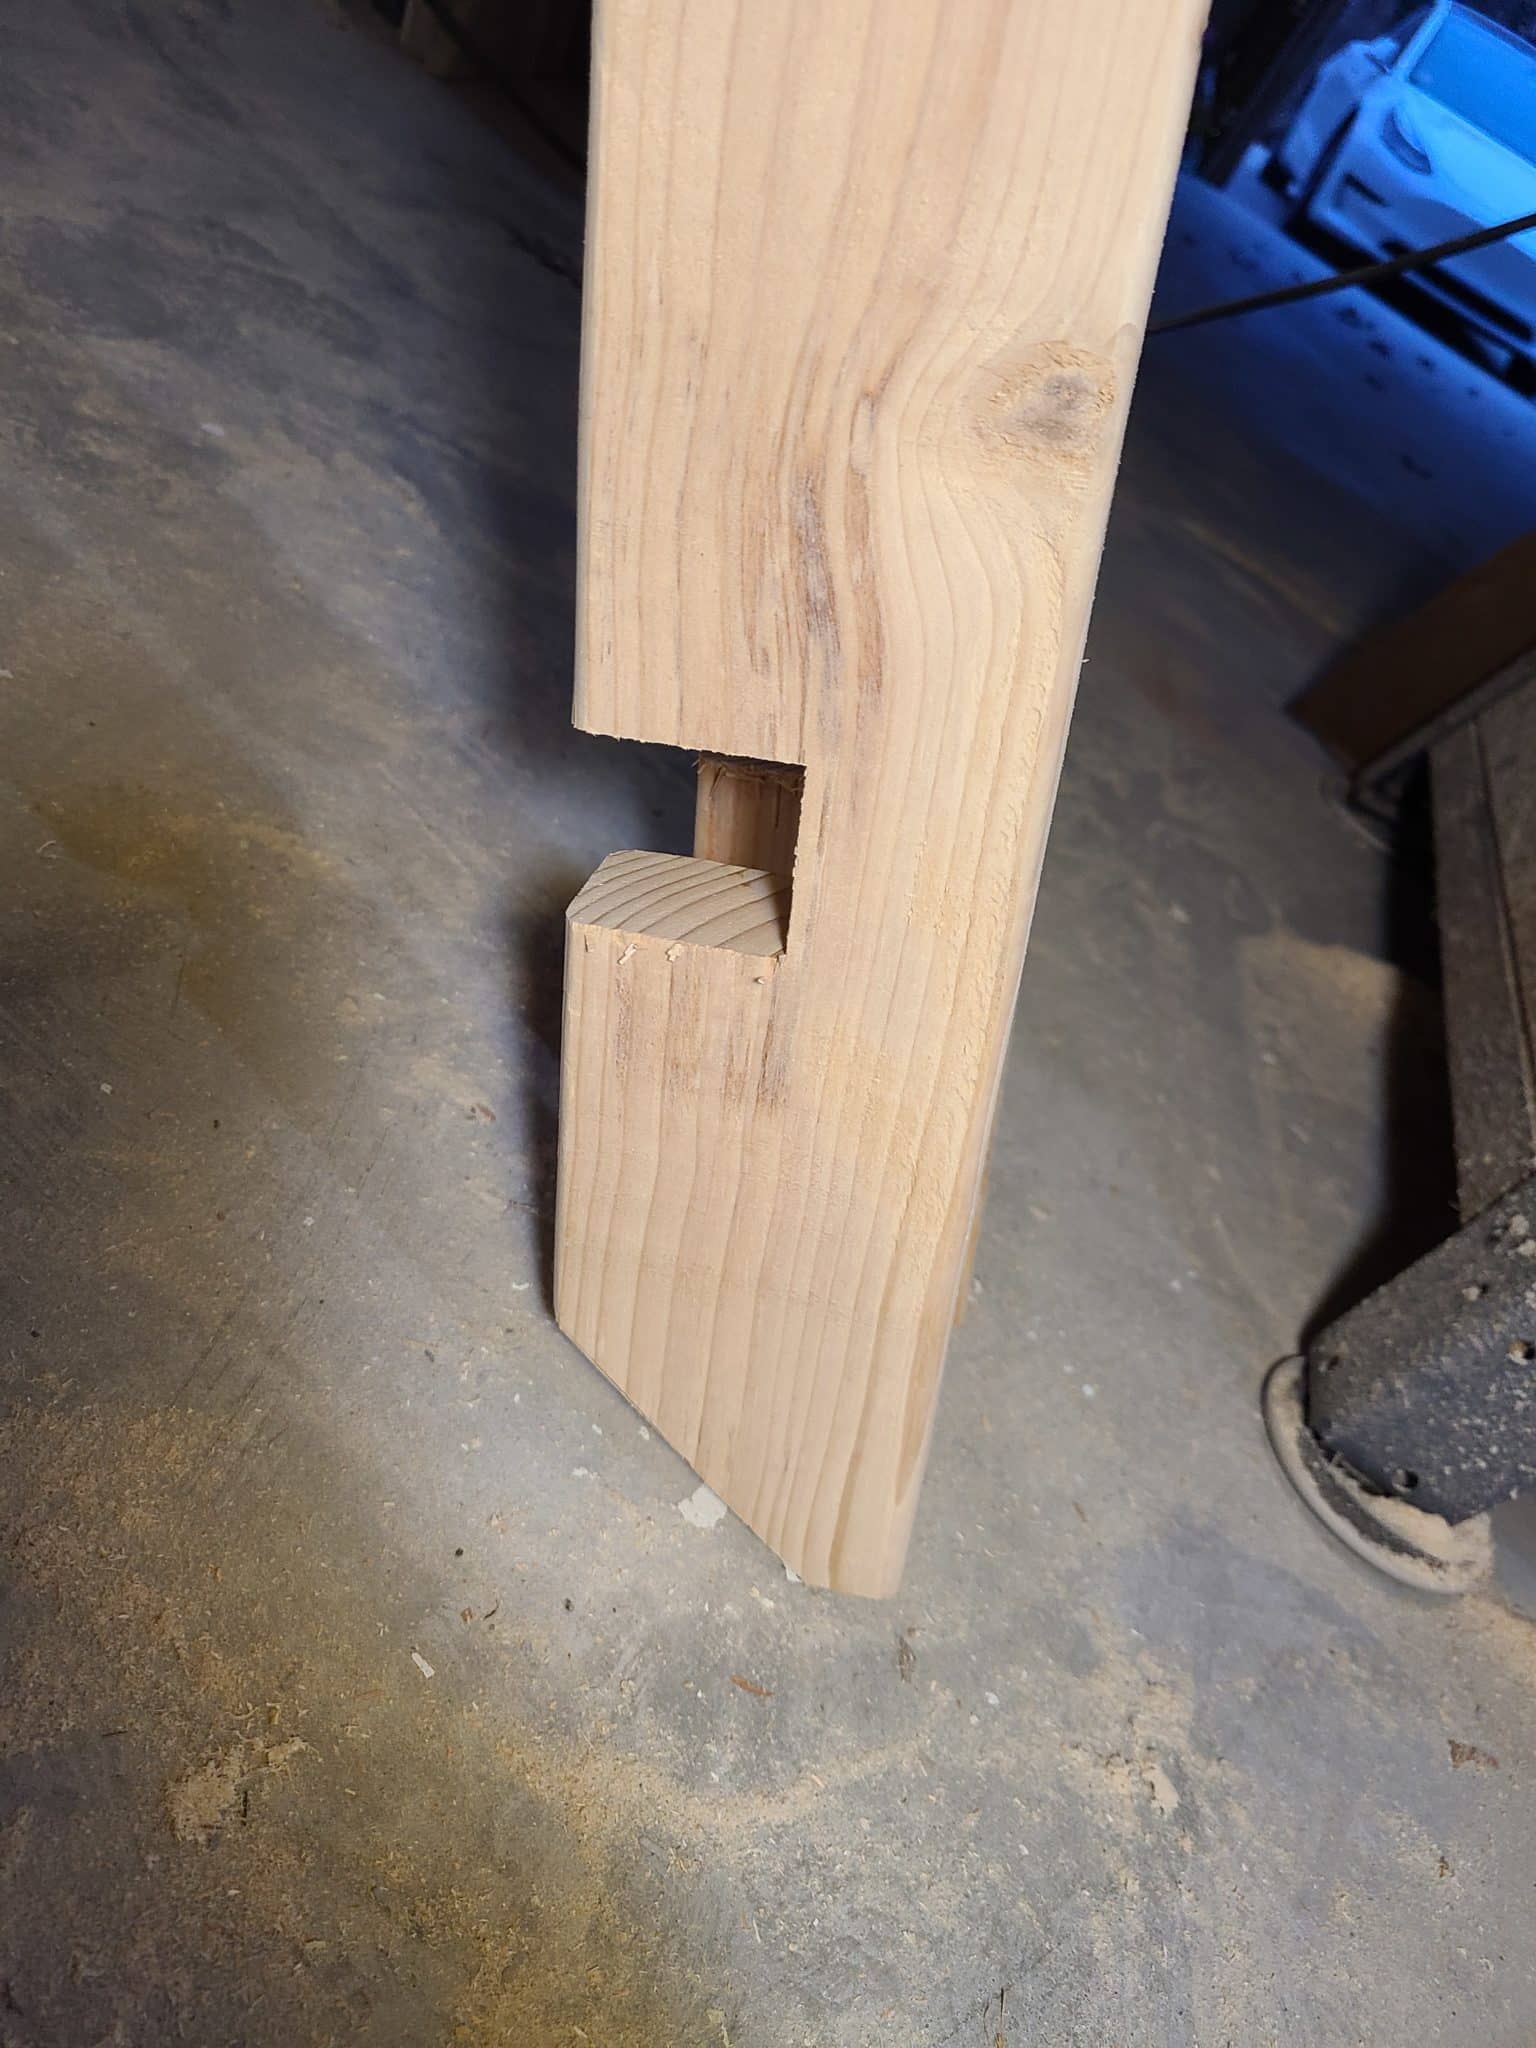
- Completed Canopy Board Notches
- All of Notches are Complete!
Step 3: Cut the Remaining Boards
From here on out, everything is plain, simple, boring straight cuts. Measure and mark the final cut length for each board and then cut them to length on your miter saw. For the platform boards, it saves a lot of time if you set up a back stop next to your miter saw. Then you can slide each board up to the stop and then cut it to length. Your back stop doesn’t have to be anything fancy. Mine is just a couple of boards screwed together that I can clamp to my workbench.
Speaking of our workbench, if you are interested in how our flipping workbench works and want to build one yourself, please check out our plans in our shop. We haven’t made a How To article on the workbench, but we are here to answer any questions you may have!
Alright, you have cut everything to length, there is only one final cut to make. The Side Support Bars for the platform boards are made out of one 2×4 cut down the middle. This was done so that you could use shorter screws and save yourself buying another board. If you have a table saw, you can easily rip this board down the middle, but you can also use a bandsaw, jig saw, circular saw, or your oscillating multitool. Or, if you’d rather, you can buy another 2×4 and then use longer screws. It’s up to you, but that is it.
That’s the last one! You’re done cutting boards!!
Step 4: Test Fit Your Notches
Before we jump into the sanding and staining of the boards, we will do a test fit to make sure all of our notches are big enough. You have two options here. You can either fully assemble the bed frame to the posts and install the canopy boards, or you can use your scrap pieces of wood to make sure each size will fit into each notch.
I would recommend you use scrap board pieces to test and adjust each notch first until the boards fit cleanly. You’ll want the pieces to slide together or require a few small knocks with a rubber mallet. If you are using a lot of force then you are risking splitting the wood. Stop and evaluate where the pinch point is and then use your multitool or chisels to remove a little more wood from that area. Keep doing this until all of your notches fit smoothly. If you have a set of rasps, then they can be extremely handy for this process.
Once you have all of your notches dialed in, consider doing a full test fit if you have boards that appear warped or twisted. This could cause some assembly issues later, so it’s best to catch it now and add more clearance if needed.
Step 5: All the Sanding
With our test fit done, we are clear to start finishing our boards. That means it’s time to jump to the dirtiest step. Sanding! This is critical to ensuring you get a good consistent stain and to making sure that you don’t get a splinter putting sheets on the bed later. Be sure to open up those windows or your garage door. Any additional airflow you can get here is helpful, but remember to wear a mask so that you aren’t breathing in half a pound of saw dust!
Our 2×10 Frame Boards, our 2×4 Canopy Boards, and our 4×4 post will all be visible and touched the most often. We will want to take extra care to give them the best finish. We’ll start by sanding each of them with a coarse grit to remove any manufacturing ink or damages, wood defects or splinters, and to round all of the corners. For this, I recommend 40 or 60 grit. 80 grit will also work, but it will take a little longer. 60 grit is generally my preferred for this step unless something needs a lot of shaping work. I also highly recommend the use of a handheld belt sander to speed up the process!
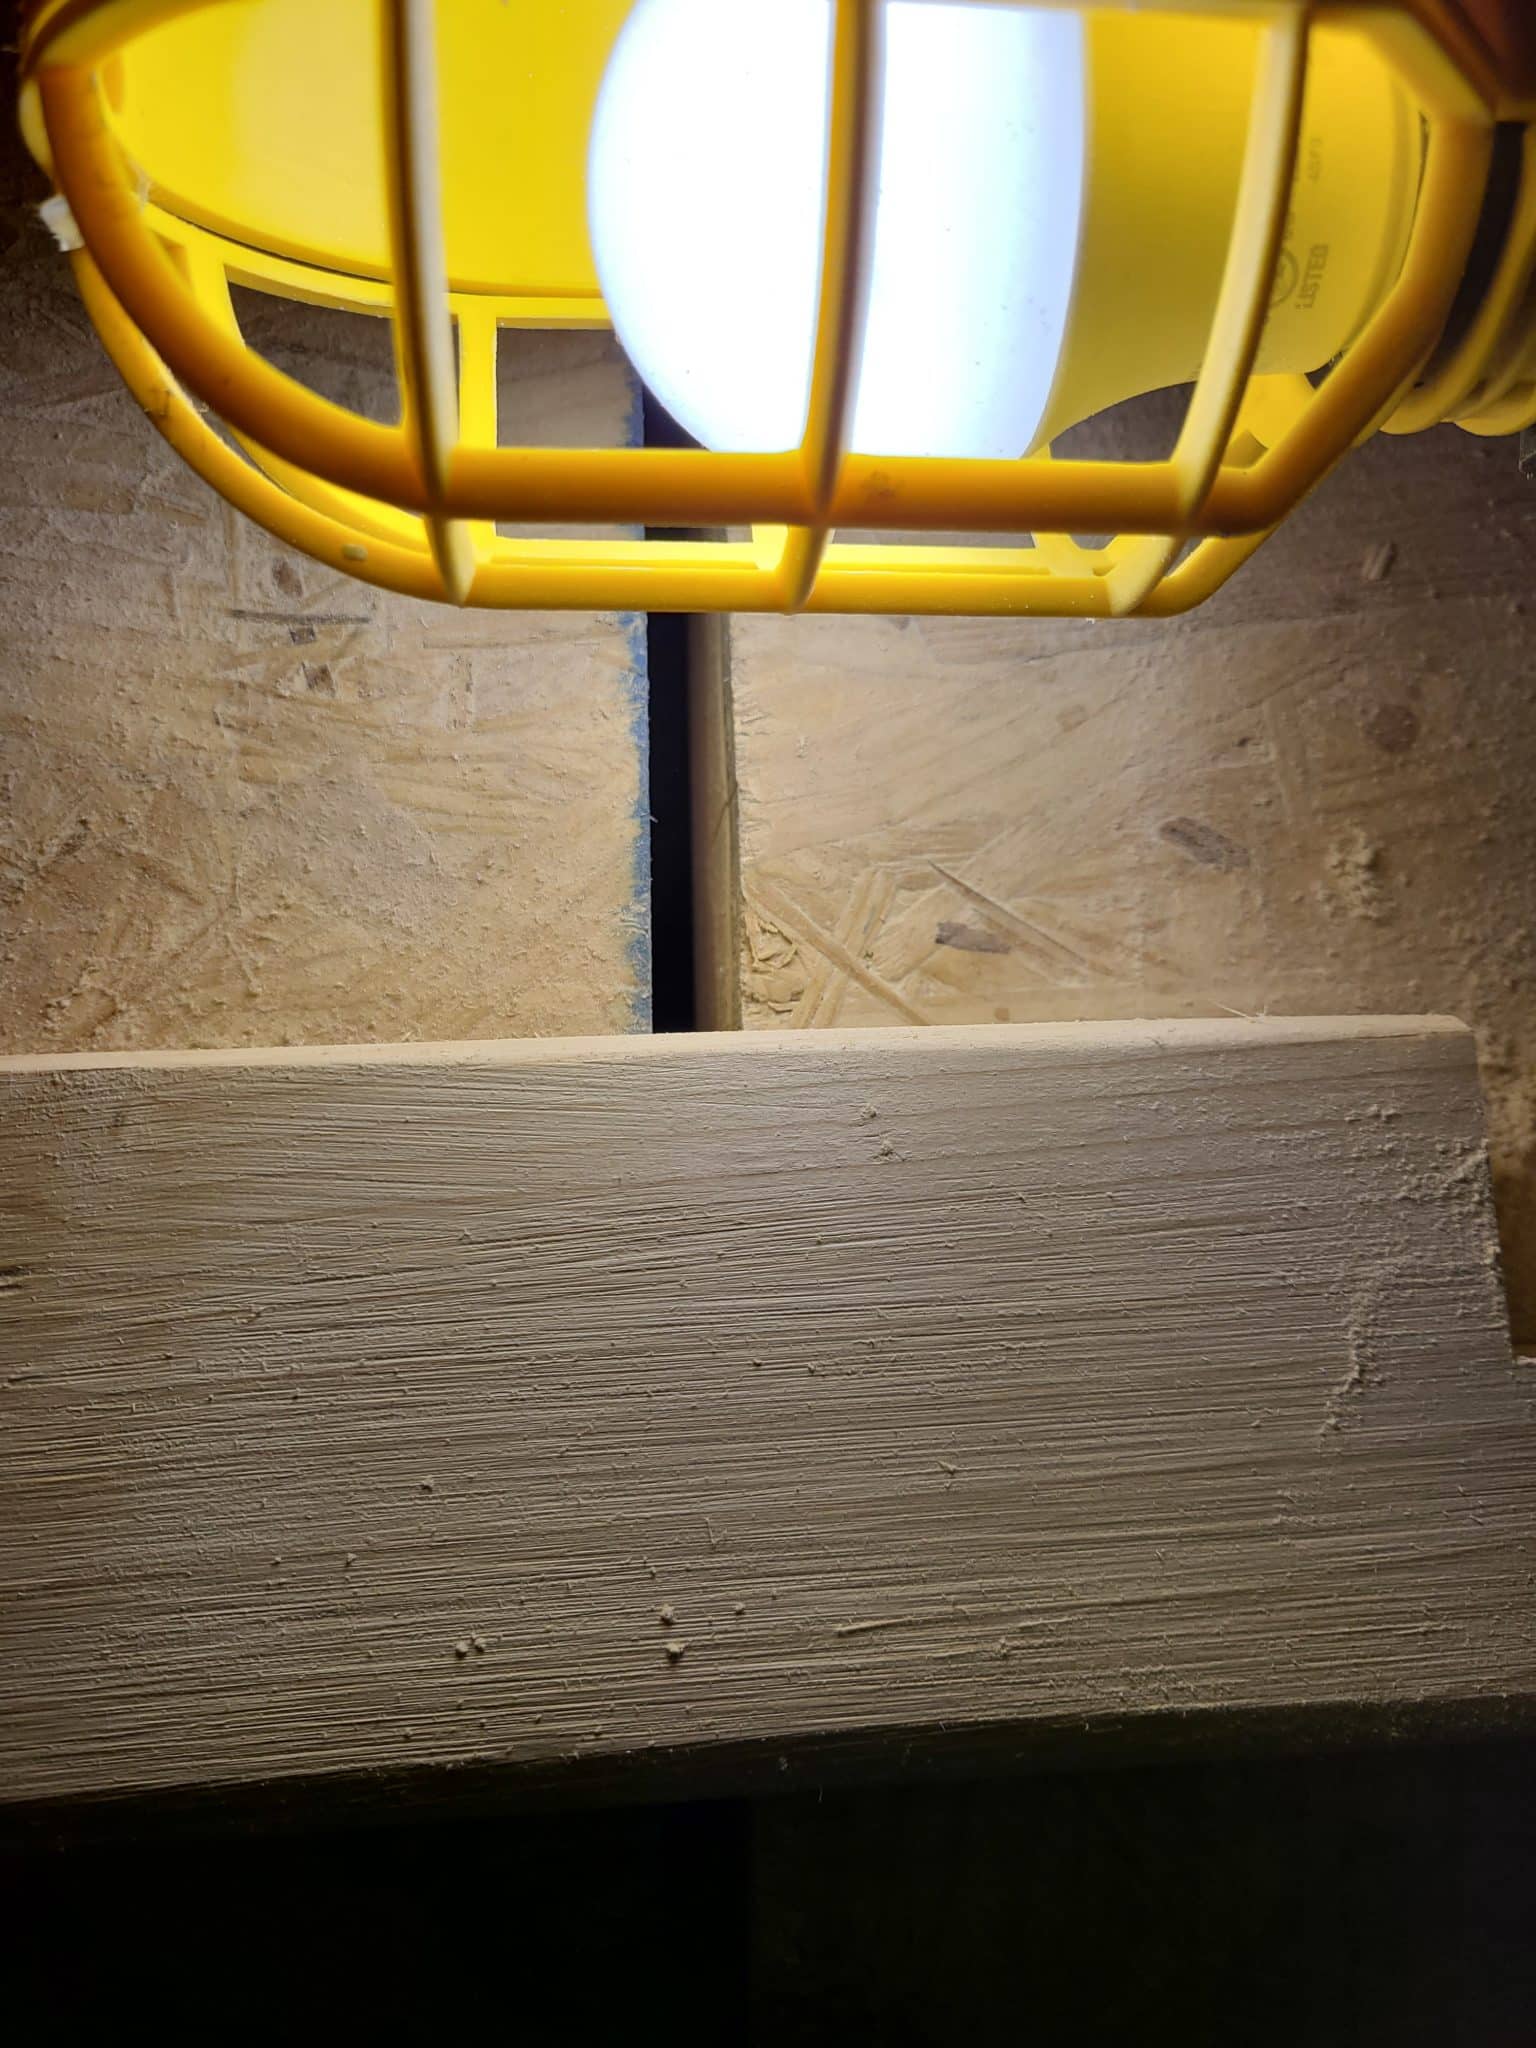
Once the boards are done with the coarse grit, you should be able to run your hand along them and not get a splinter. What you may feel and see are small lines from the sandpaper. To remove these and give our boards their final look, we will switch over to a higher grit sandpaper such as 180. Swap that into your sander and give everything another once over. You should be able to notice a difference in the feel of the boards. Shine a light from the side onto the boards as this will make any lines cause shadows that would otherwise be hidden with purely overhead lighting.
The 2×4 Platform Support Boards, and the 1×4 Platform Boards will be under a mattress. They don’t have to be quite as nice of a finish, but you still don’t want them to give anyone any splinters. I would recommend at least sanding the edges of each board to soften them to the touch and then move on.
Now there’s a LOT of sawdust everywhere!
With everything nice and sanded, it’s time to clear out the dust so that we can begin finishing our boards. If your shop is in your garage, then open that door and grab your leaf blower. You’ll need to give the dust a chance to settle. So it may take a few passes, but I find blowing to still be the fastest and most effective method. If you don’t have a garage door, then grab your shop vac and a brush or broom and do your best to get as much dust as you can off the pieces.
Once the dust has settled it’s time to start staining or painting your boards. Given all the work we just put into making these beautiful joints and sanding the boards, I would recommend that you consider staining the boards rather than painting them. We generally buy Varathane Jacobean as it gives a great dark color finish. However, there are a multitude of wood tones and colors available as stains as well.
Step 6: Staining/Painting
If you chose to stain the board, then our preferred method is to put on a pair of gloves and grab an old sock or rag made from an old shirt. Use that to rub the stain into the wood. You will want to dip and then rub until the surface is fully colored but keep wiping with the rag to spread the stain until the area is no longer wet. If you leave extra stain sitting on the surface to dry it will end up sticky and you’ll have to use a wet rag to remove it later.
Doing this method saves you from using a brush that you will either have to throw away or use mineral spirits to clean so it is less wasteful. It also helps you get a consistent finish by wiping as you go so that you don’t have thick spots or runs that might start to dry before you finish brushing and come back with a rag.
If you choose to paint the boards instead, then I recommend placing the boards on blocks to keep the edges off the ground. Wipe each edge when you’re done to make sure you don’t have any drips that could dry and show up on your final assembly. I also recommend using a roller or sprayer that you can clean later in order to get a nice consistent coating with minimal waste. Try to pick a paint that is water soluble too in order to simplify clean up and so you don’t have to use any cleaning chemicals.
Step 7: Assemble the Base Frame & Posts
Now that all of your boards are beautifully finished and fully dry, it is time to start our assembly of the DIY canopy bed!
You’ll want to assemble in the room that the canopy bed will be in. You won’t be able to move it through doorways once it is assembled. Make some space in the room if you need to and move all of your boards into the room. You can save the platform boards for last if you need the space.
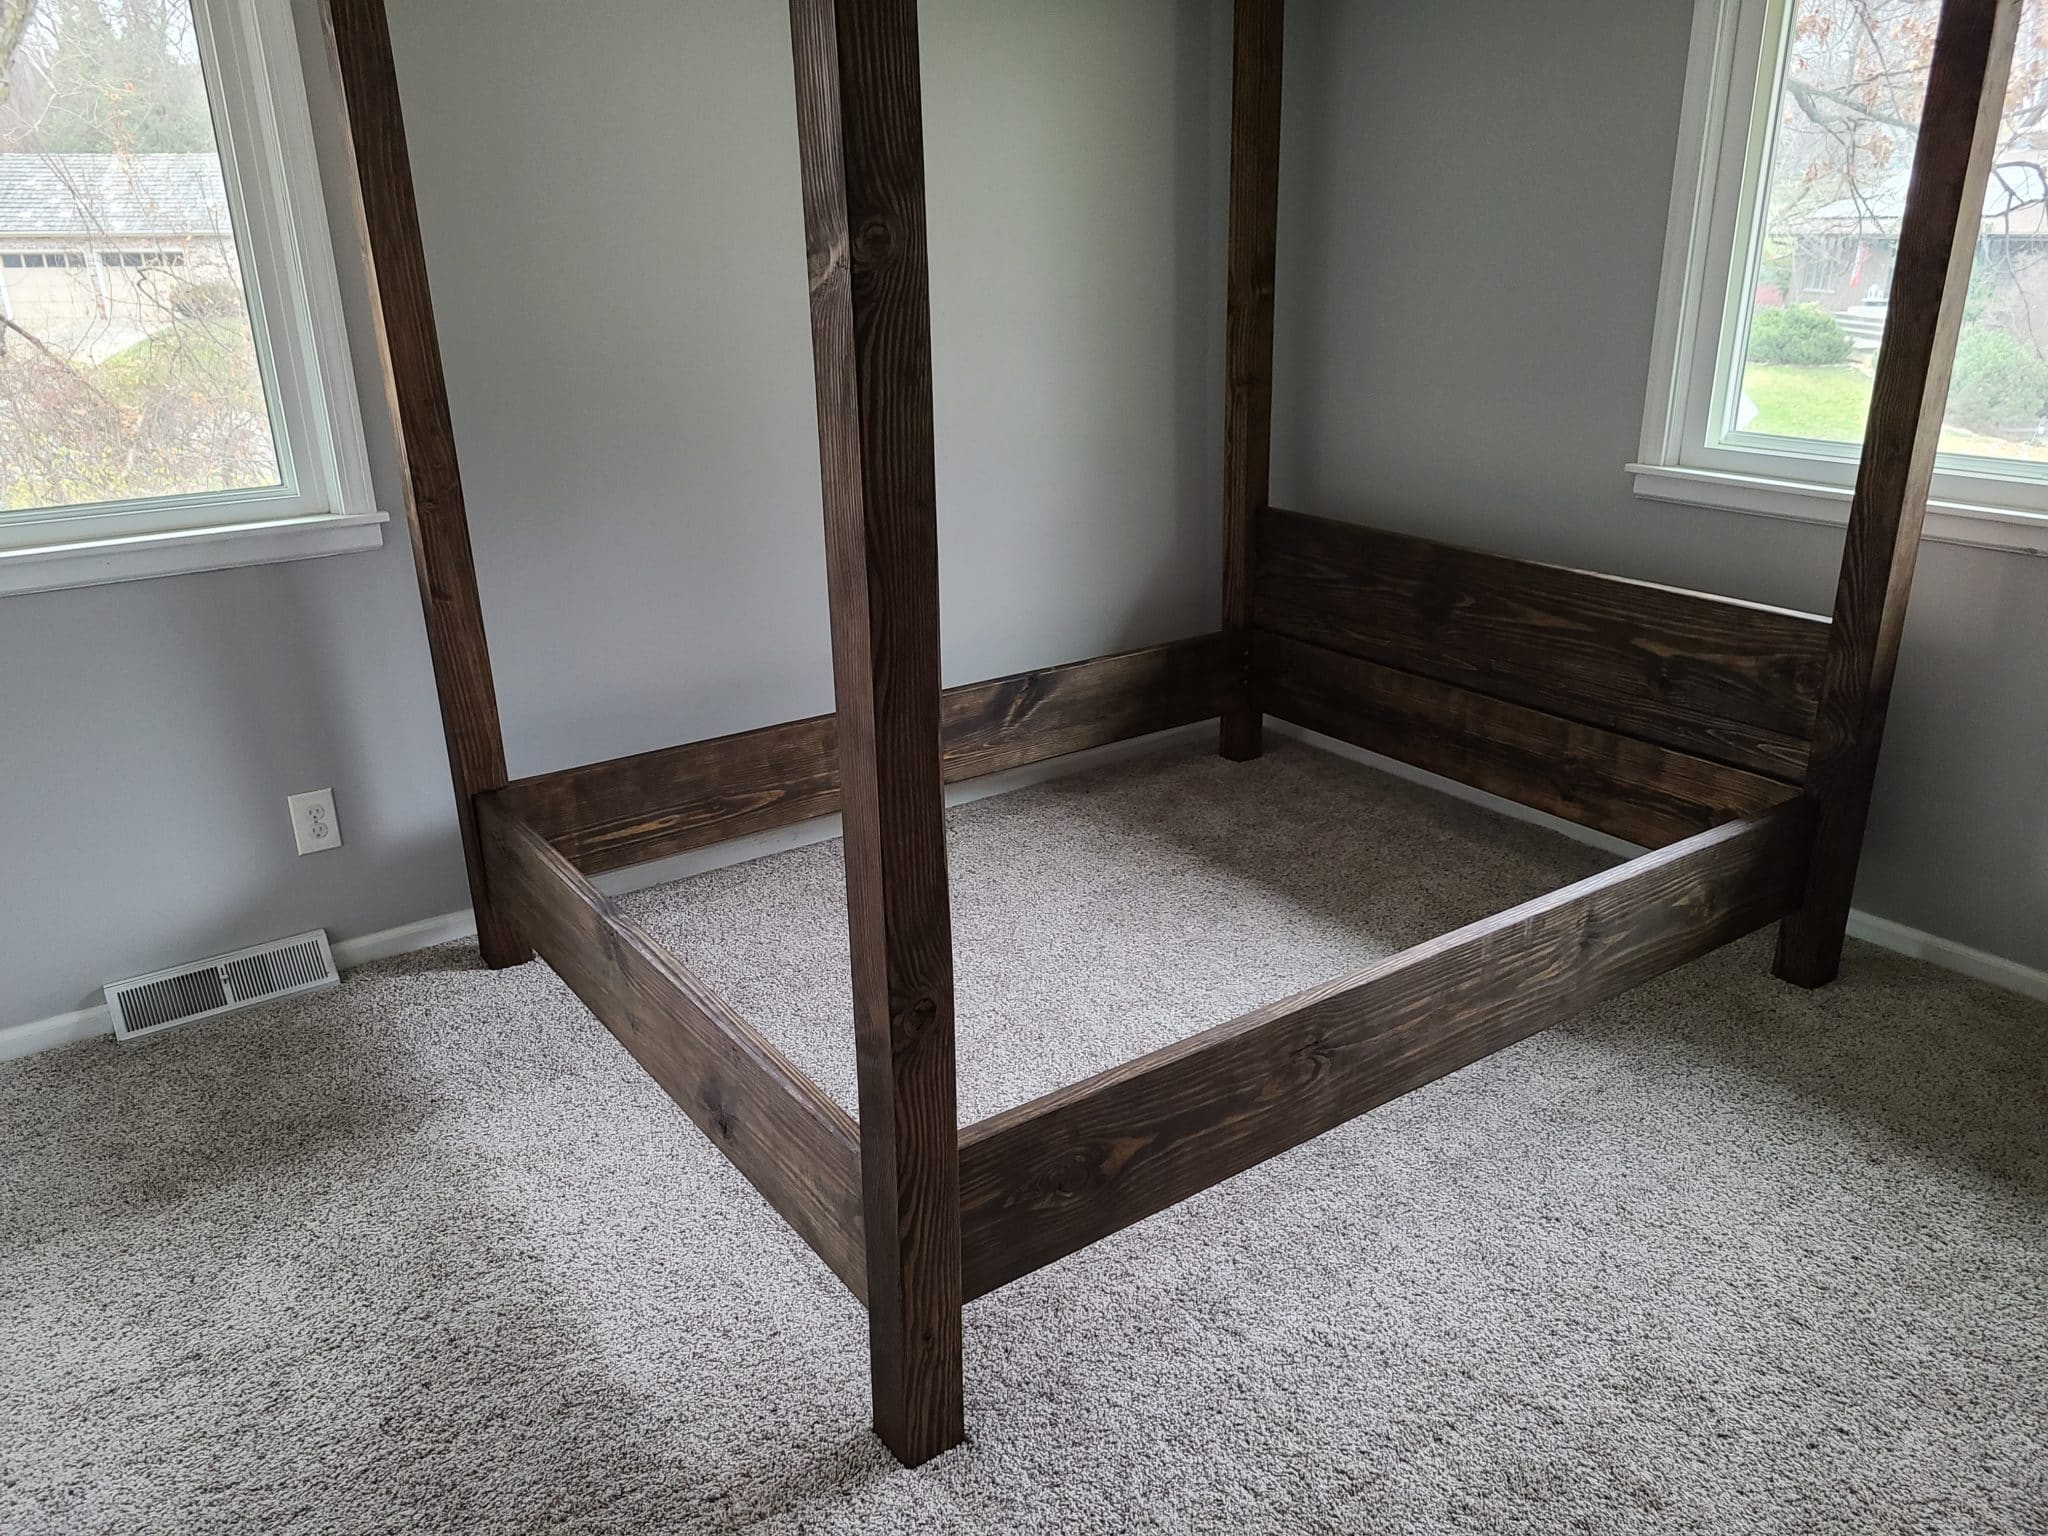
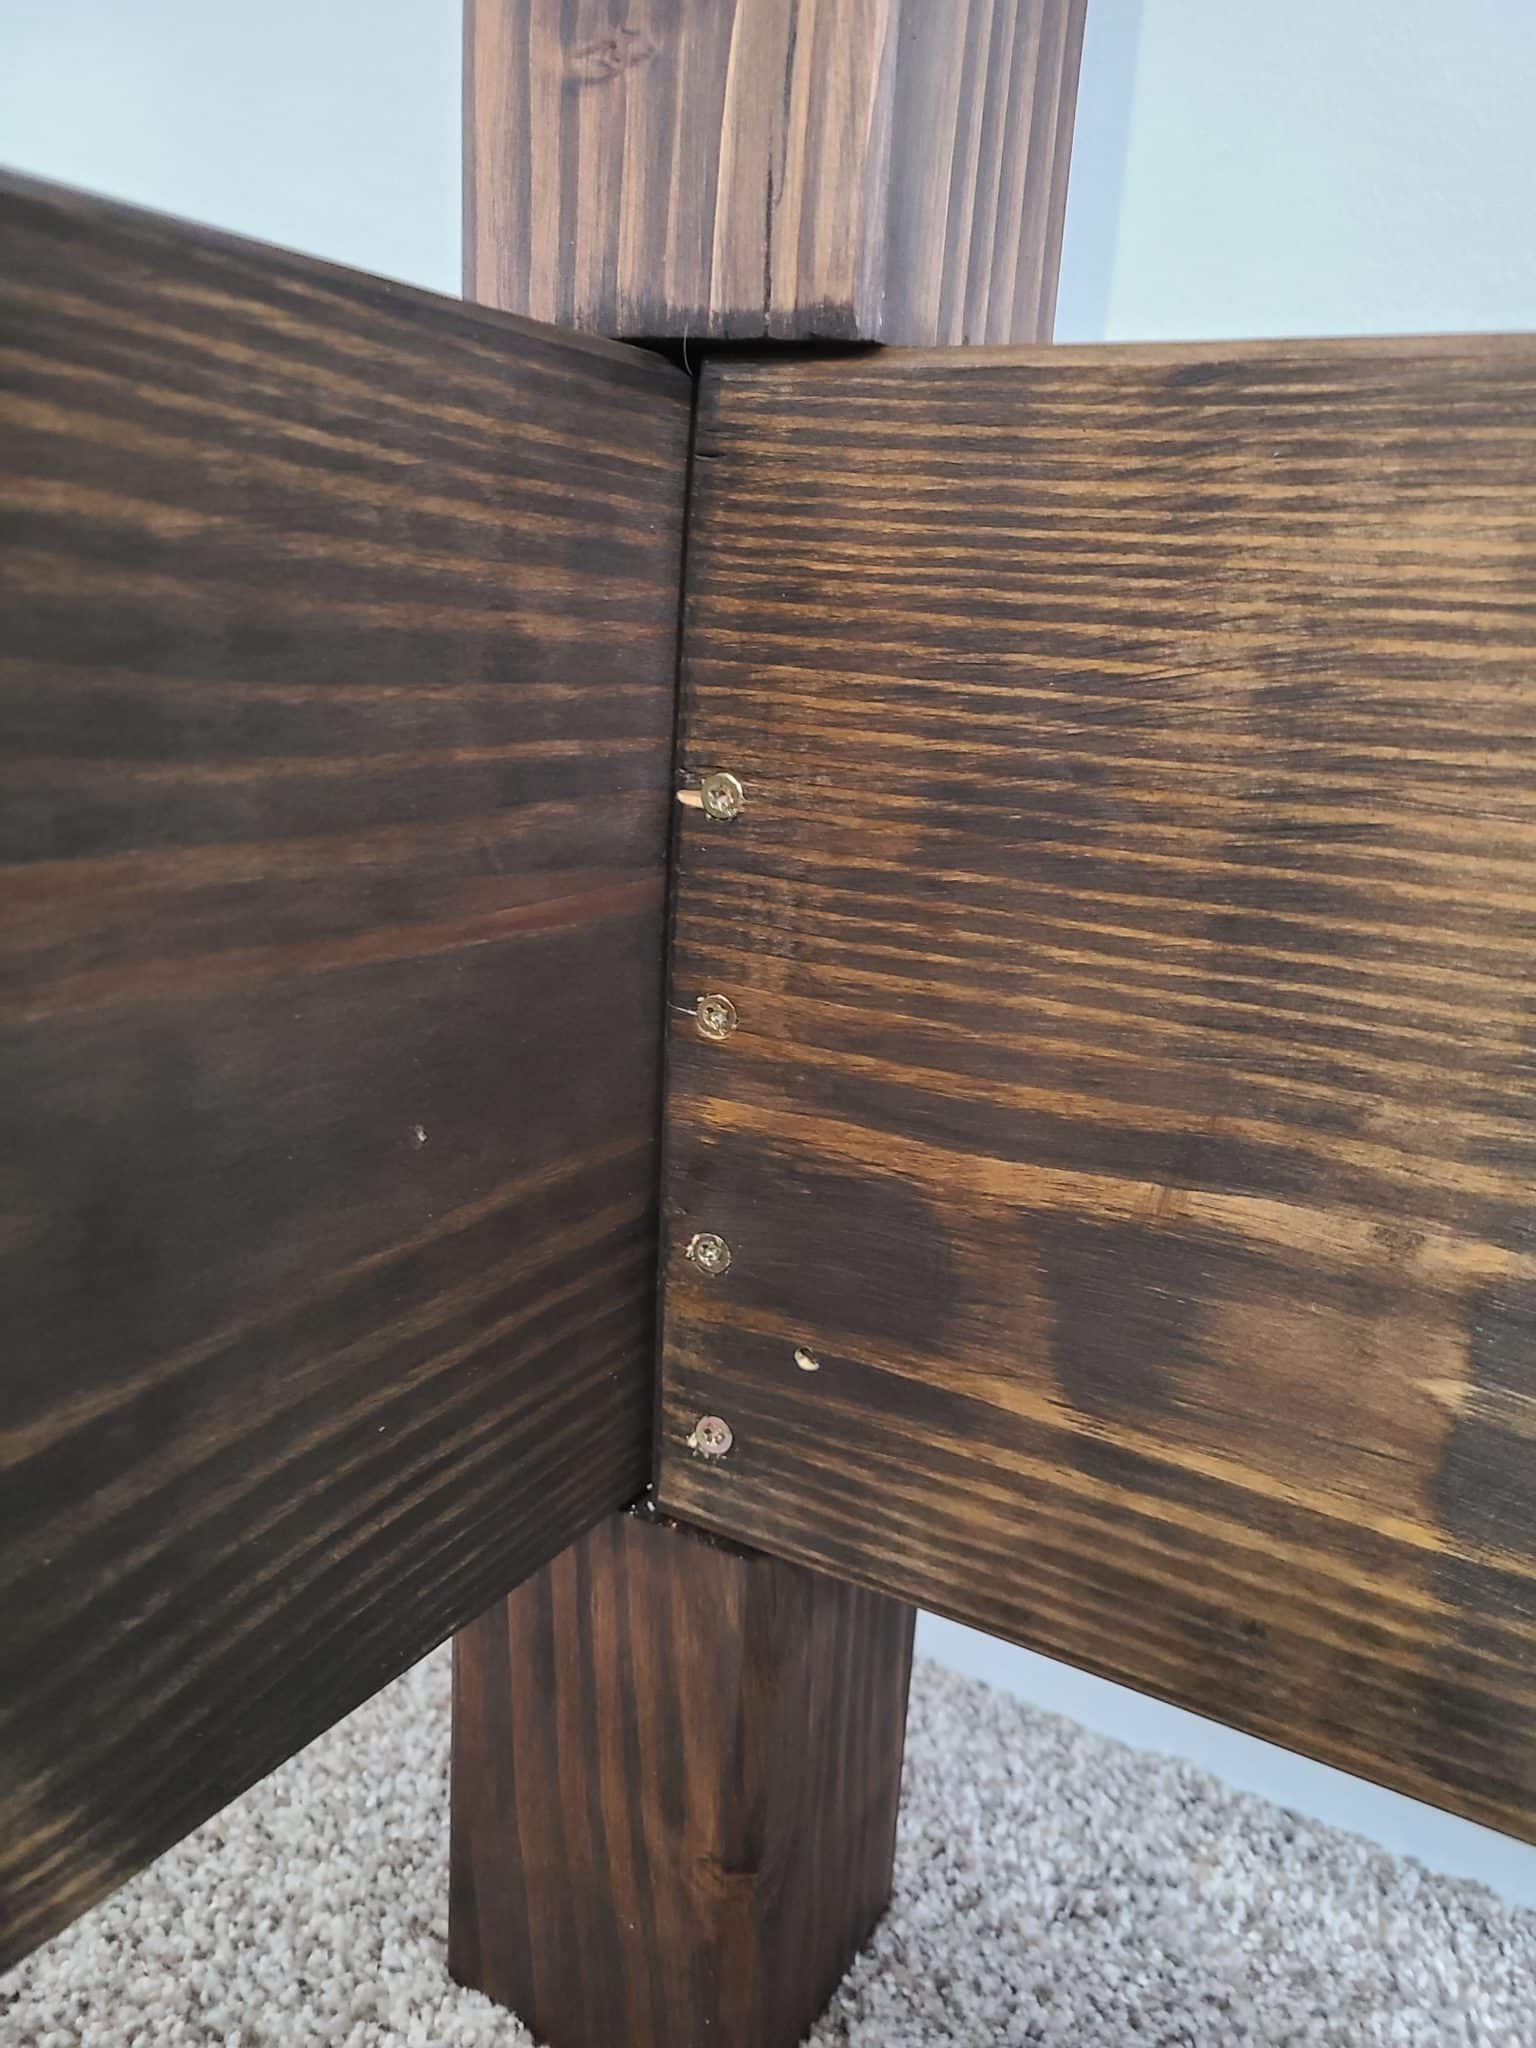
We are going to start by joining our 2×10 Frame Boards into a box shape. This will be done with a simple butt joint. We will drill and drive 5x screws through the face of the Short Frame Board into the length of the Long Frame Board. Repeat this for all 4 corners.
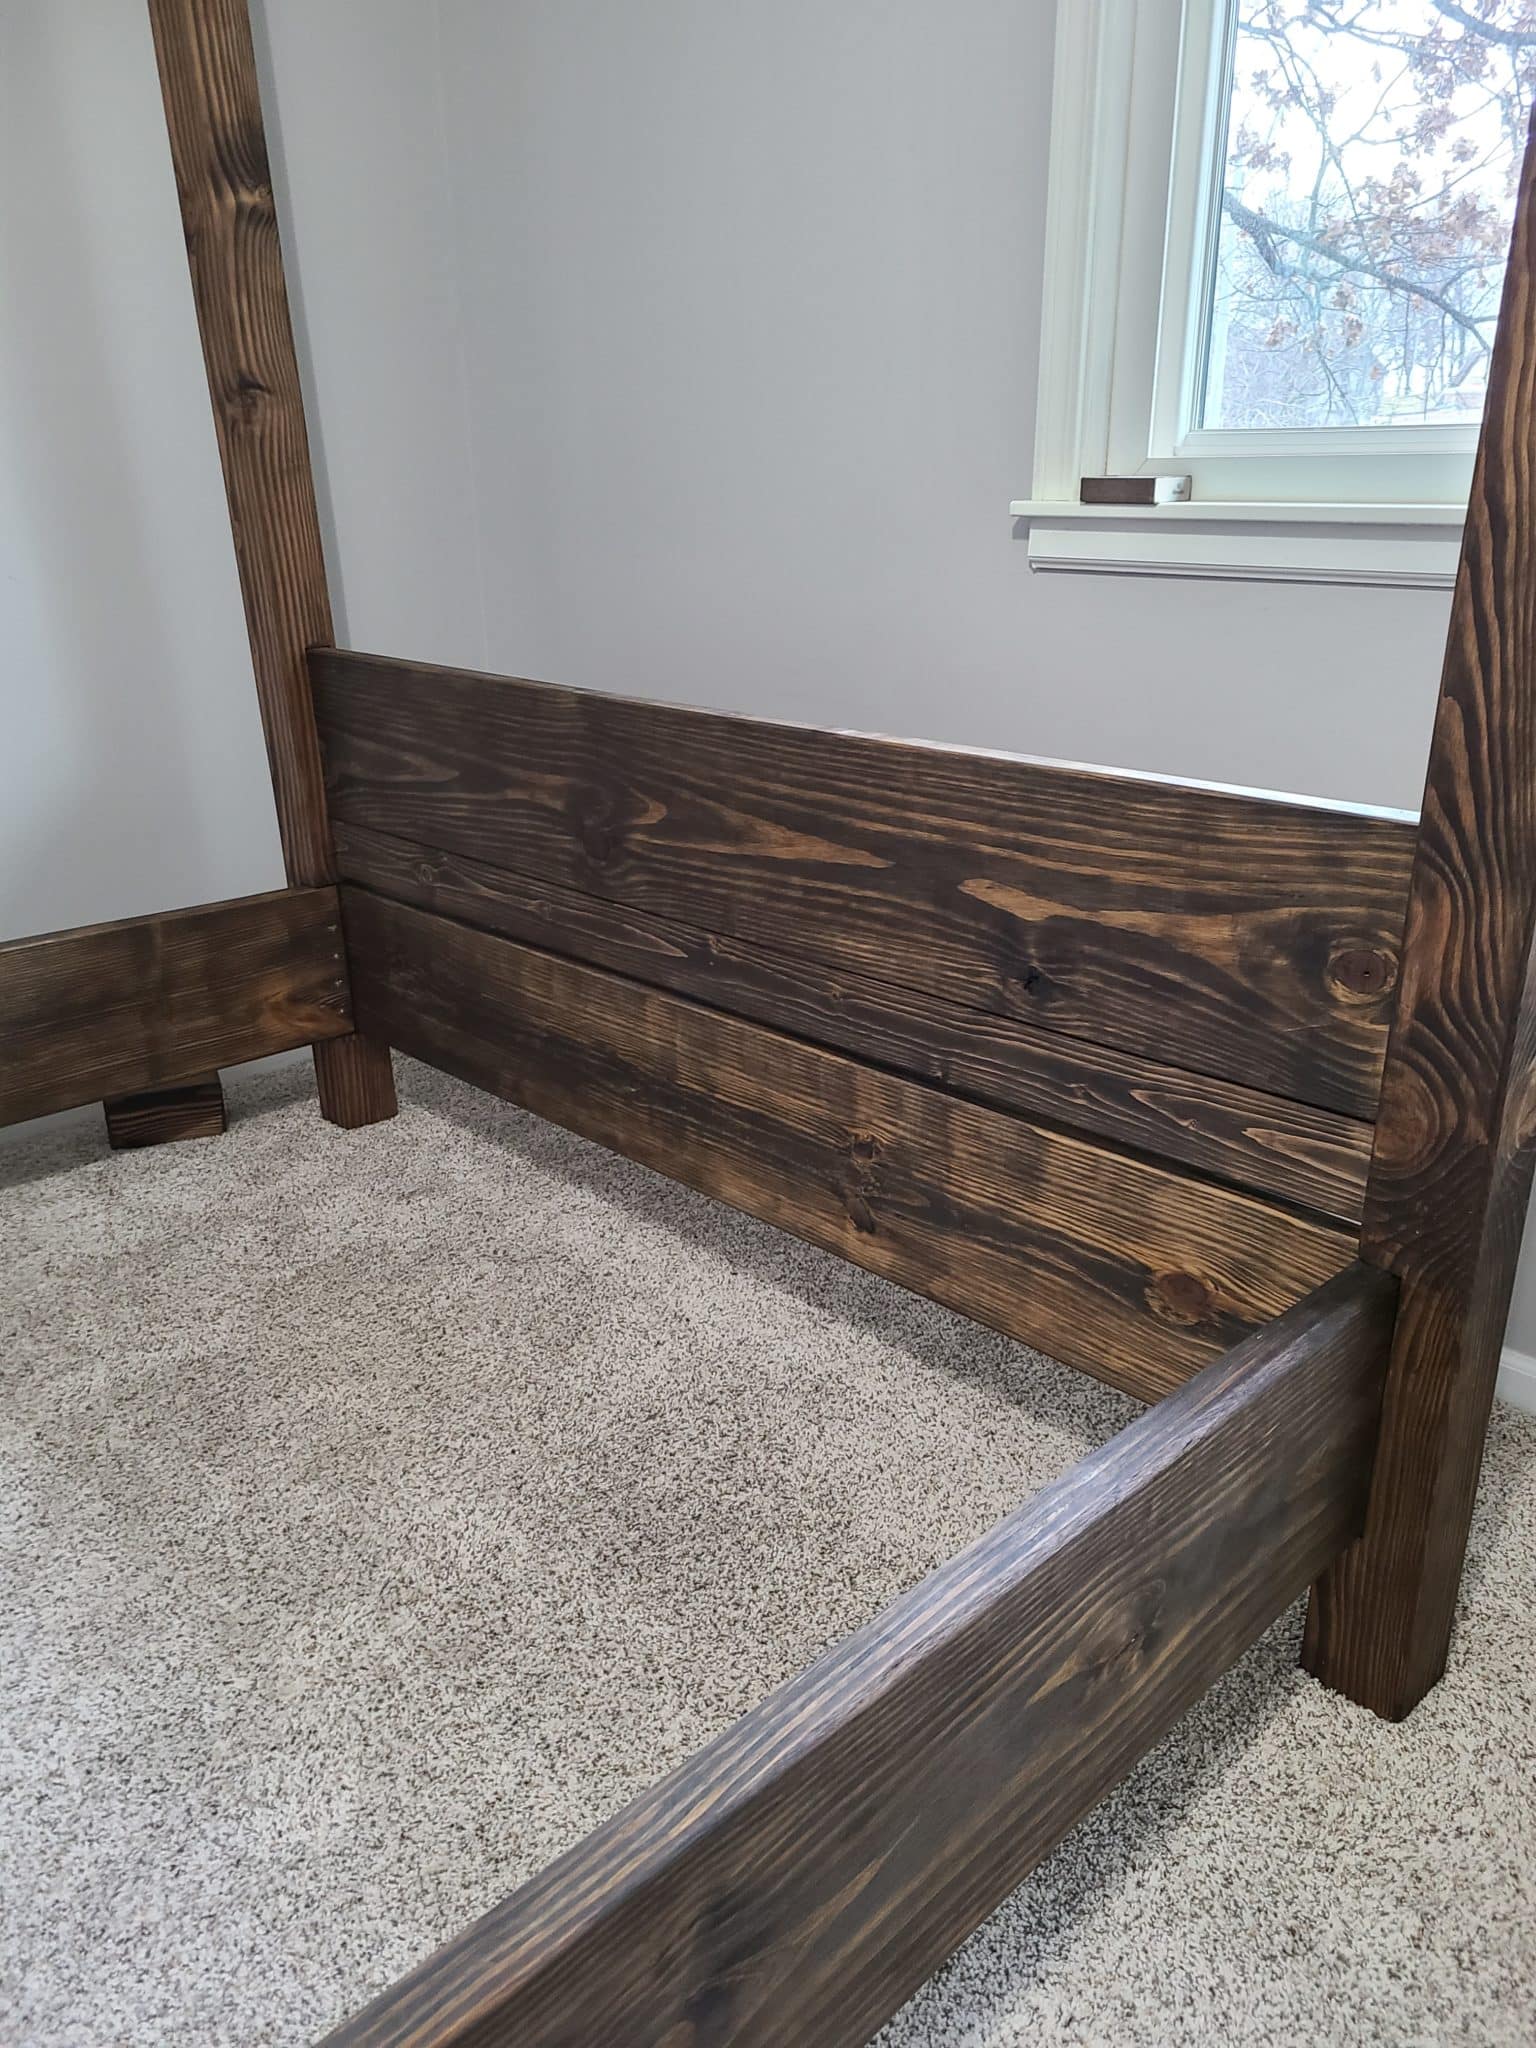
Now lift up the ends of the frame and support it 6” off the ground with blocks. This can be done by stacking 4x scrap pieces of 2xAnything on top of each other. Convenient design choice, right? With the frame now elevated, stand up one of the foot board posts and fit the corner of the frame boards into its notch. This will cover up our screws from the first step. Use a rubber mallet to tap it into the notch if needed until it is fully seated. The frame boards should sit against each edge of the notch and be flush with the face of the post. It may be helpful to have someone hold the post upright while you get the joint installed.
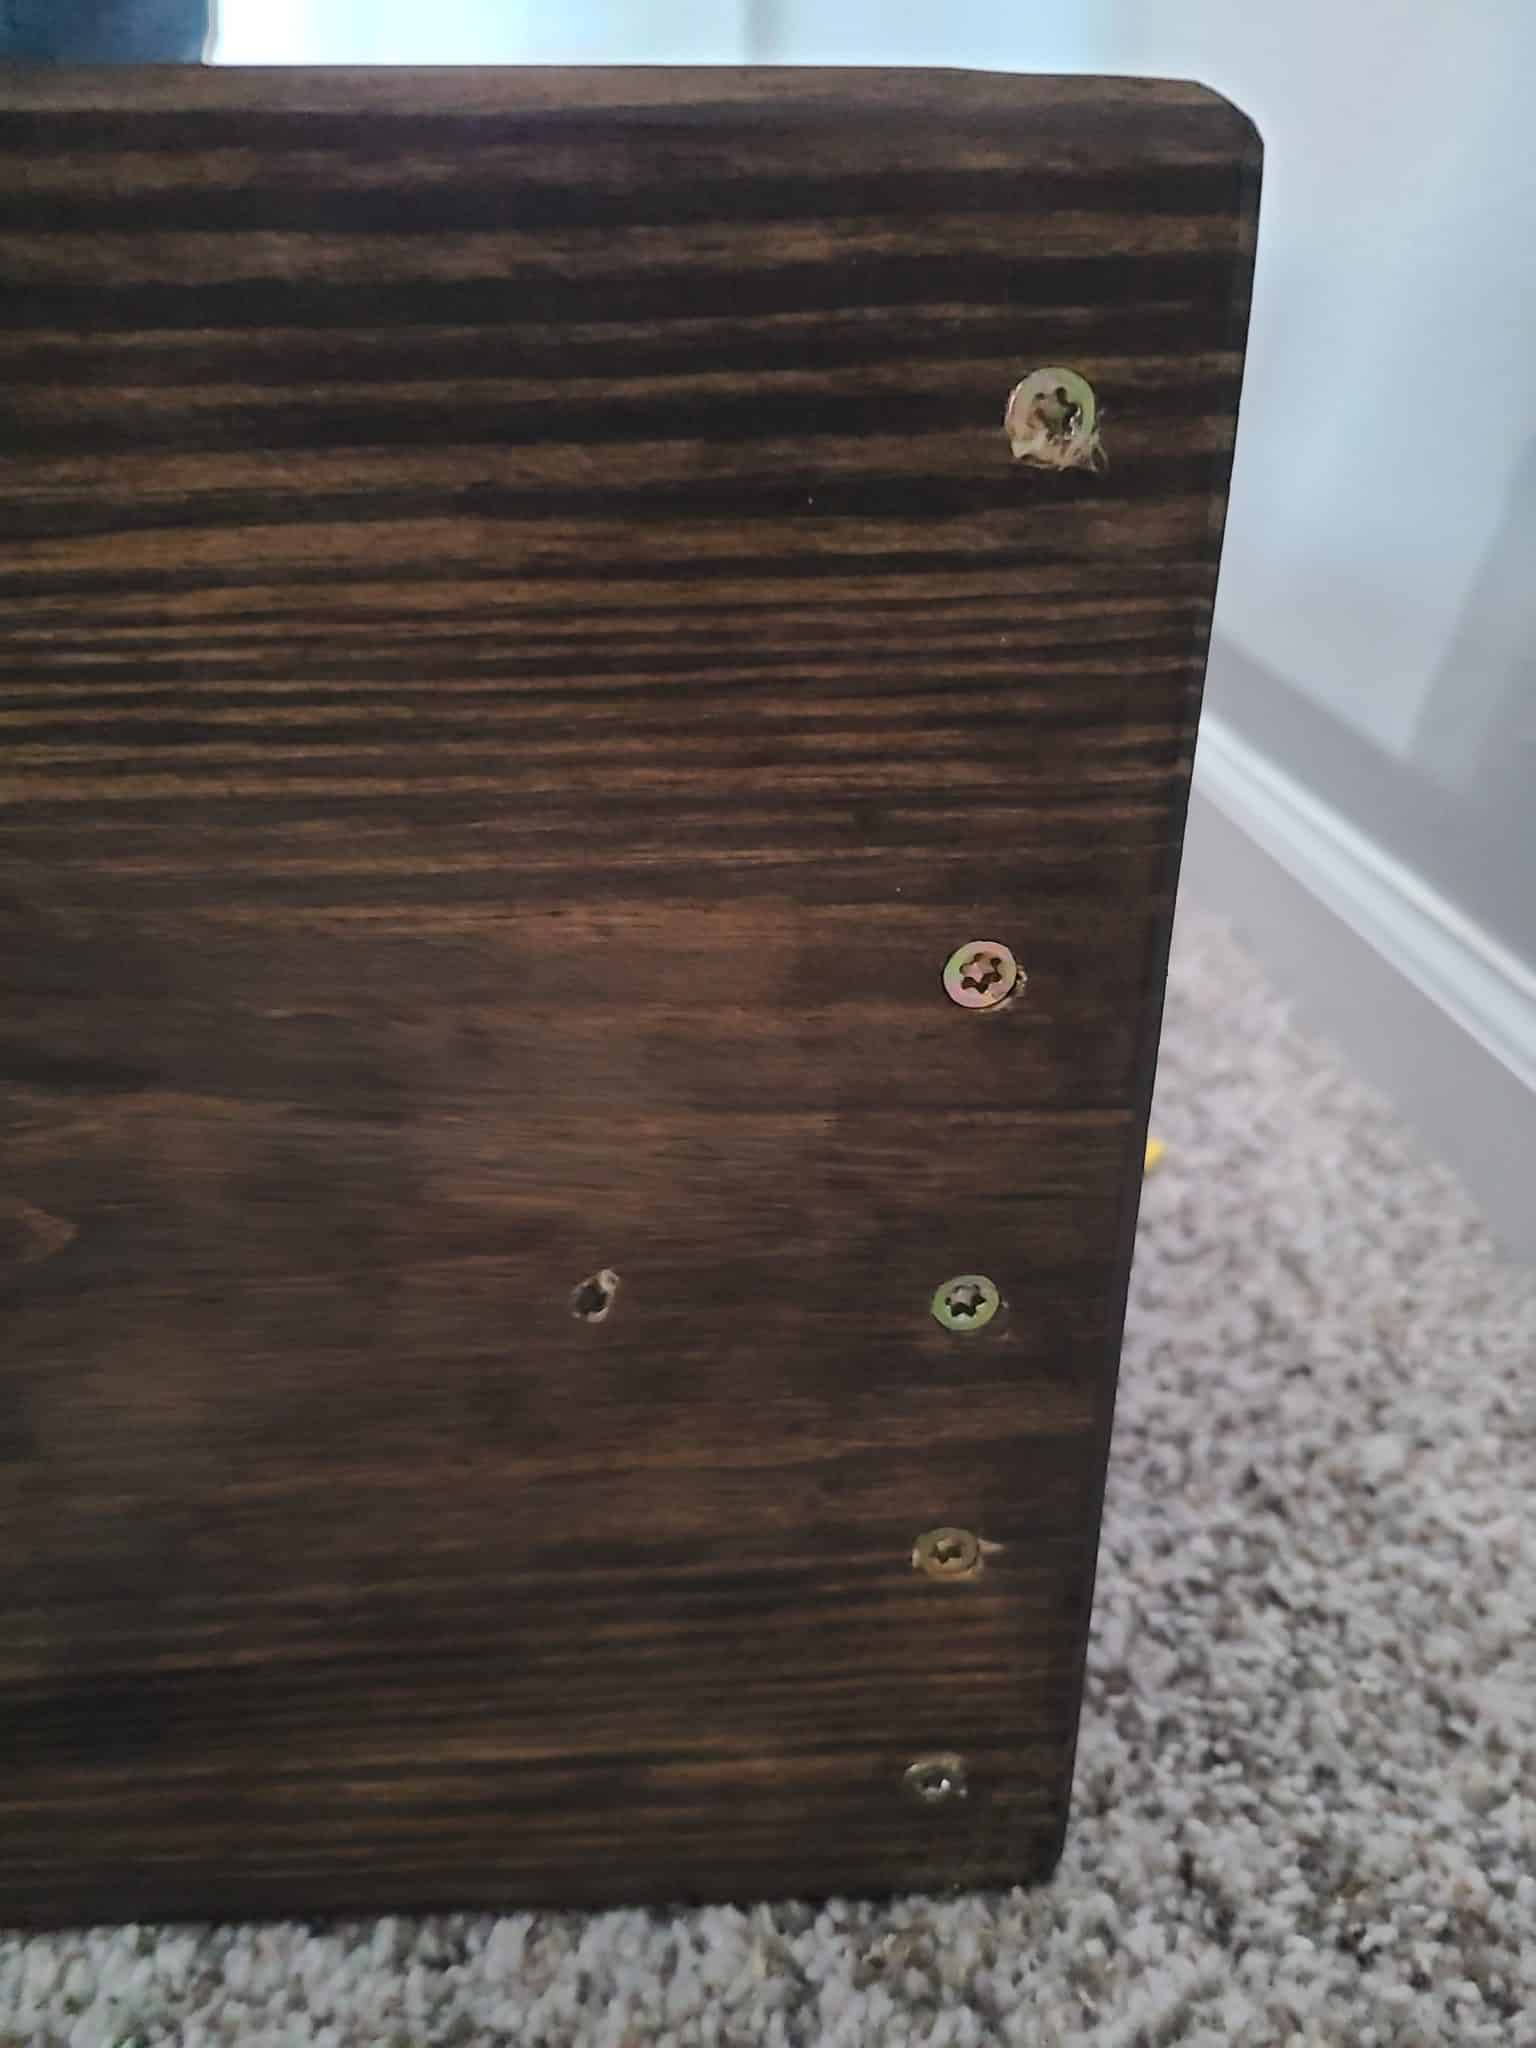
Once it is in, we will ultimately drill and drive 4x screws through the face of the Long Frame and into the post. Do this from the bottom up, by installing the first screw 3/4” from the bottom edge of the board. We don’t want to install the rest of the screws yet. We want the post to be able to move around a little bit so that installing the canopy boards later will be easier. Repeat this for the other Foot Board Post and ONE of the Head Board Posts.

With three of our posts installed, the bed is nearly standing on it’s own! All that’s left is the final Head Board Post. But before we install that, we will need to slip in our 2×4 and 2×10 Head Board Pieces. These boards will slide into the remainder of the notch in the first Head Board Post and will sit on top of the Short Frame Board. We wanted a plain, clean headboard for this build, but if you ever wanted to change the appearance of the headboard you can do this by swapping out this board. You could wrap it in cloth, carve in detail, build out a frame, or any number of other options.
If the headboard pieces aren’t sliding into your notches easily, you’ll want to stop and sand their edges down until they do fit. Do not try to force them or you’ll break the notch in your post. Despite test fitting them earlier, we still had issues with our final assembly and had to sand them to get them together properly.
With the headboard in place, you’ll then install the final post and secure it just like you did with the other three. Depending on how tight your notches are, your headboard may be snug or it may have some play. If there is some rattling to it, you can put a nail or screw into the back side of it to secure it to the post after everything else on the bed is secure.
Step 8: Assembly the Canopy
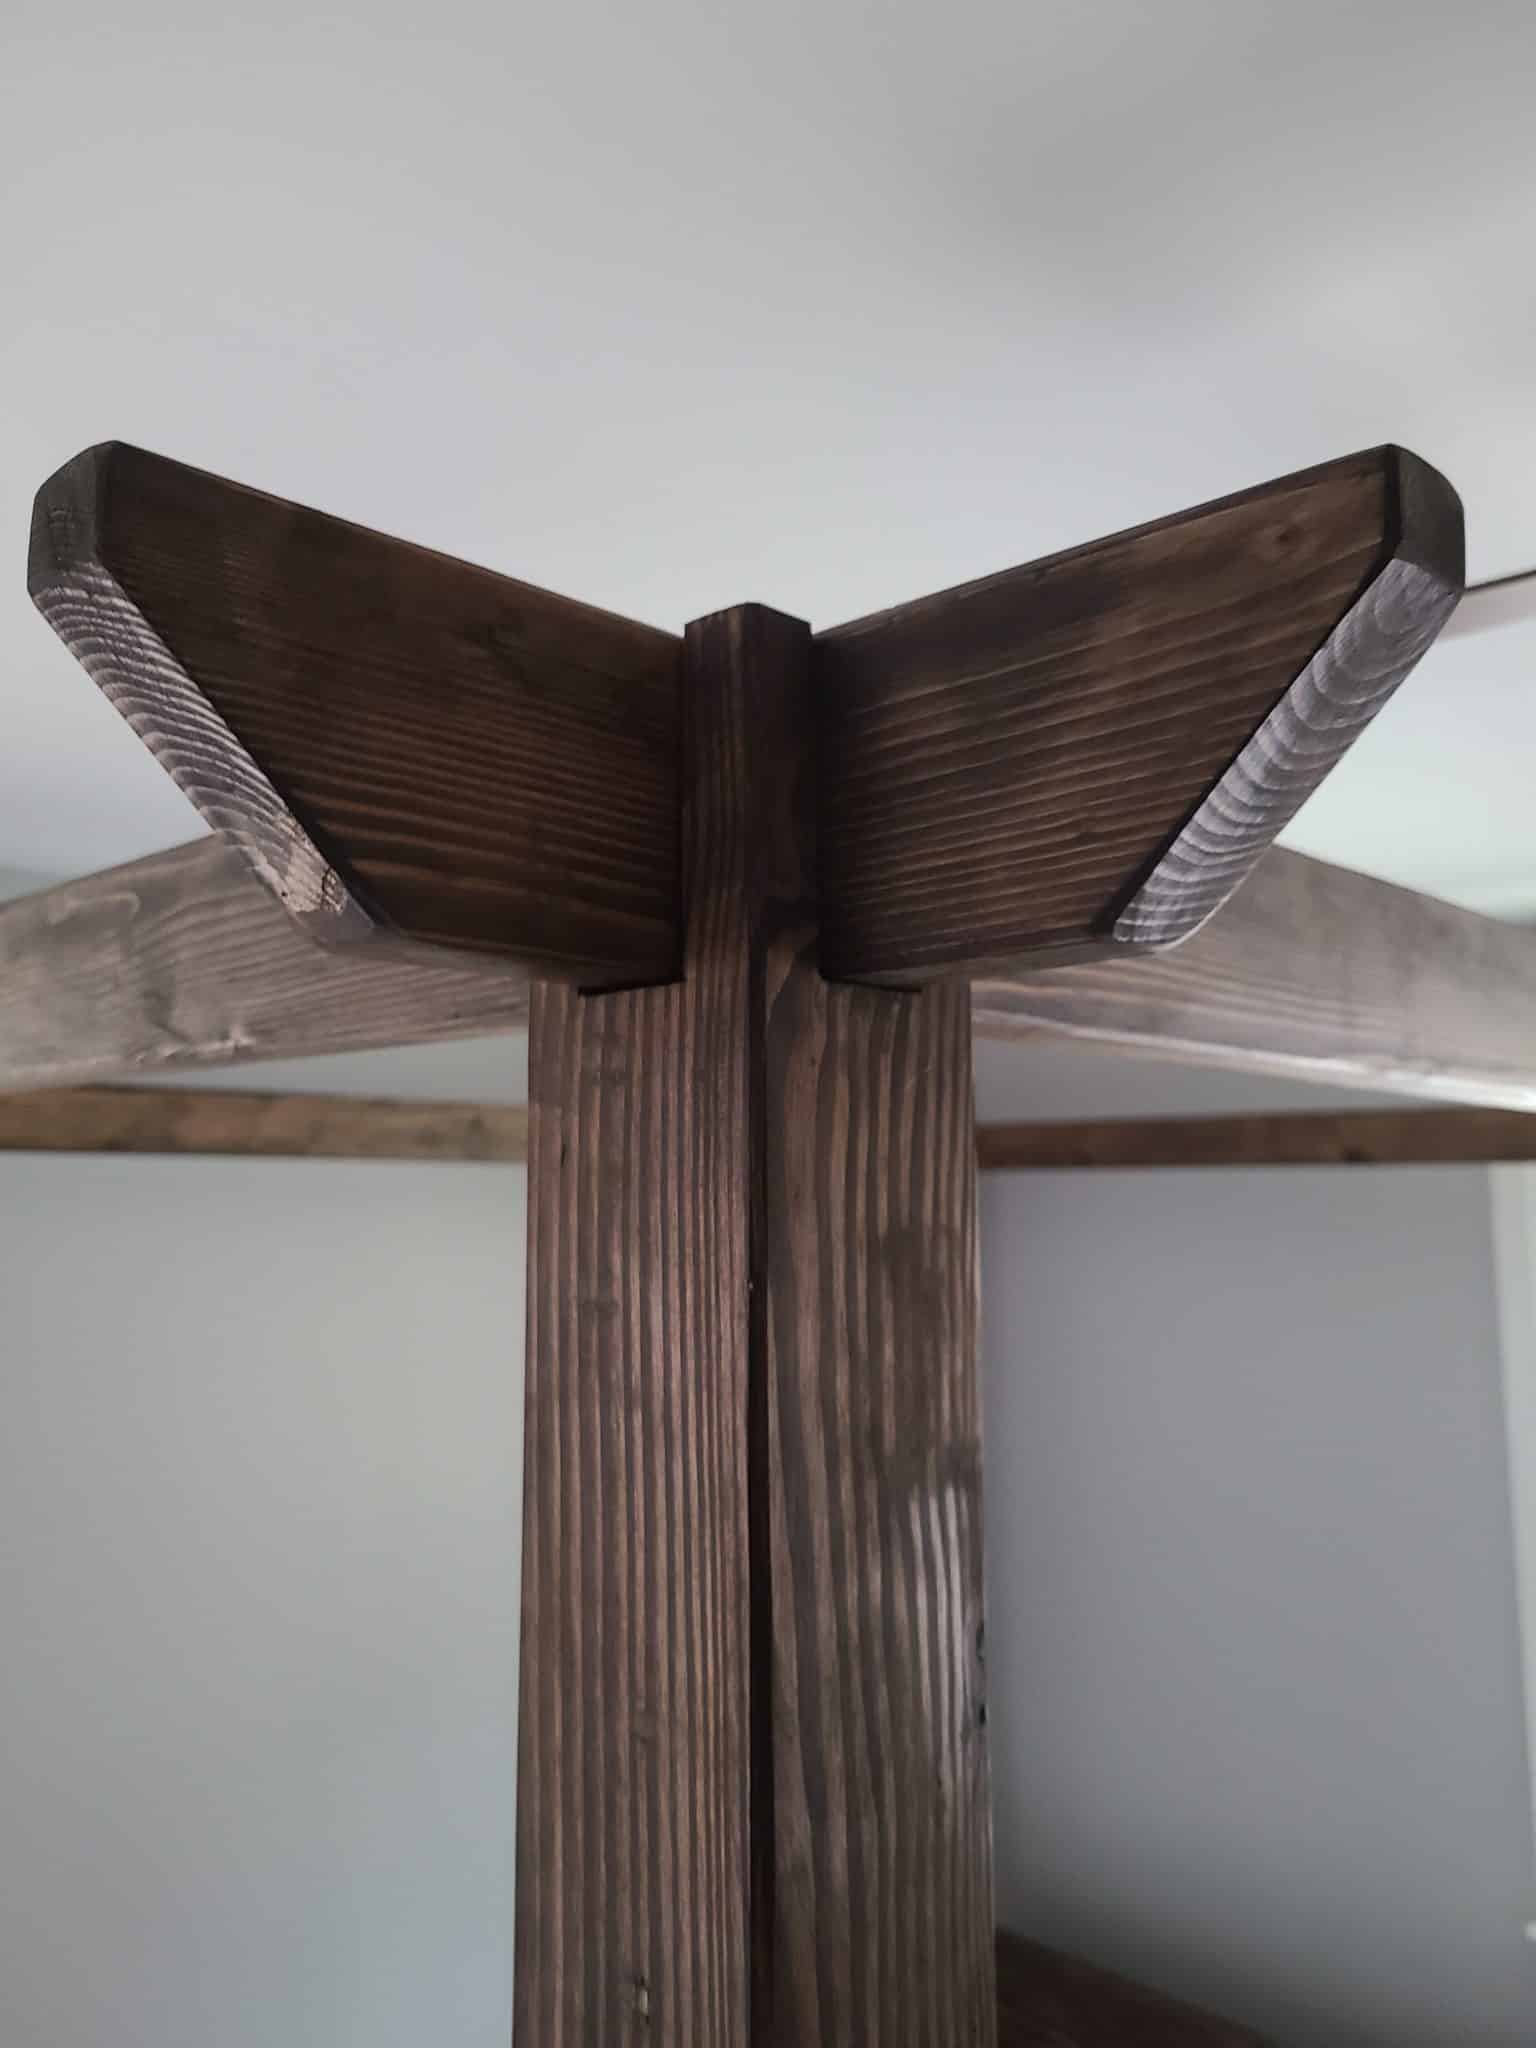
These joints interlock and any weight on the Canopy Boards will pull it down onto the Posts so we really don’t need any fasteners in this joint unless your notches are loose. For extra security though, you could use a touch of glue to hold everything tight. I prefer not to use glue if I can avoid it. It makes future disassembly without destroying our work nearly impossible. Instead, I would recommend that we give in and use a fastener. A long screw from the top down through the joint of both Canopy Boards and into the Post should be all it takes to form a tight hold and will be hidden unless somebody is up on a ladder.
We are now going to install our canopy boards!
Start by installing the short canopy boards at the foot and head of the bed. Be careful to align their notch with the one in the post and adjust them if necessary. If your posts aren’t quite straight or plumb from their installation of the frame boards, this step will help you to pull them into position.
Once the short frame boards are installed and aligned, we can begin to install the long canopy boards. Carefully align the notch on the Long Canopy Board with the notch in the Short Board because once you start installing it, it will be difficult to see if you are off.
Tap one side down until it begins to intersect with the Short Canopy Board and then align the other end. Go back and forth as you tap it in so you don’t end up with it crooked and binding it. If it does get stuck, hammer it back up and try again. Don’t force this step or you’ll risk breaking the board you worked so hard on. Repeat this same sequence for the other side.
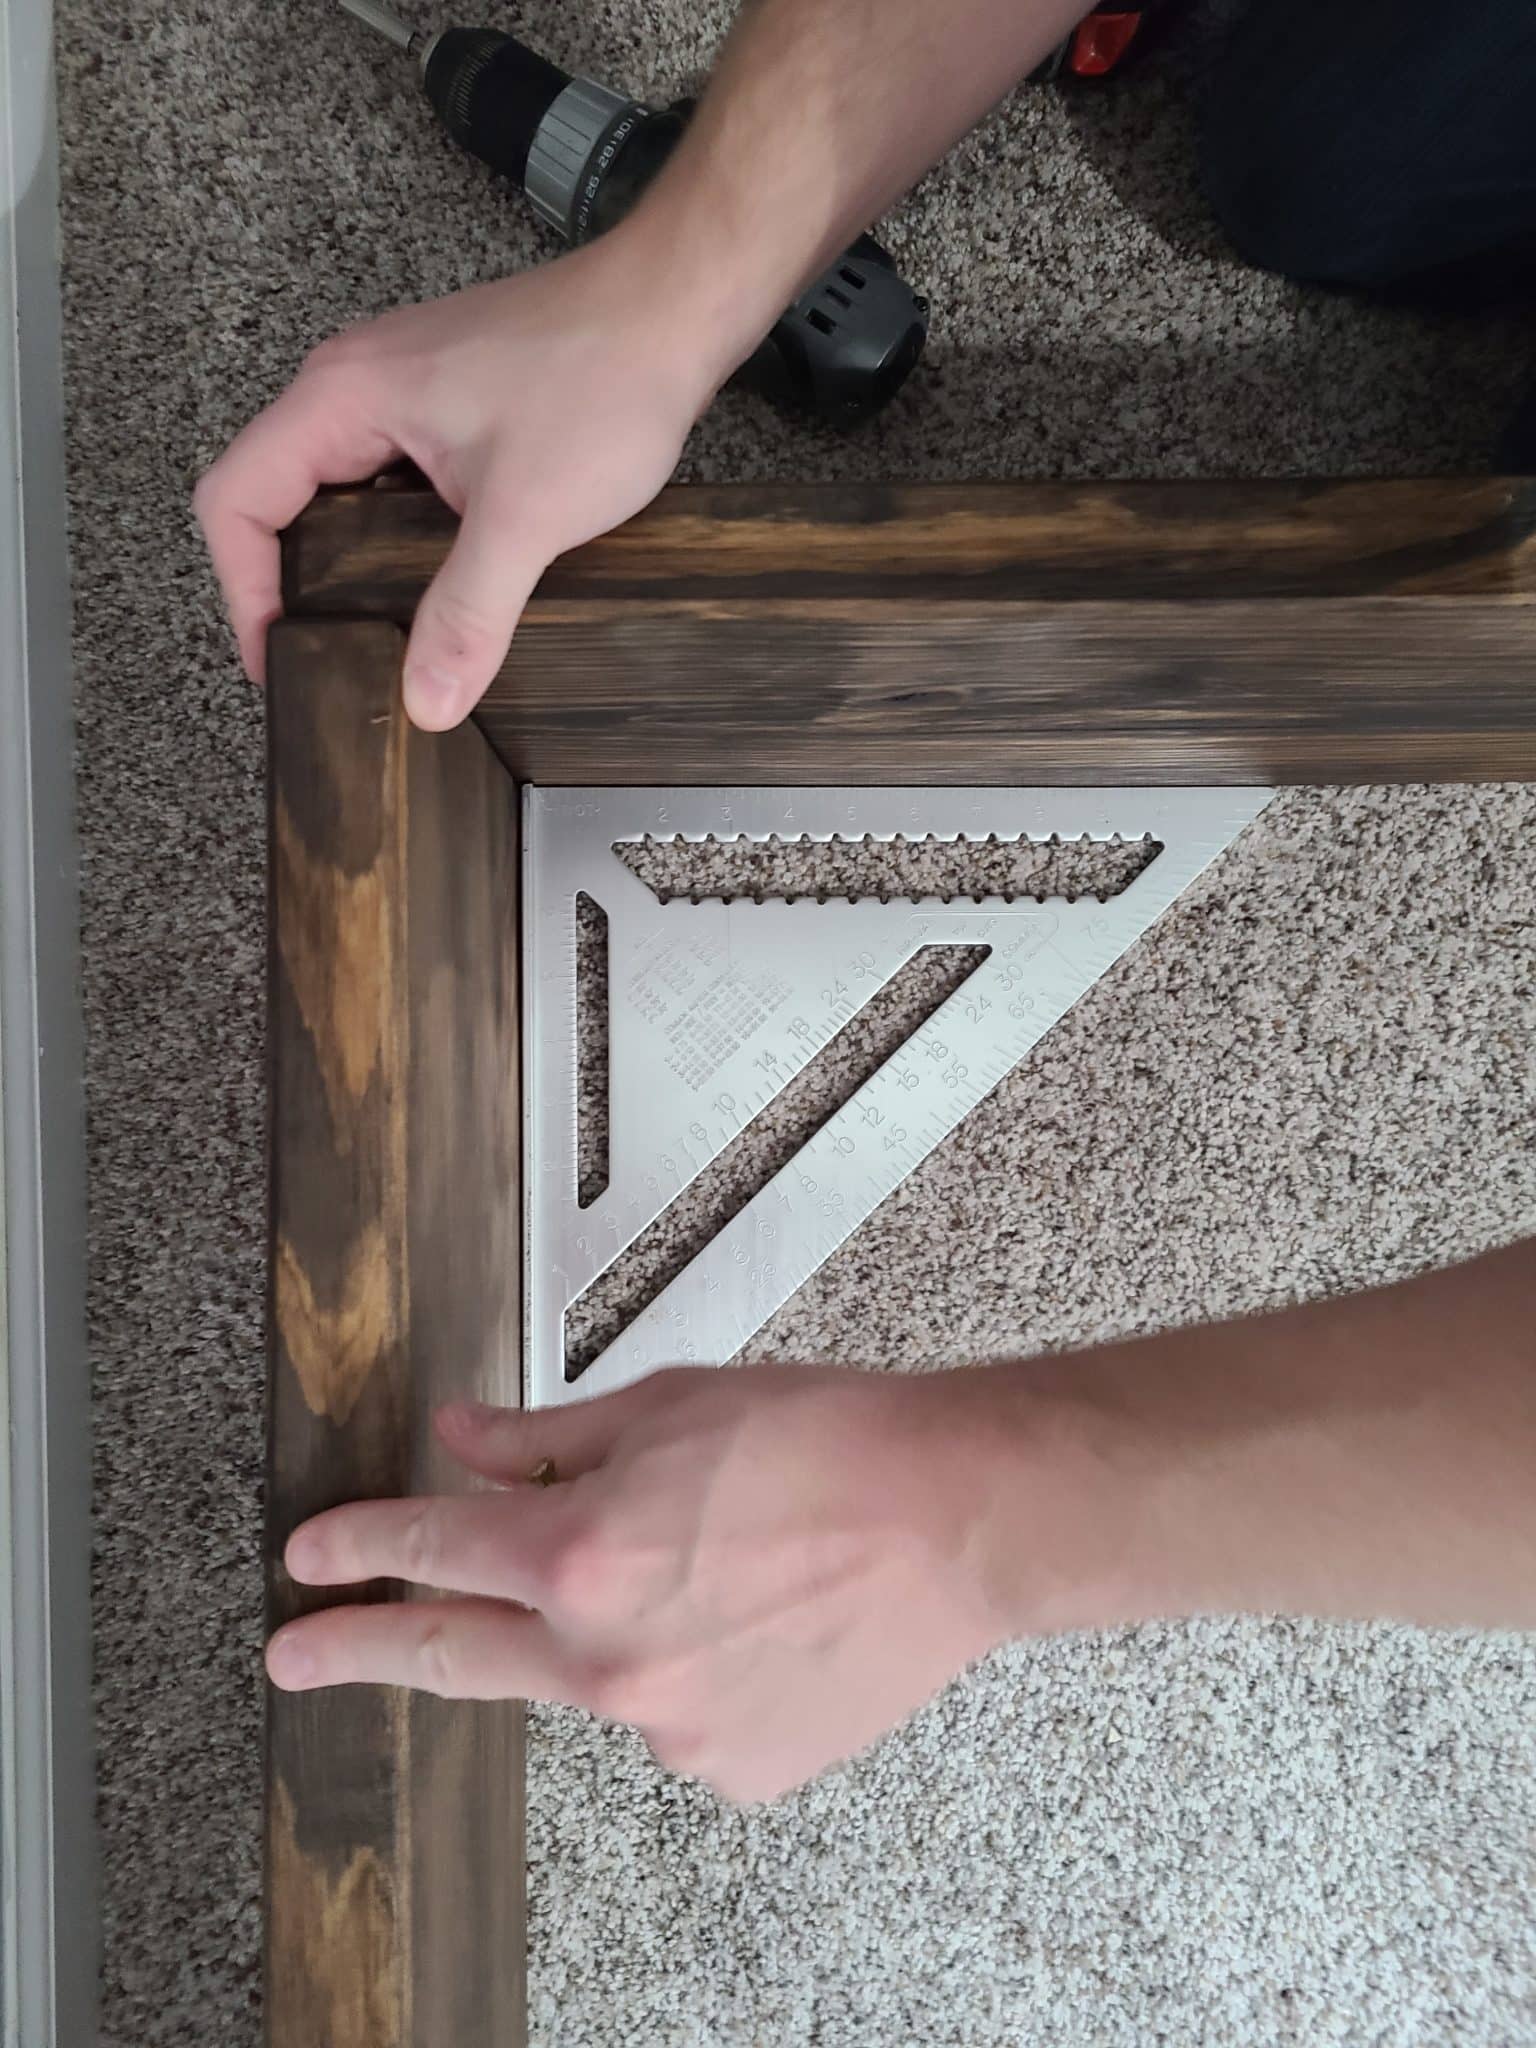
Once all of the Canopy boards are installed, it is time to finish securing the posts. Pull the post so its notches align flush with your frame boards. It can help to use a level to ensure your post is perfectly vertical and correct for any slop in your notches. Once your post is in position, you will install 3 more screws starting 2″ up from the bottom screw we installed earlier. This way, we will have no screw near the top edge of the board where it may be visible from certain angles. The rest of the screws should be far enough down that they are usually hidden by the mattress and sheets.
With our Canopy installed, it is time to wrap this up by installing our platform for this DIY canopy bed!
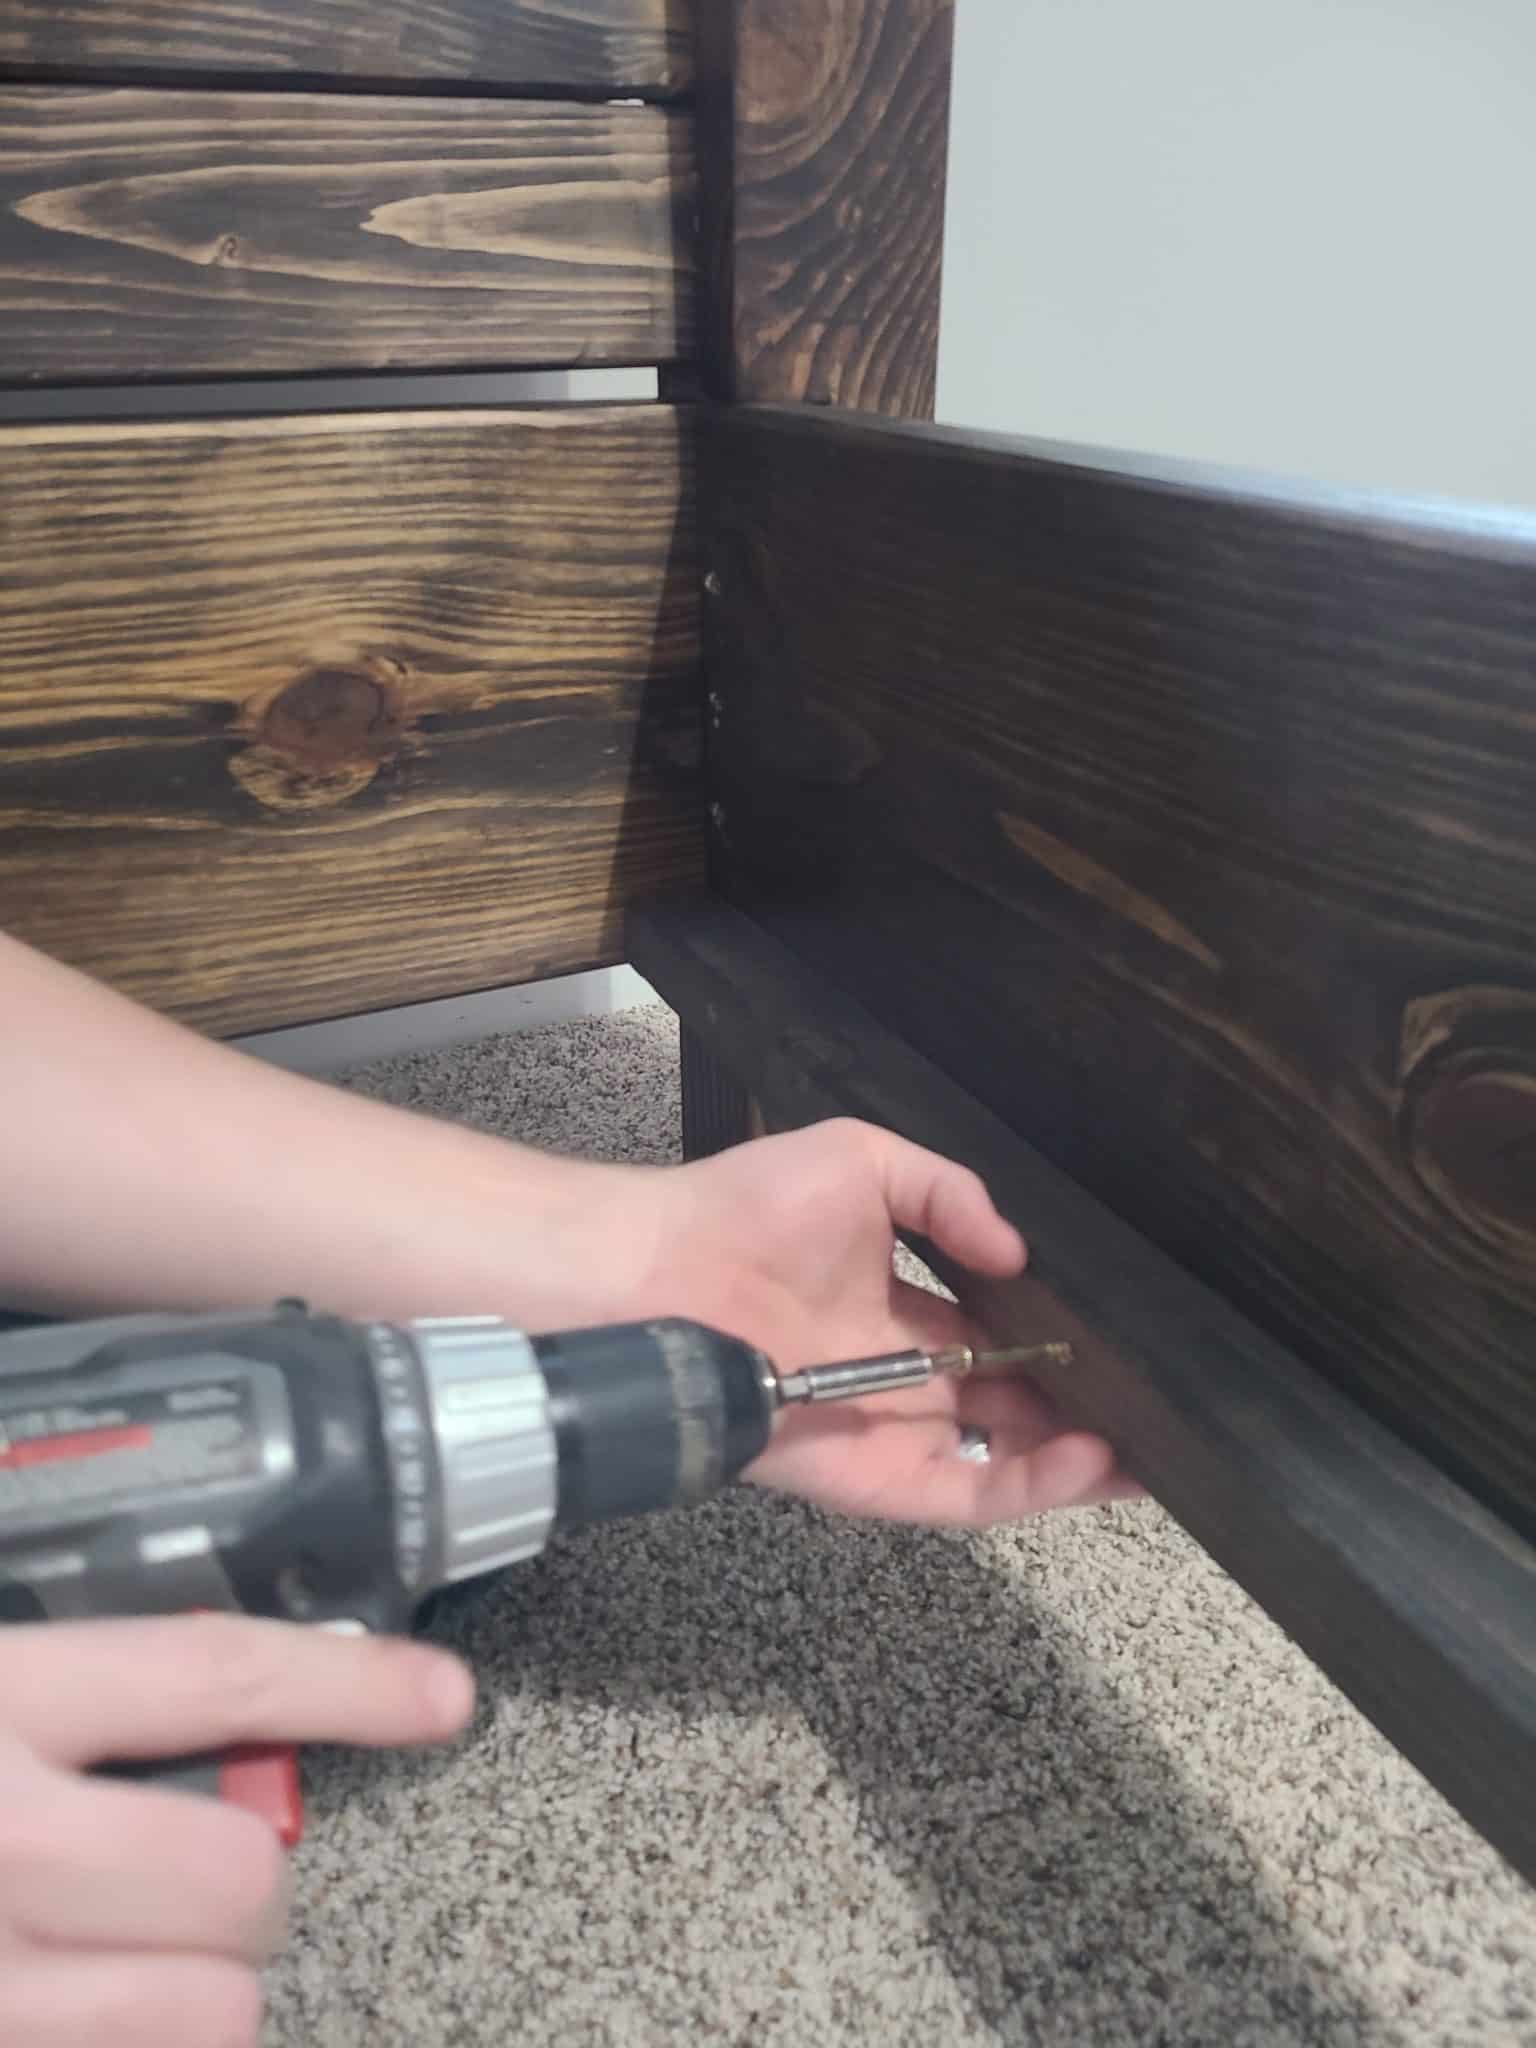
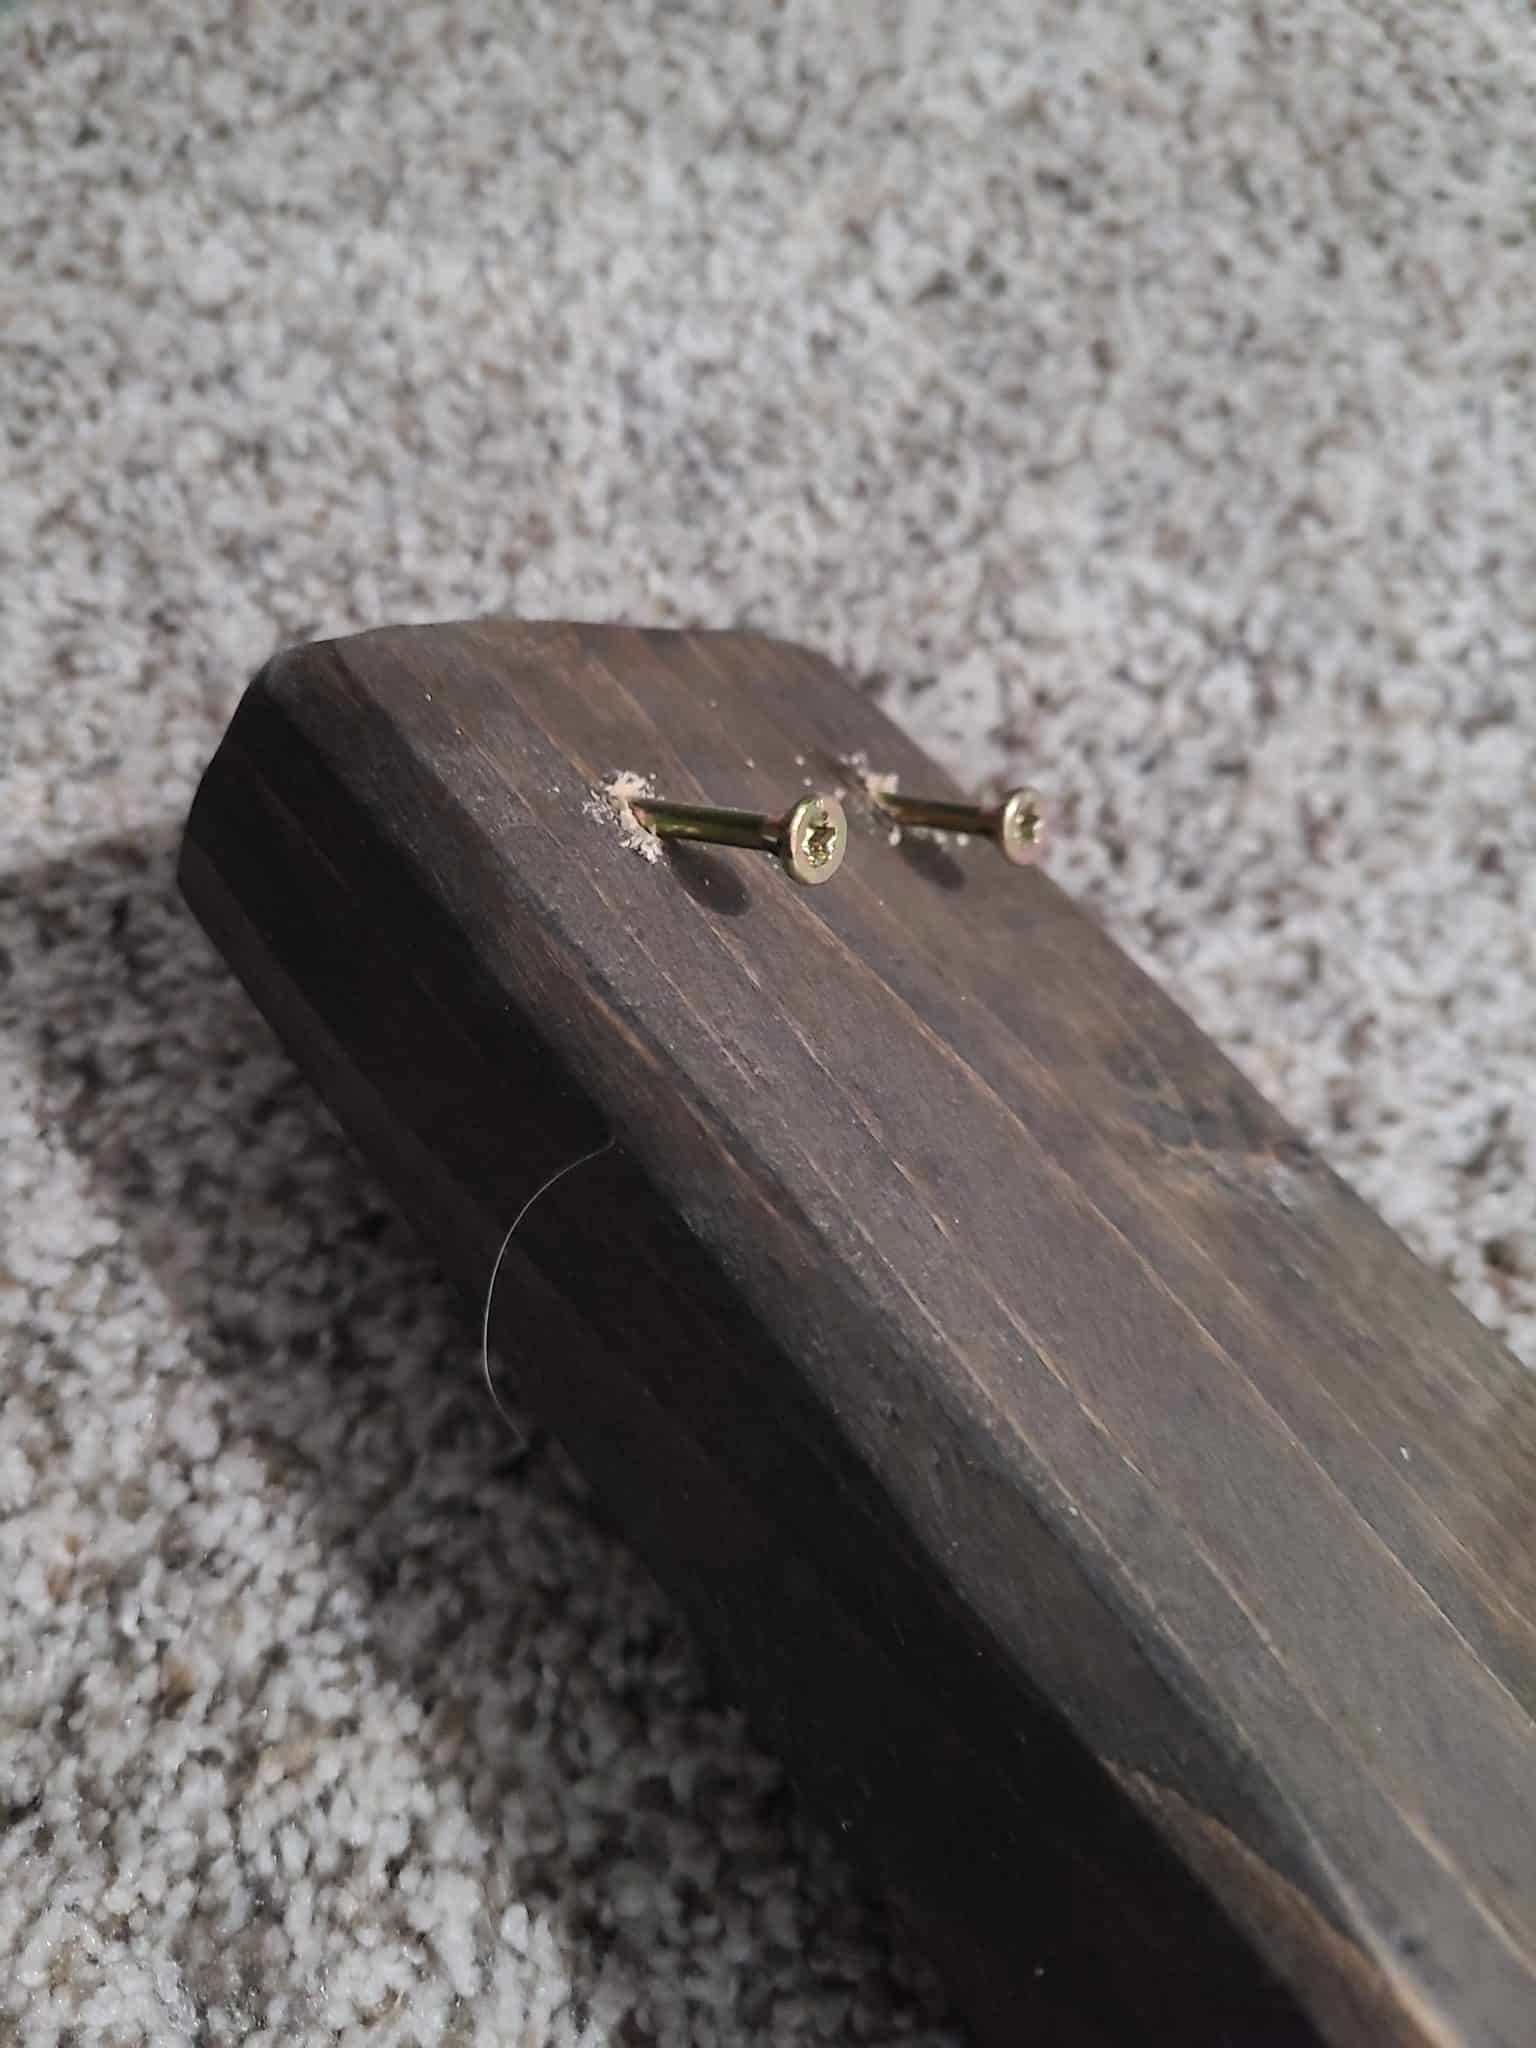
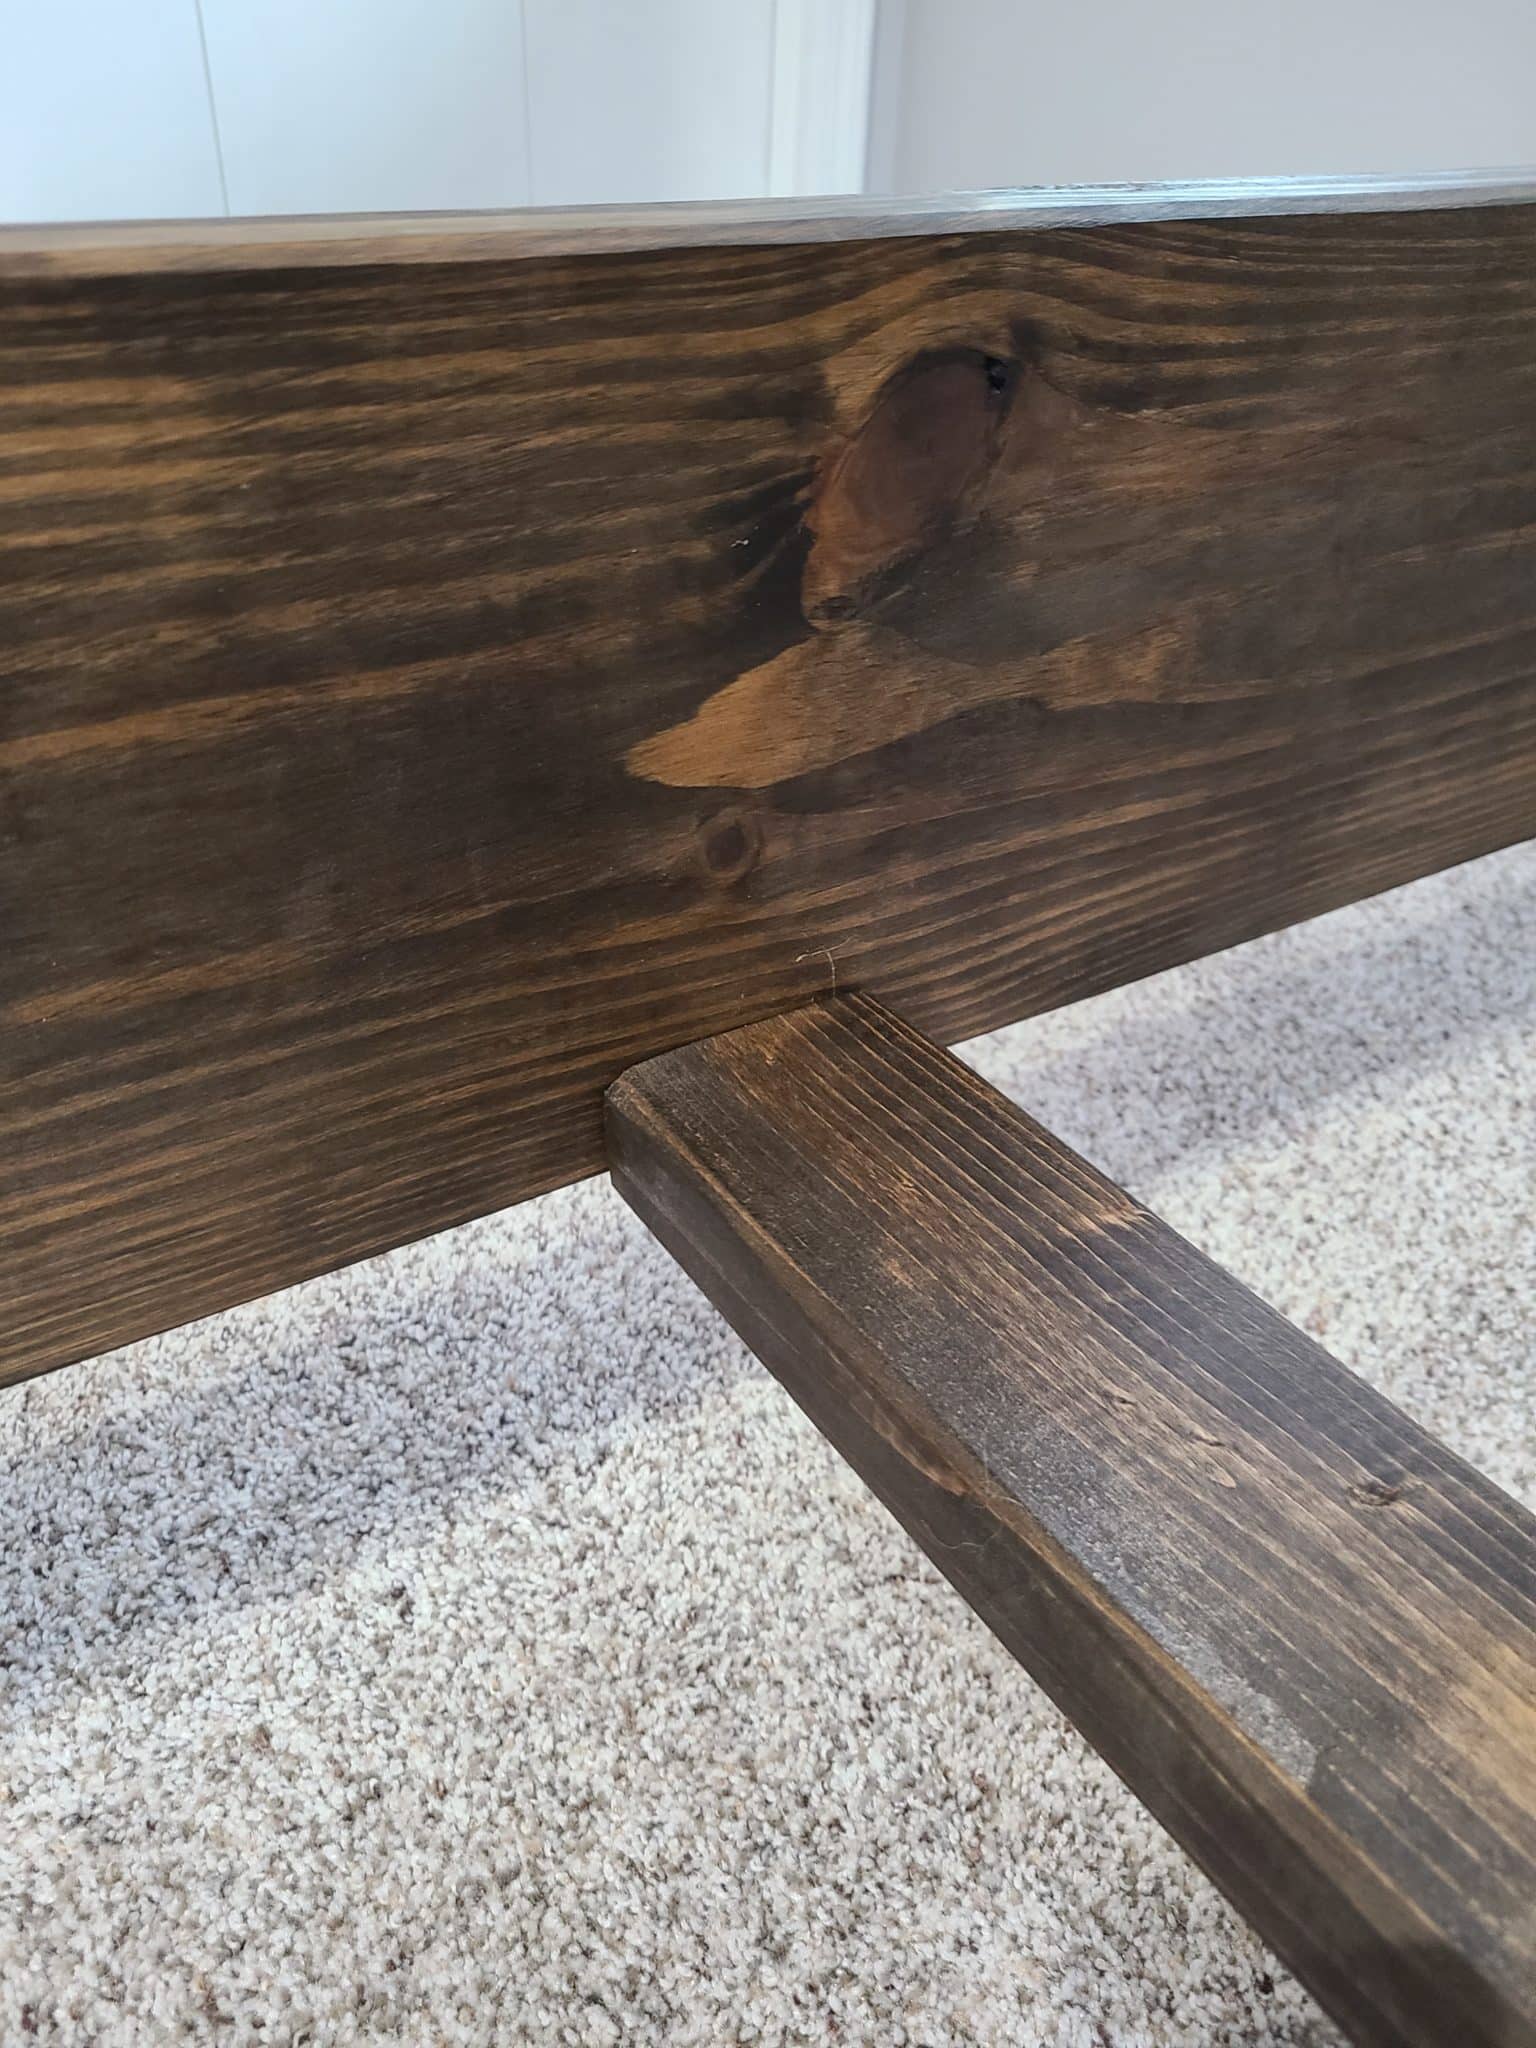
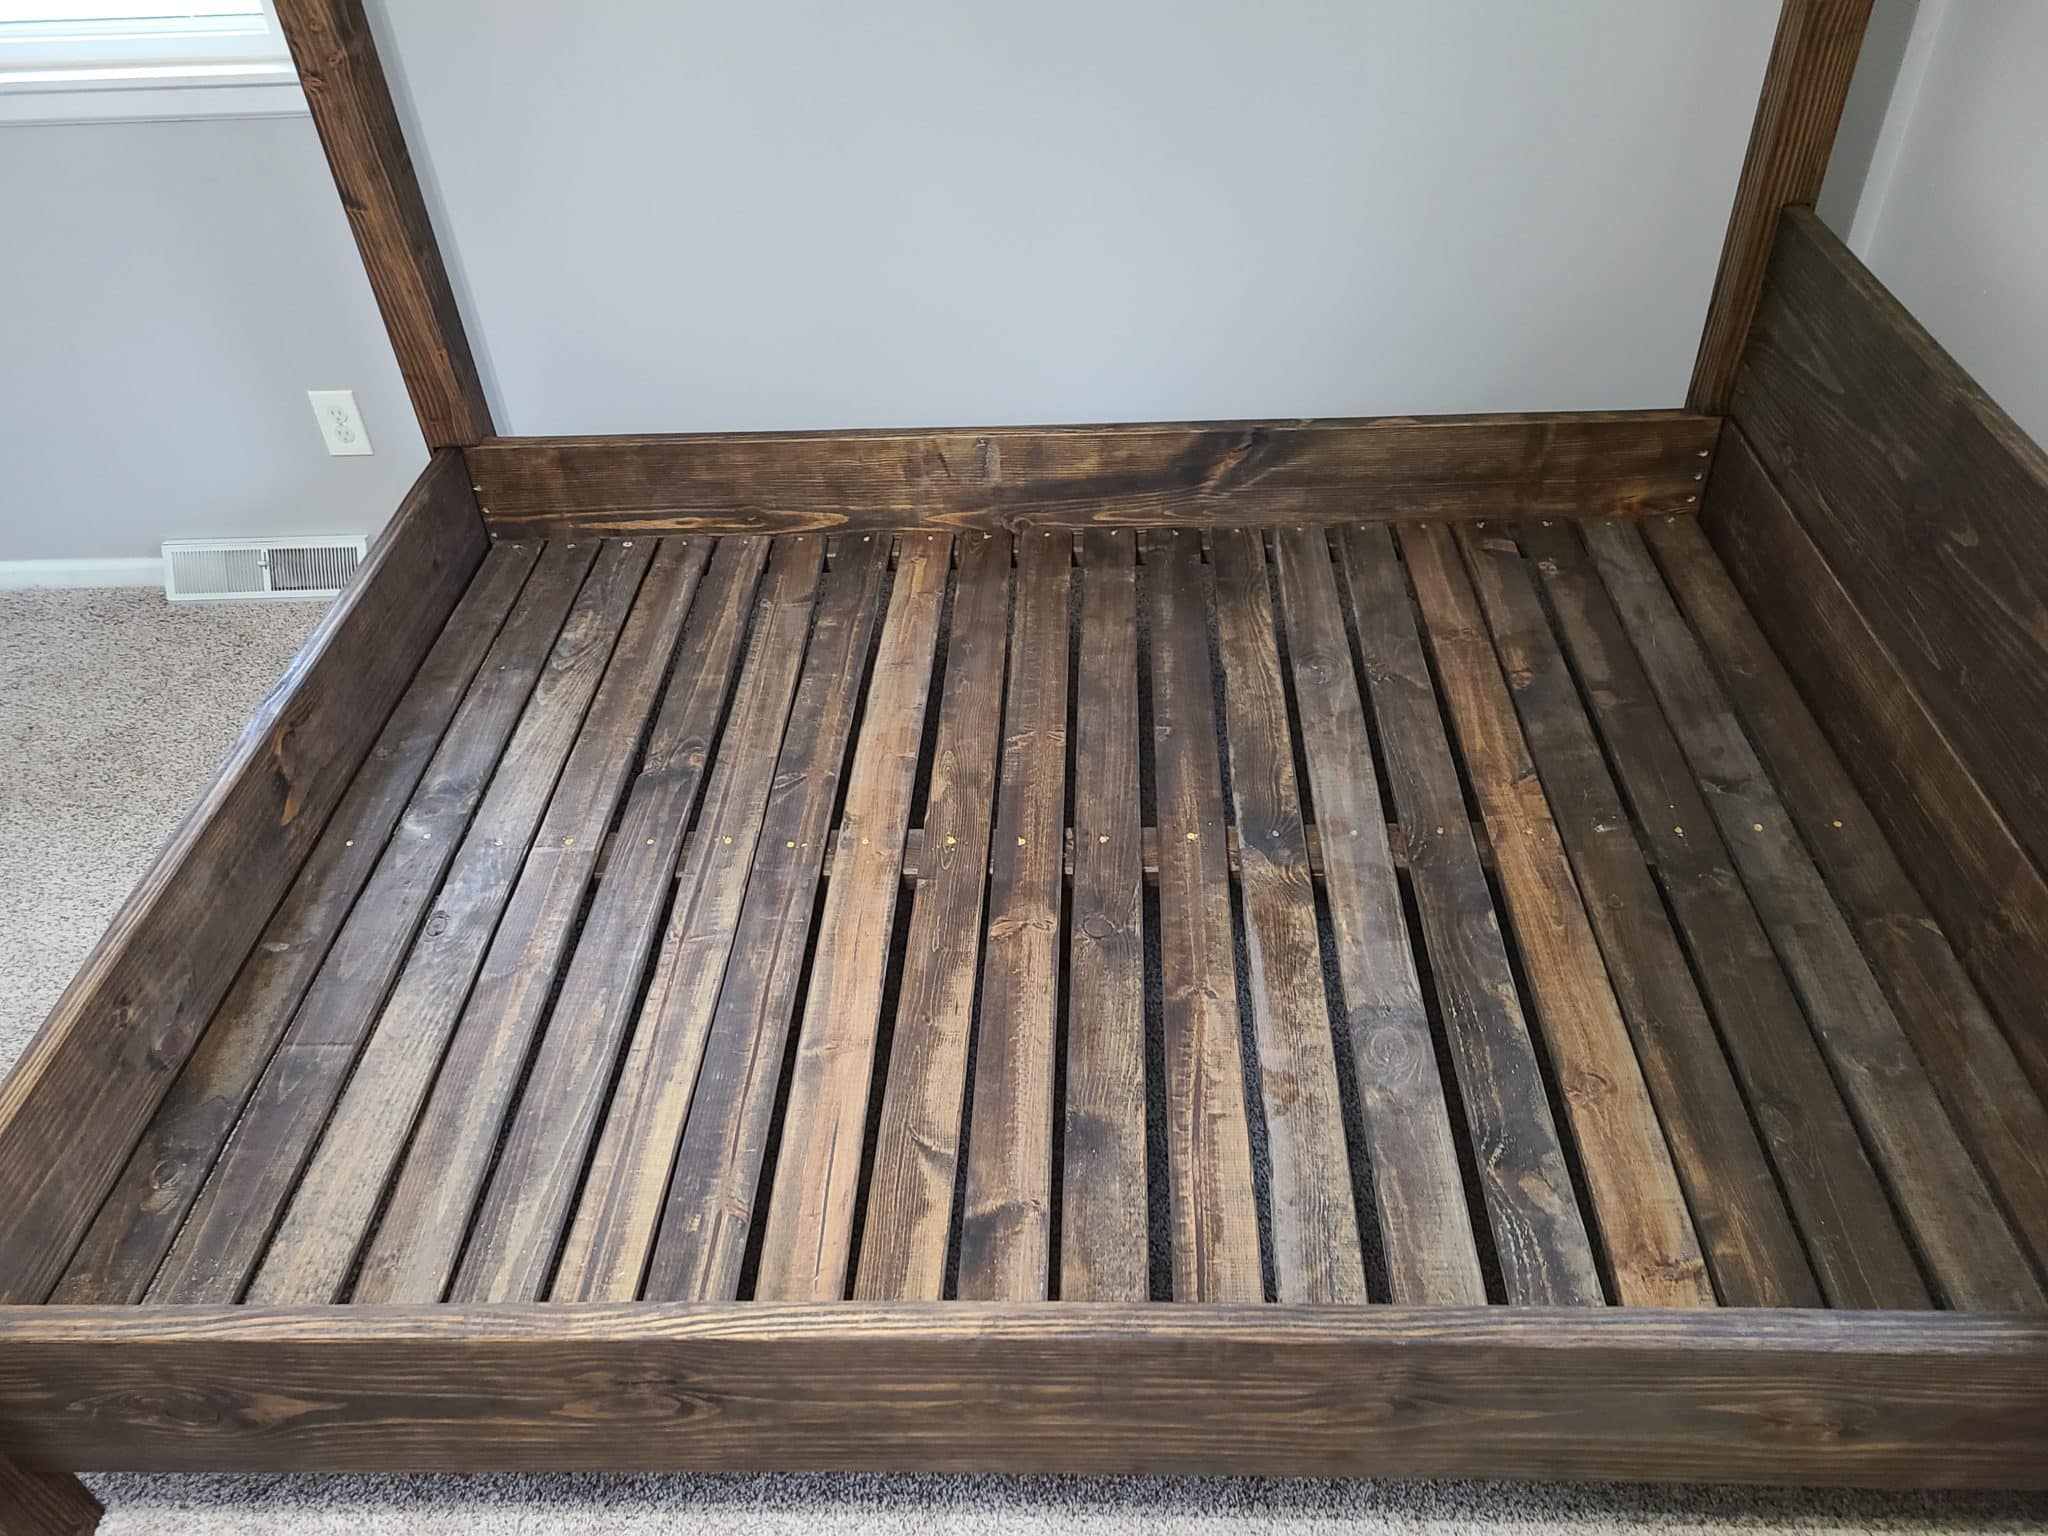
We’ll start with the side supports. These boards will align with the bottom edge of the Long Frame Board. Pay attention to which side is the 1.5” as you’ll want the platform boards to sit 1.5” up from the bottom edge of the bed. You can easily account for this by putting your cut face against the Long Frame Board. Drill and drive a screw through the Side Support Boards and into the face of the Long Frame Board every 8 inches or so. Be careful that you don’t drill too far or run a screw that’s too long. You don’t want to have a hole or sharp point coming out of the exterior face of the Frame Board.
Once both of those are installed, we will install the Middle Platform Support Board. Center this board in the bed so that it butts up to the inside wall of each Short Frame Board. This board will be 6” off the ground so utilize the same scrap pieces of wood from earlier to help hold it in place. We are going to secure it with two screws on each end. We will drill into the face of the Middle Support Board at an angle so that our screw goes up and into the face of the Short Frame Board. Alternatively, you can buy a small L Bracket to install at each end.
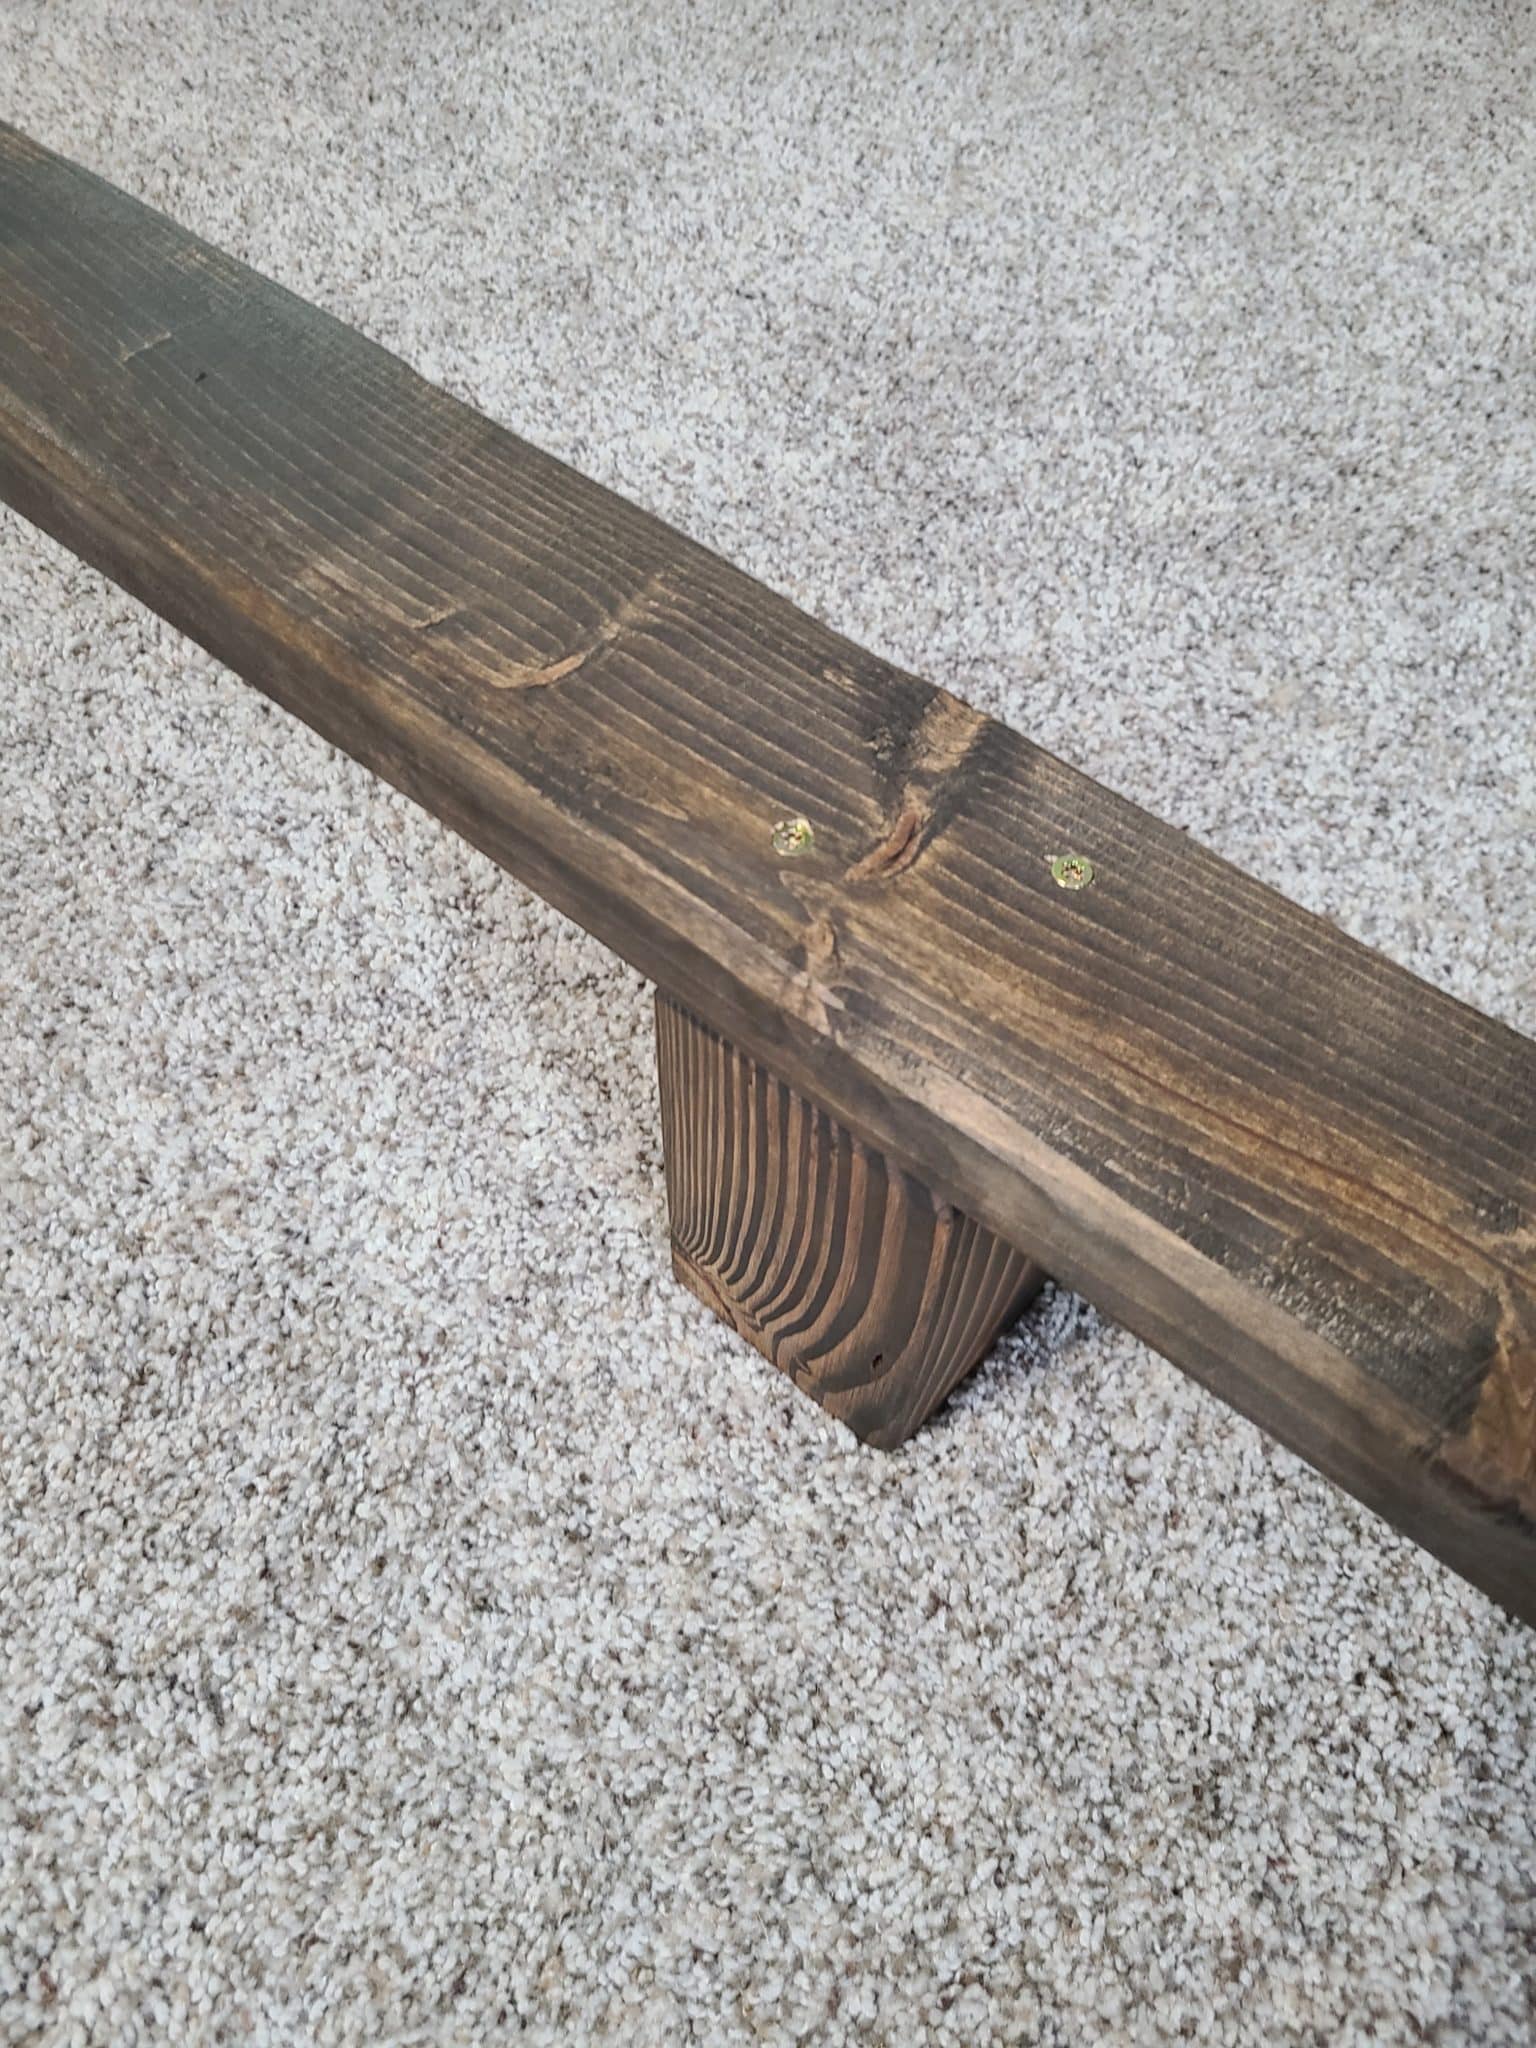
We also installed a 6” Platform Support Leg from the scraps of the 4×4 post in the center of the Middle member to give it extra strength and prevent sagging. This might not be necessary normally. However, I expect to have several kids jumping on the bed so this extra strength is likely to come in handy.
Once the supports are in place, you can begin dropping in the platform boards. Leave ½” of gap between each board as you lay them out or adjust them afterwards. Then go through and put a screw into each end of the board. Also, one screw along the center so that they are fully tied to the bed support. This keeps them from moving and gives your bed a lot of extra strength. And with that last screw you can step back and admire your work. You built a pretty awesome DIY canopy bed!
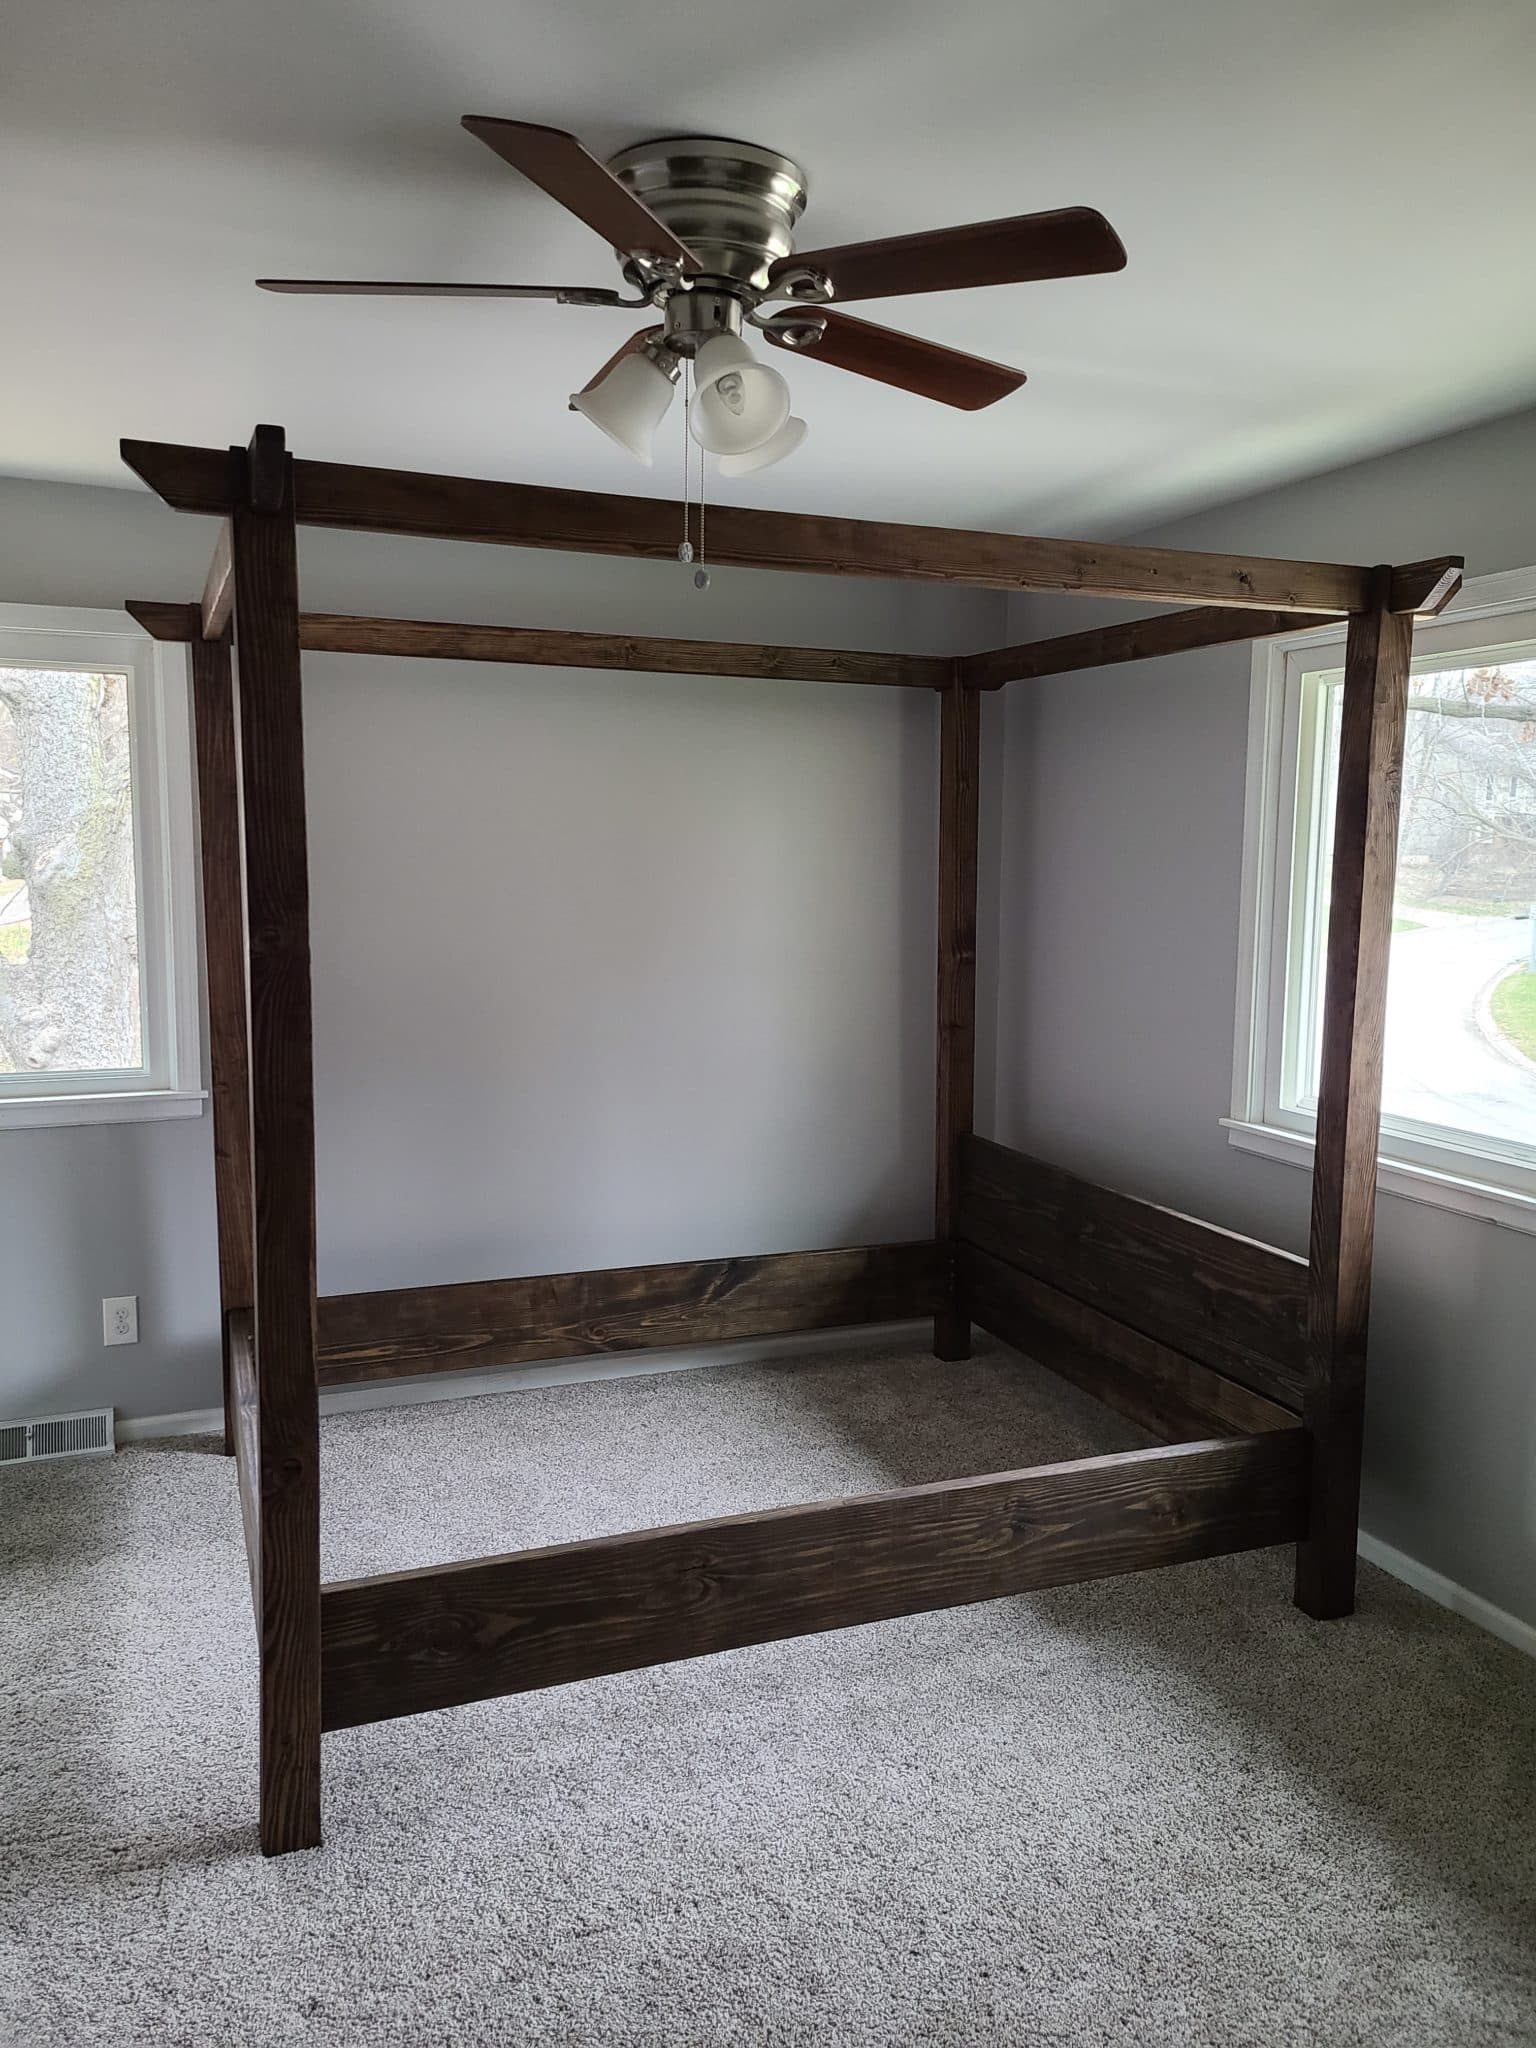
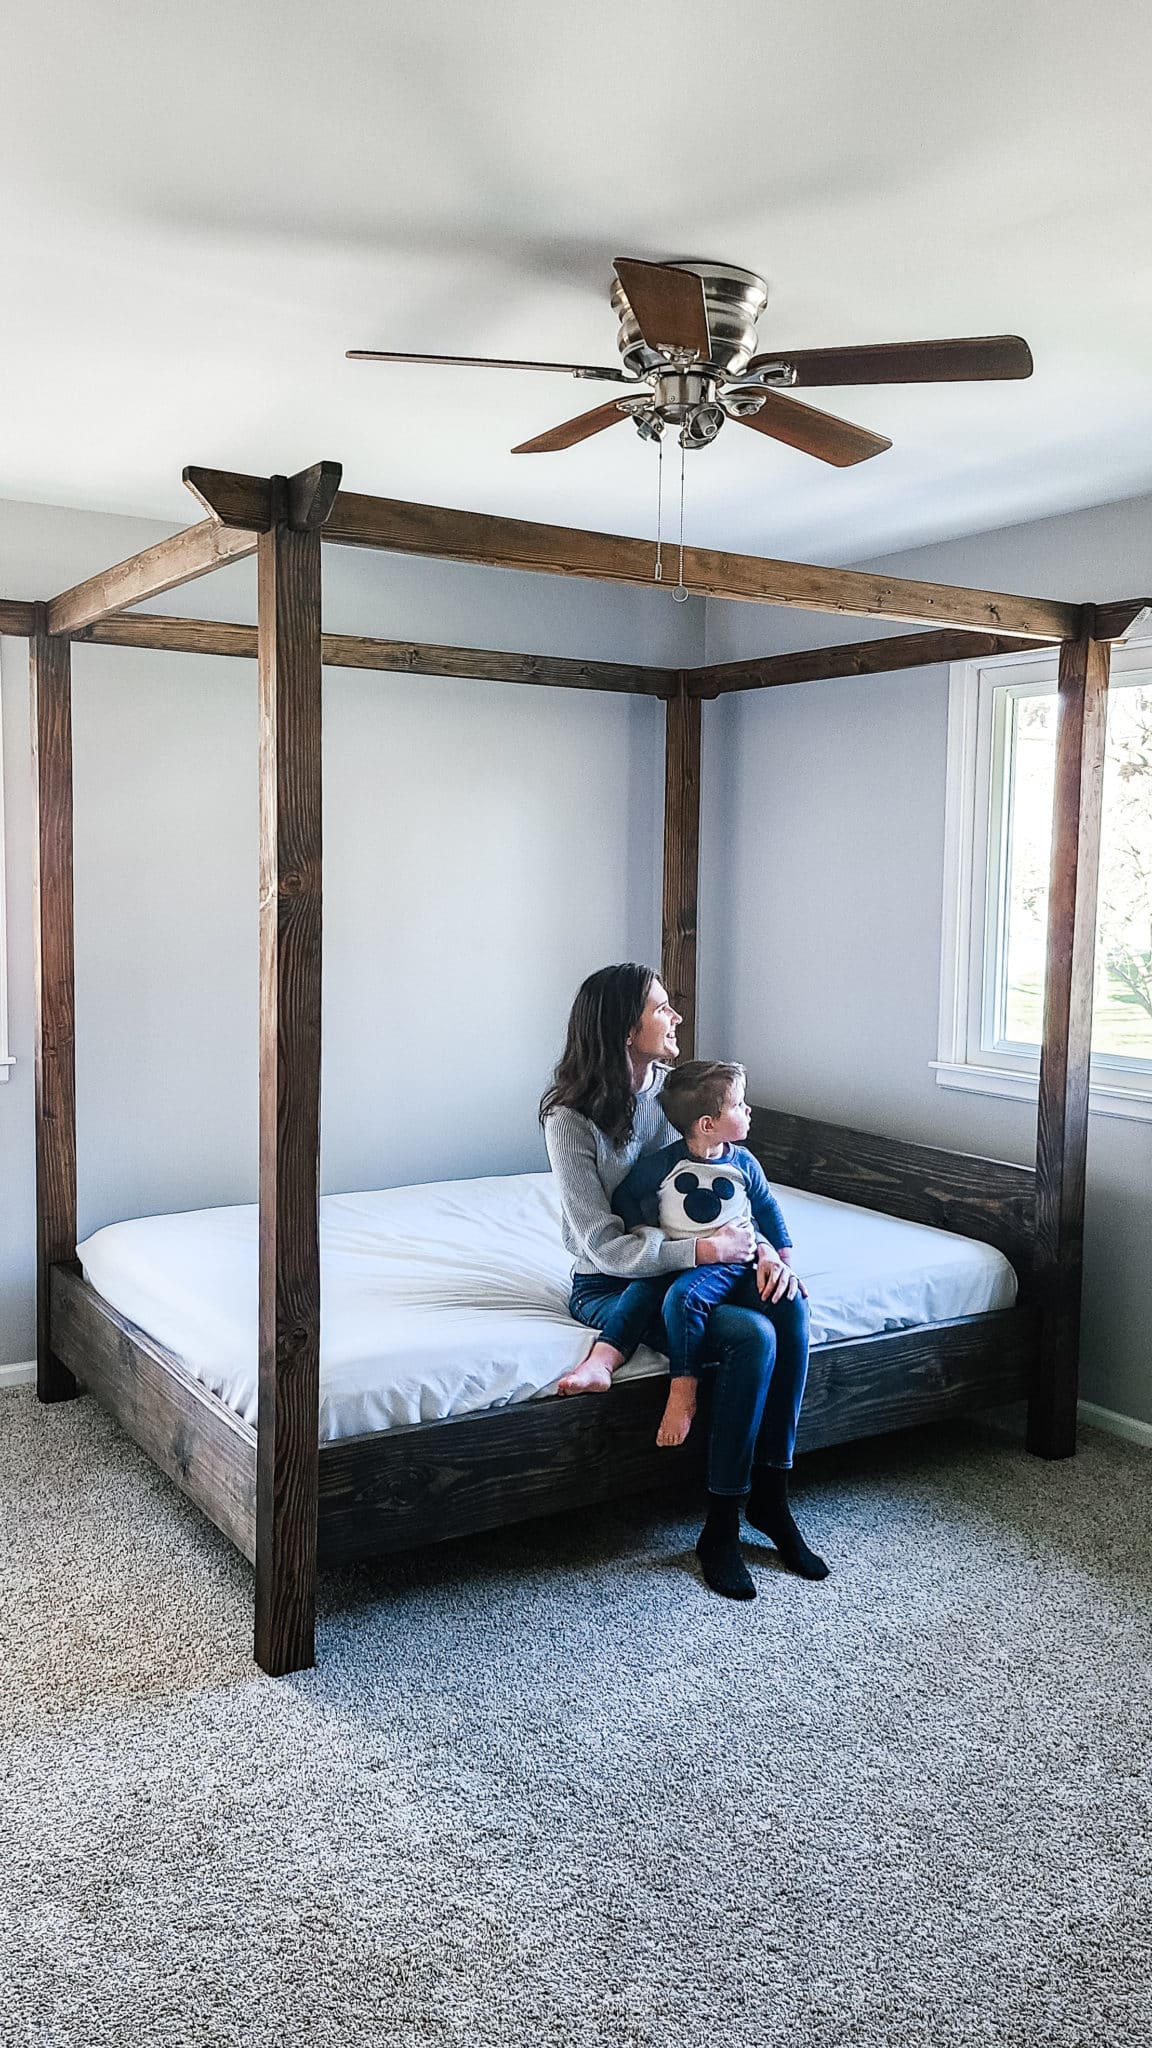
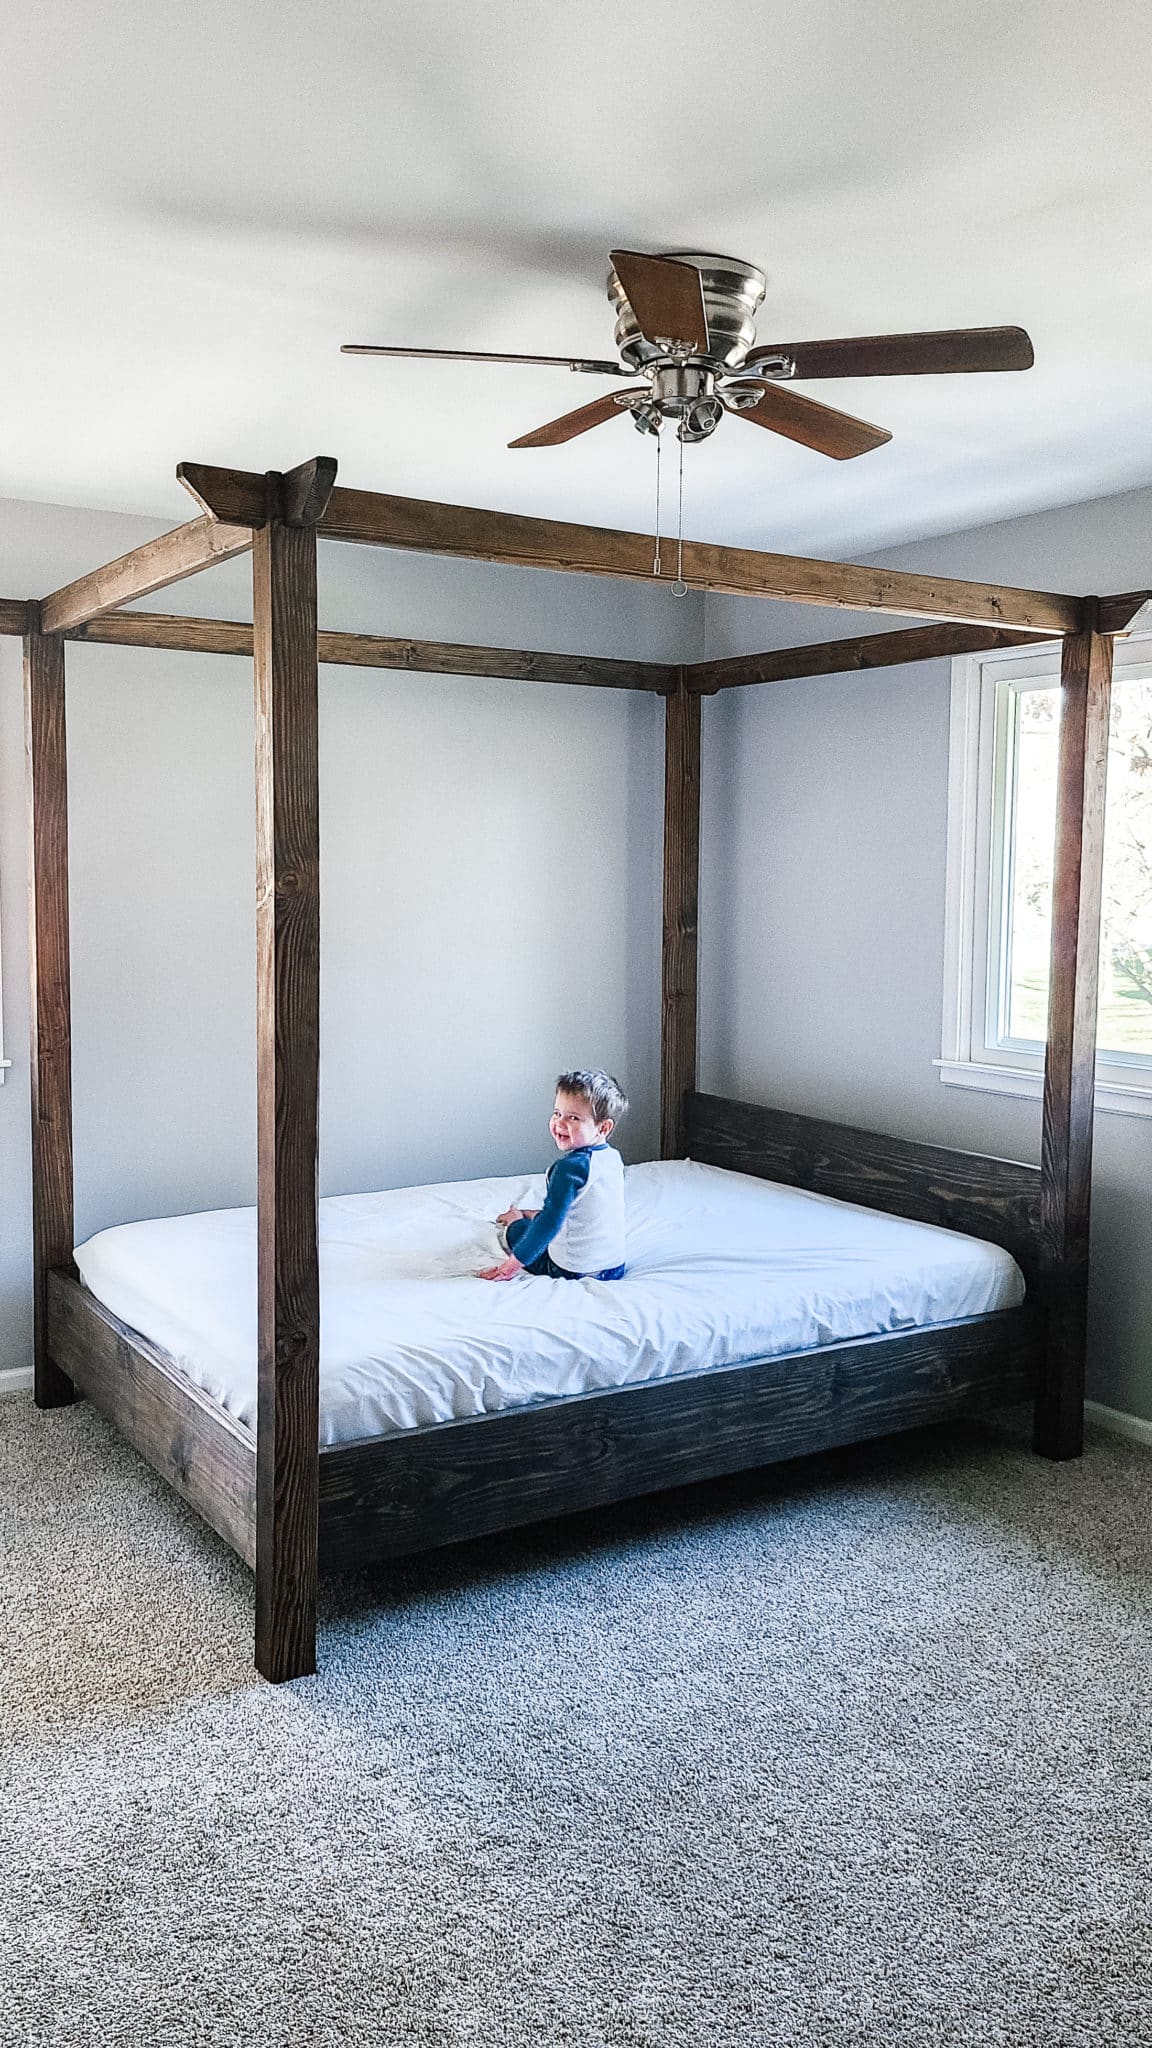
Final Assembled DIY Canopy Bed
You’ve completed your DIY canopy bed assembly, so now just add some luxurious comforts, and kick back and relax! We built this canopy bed for our little one’s big boy bed that he’ll be able to use until he moves out (too soon to think of that!). He’s already excited about it and cannot wait to add some twinkly lights and plants around the canopy!
Other Hubby How To Projects
Now that you have completed this DIY canopy bed project, why not try one of our others?! Head on over to our Shop to check out our DIY plans catalog, and sign up for our mailing list to get access to our DIY Mountain Climbing Wall cutout template. Also, check out our other Hubby How To posts in our DIY Category
- 15 Amazing Woodworking & DIY Projects With Plans And How-To Instructions
- Hubby How To: DIY Flipping Workbench
- 15 Best Gifts for DIYers and Woodworkers
- Hubby How To: DIY Hanging Daybed Swing Plans
Hope this how to helps you build a beautiful DIY canopy bed! We’d love to know your thoughts on the design and if you built it! Also, feel free to leave suggestions or questions in the comments below!


Disclaimer: This post includes affiliate links, and I will earn a commission if you purchase through these links. Please note that I’ve linked to these products purely because I recommend them and they are from companies I trust. There is no additional cost to you.


