How To Make A DIY Garland Using Power Tools
Want a faster way to make party or holiday garlands? Using scissors and hole punches are a thing of the past. Check out how to make a DIY garland using power tools for any design!

Disclaimer: This post includes affiliate links, and I will earn a commission if you purchase through these links. Read about our privacy policy.
Have you ever drawn out a grid for cutting tons of the same shapes repeatedly to make a garland? As a DIYer and party lover, I definitely have spent my fair share of evenings crafting and cutting out shapes by hand to make a fun party decoration. But recently, my husband and I had an epiphany. Why don’t we use power tools to make this process easier and faster!?
So this post covers how to make a DIY garland using power tools! It’s a repeatable process for any type of design and could be used for most sturdy materials.
Check out our tips for how to host an eco-friendly party, too!

Materials
- Cardboard or Chipboard
- Hemp or Cotton Twine
- Spray paint or paint of choice – we used Rustoleum White
- Painter’s Tape or Masking Tape
- Pencil/Sharpie
- Paper Design
Power Tools

How To Make A DIY Garland
This specifically shows how to make a DIY garland in the shape of Mickey Mouse for our son’s birthday party. We chose to make this DIY garland out of cardboard for multiple reasons. We had an abundance of cardboard at home, which meant it was free. It’s a sturdy, recyclable material we could paint whatever color we wanted. Lastly, it’s a great way to reuse materials, and makes great eco-friendly party decorations.

1. Collect The Supplies
Firstly, gather your supplies. Like I mentioned, this process of how to make a garland uses cardboard as the material. If you don’t have a stash of cardboard at home, ask around to family, friends, and neighbors. Between you and a couple others, you’ll likely have enough cardboard to utilize for making your DIY garland.
However, you could use thin wood like balsa or other materials such as chipboard, if desired. If you do purchase materials like wood, opt to DIY sustainably by finding FSC-certified wood and paper products (this means the material came from a sustainably managed forest!).
You’ll also need twine, tape, a drawing utensil, and of course your power tools!
2. Decide On The Garland Design
Deciding on a design is the next important step as it determines how big to cut your cardboard. Pick a simple shape design that matches the theme of your party, holiday, or room design. Pinterest is a great place to find some design inspiration for all kinds of fun garland ideas.
For the Mickey Mouse design, I created the shape on Canva, made it 2.5” wide, and then printed it out. Lastly, I cut out the shape to use as a template. This was the only cutting I did without a power tool!

Creating one paper template ensures you have the same size as you create each piece. However, you can totally freehand draw the design too!

3. Cut Out Cardboard Bases
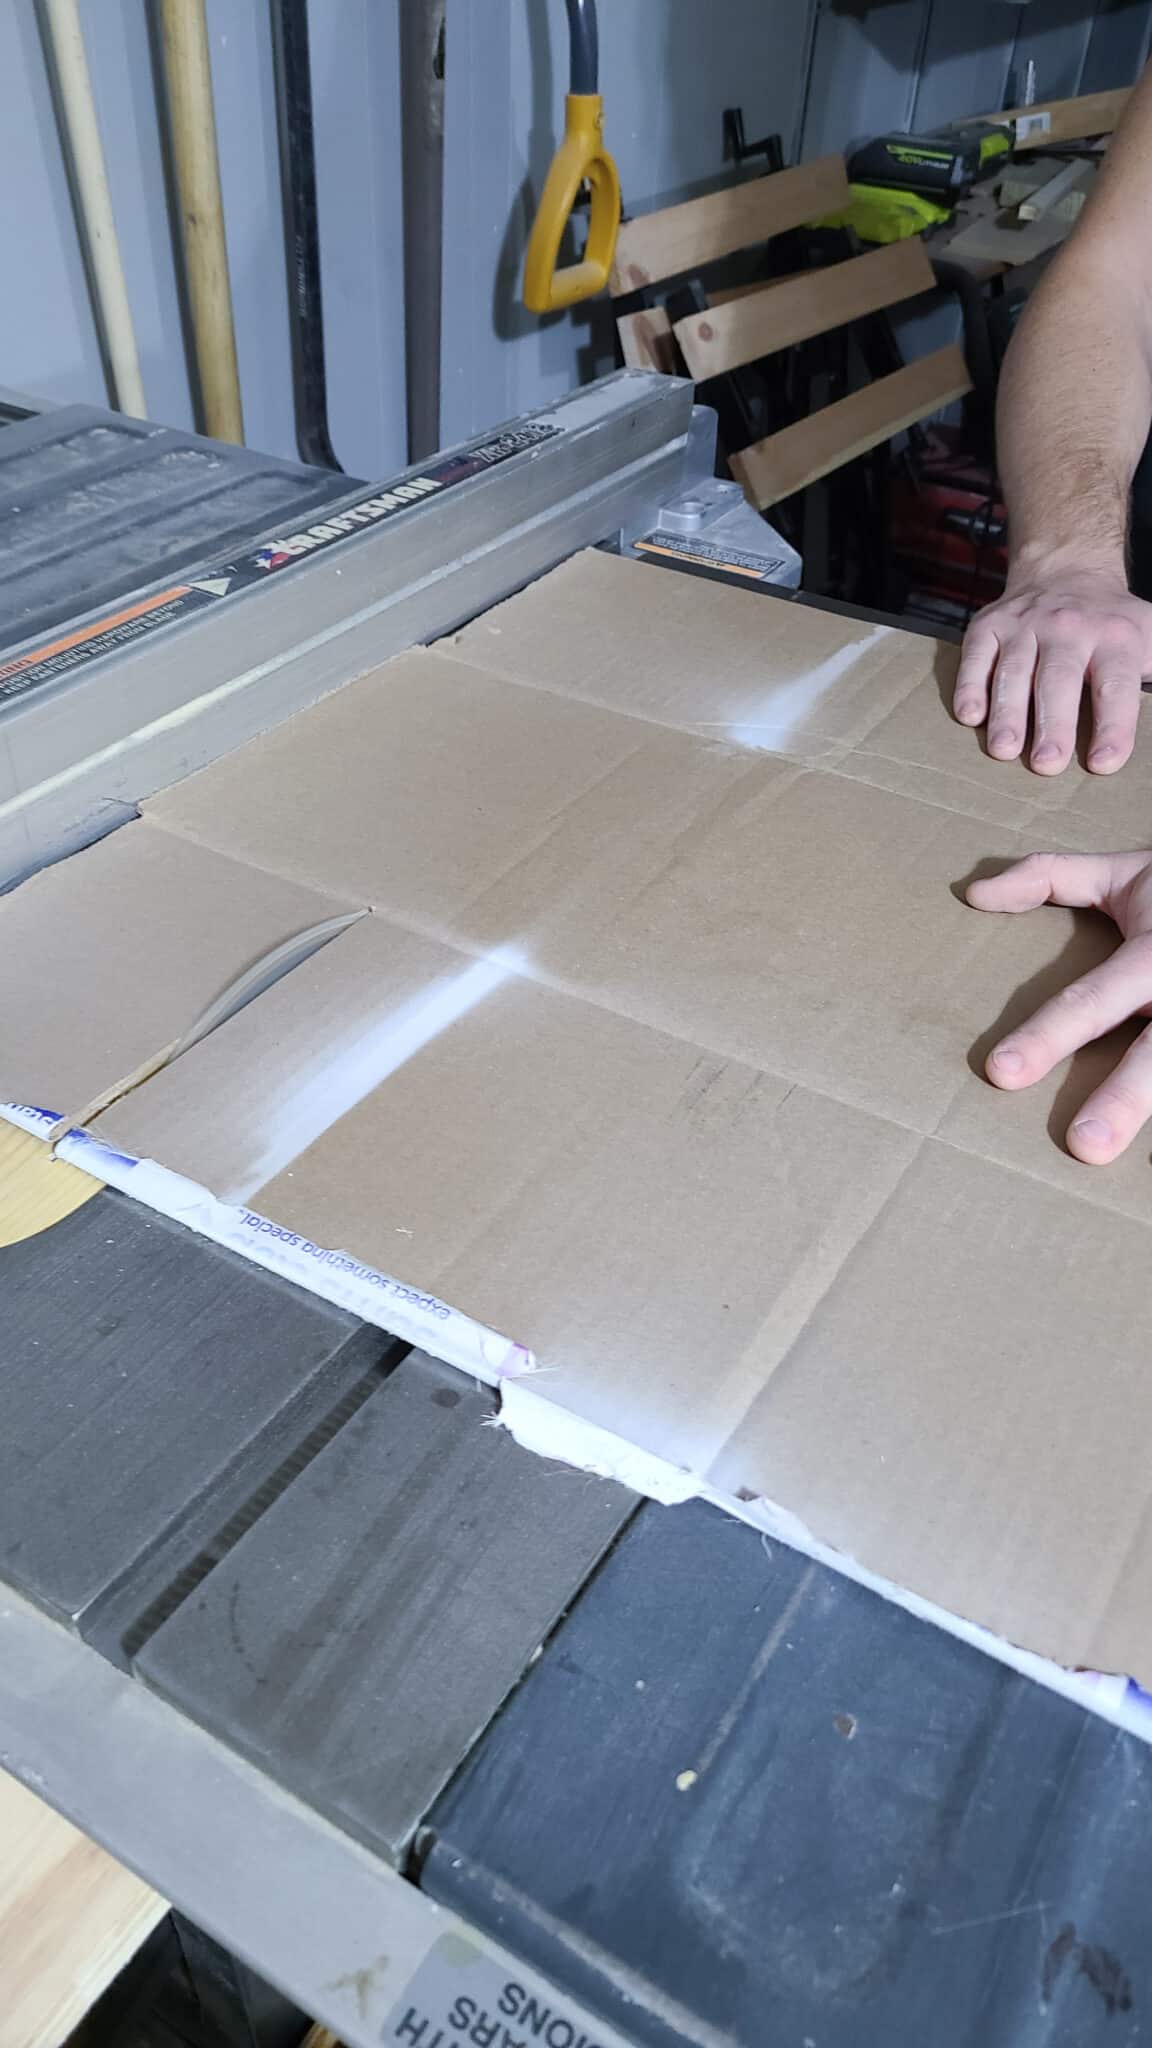
Next, it’s time to start using power tools! Remember when using power tools like the table saw, use proper safety by wearing protective glasses, ear protection and utilizing a push bar when pieces get too small to safely push through the table saw.
With your paper design template, you know what size you need to cut your material. Because you’ll be using a bandsaw to cut the final shape, ensure you give yourself a ¼” to ½” extra material around the paper template. This will make it easier to cut with the power tool.
For this example, we cut 3” squares on the table saw to create the final 2.5” pieces. You can use a jigsaw if you don’t have a table saw. It just requires having a long straight edge or track for the jigsaw to follow and cut straight pieces.

Cut Strips
Measure and set the guide on your table saw to the desired width. Run one piece through the table saw. Then check if your paper template fits it well with extra material around it. It’s a good idea to double check first rather than cutting them all and then finding out the bases are too small.
After confirming the size, continue to cut out as many strips as you have cardboard for. You’ll want to cut all the strips first, so that you don’t have to reset your table saw guide.
 Cutting cardboard strips
- Using push bar for safe cutting
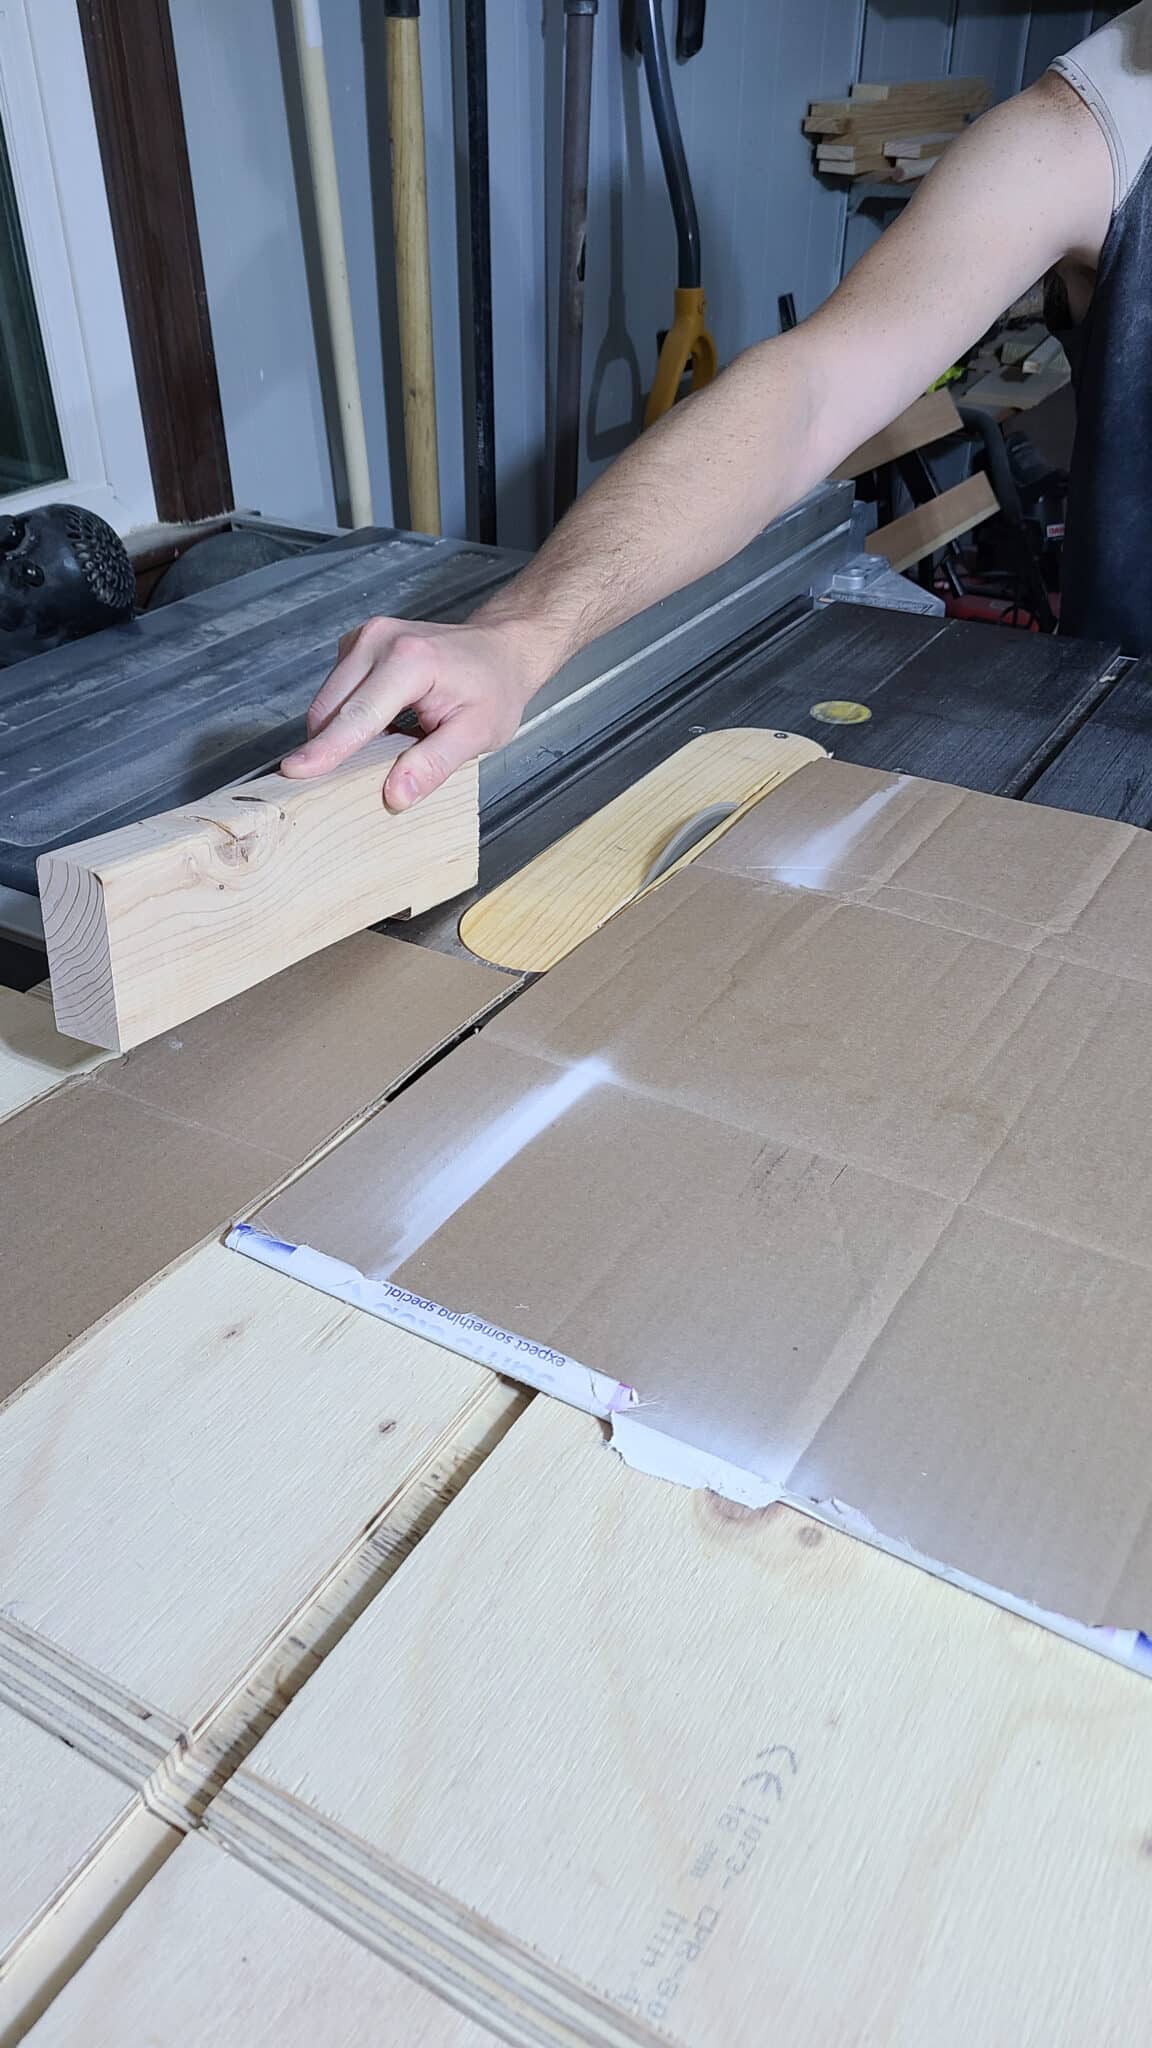
Cross-cut Into Squares or Rectangles
After the strips are made, it’s time to do a cross cut and make them into squares or rectangles. Again, set your table saw guide, cross cut one piece, and confirm your template still fits with extra space. Then repeat the cutting process until you have cut all the strips.
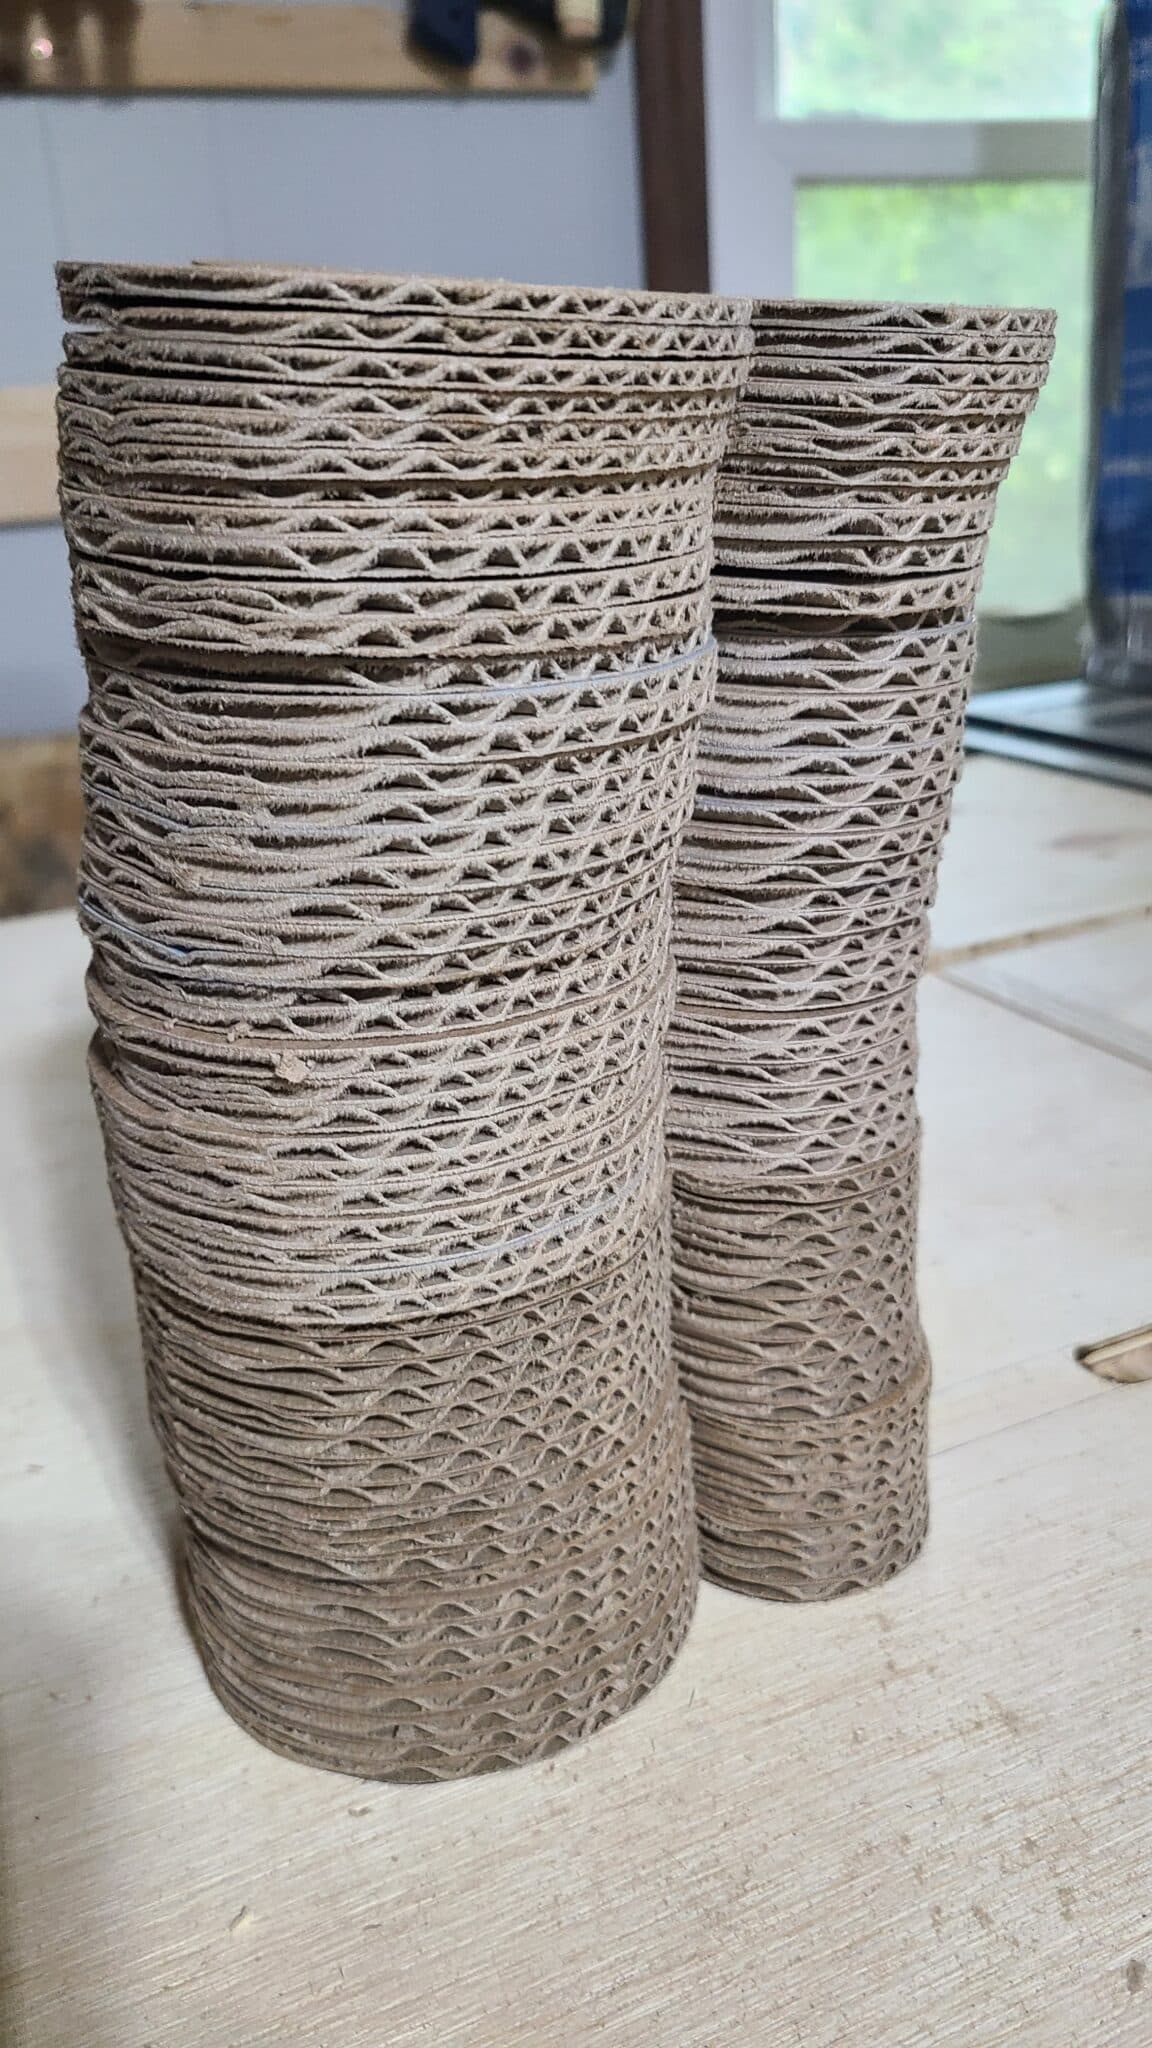
4. Stack & Tape Pieces
After all the base pieces are cut, it’s time to create stacks to use on the bandsaw to cut the final design. Stack a few of the base pieces together and compare it to your bandsaw blade height. You don’t want too many bases in a stack that it’s hard to handle or too much of the blade will be buried. It’ll vary depending on how tall your bandsaw blade is and how thick the material is.
Tape all four sides of the stack and repeat with all the other pieces.
5. Trace Design
Using the paper template (or freehand it!) trace your garland design onto the top piece of each stack. This will act as your guide when cutting the stacked pieces out on the bandsaw.

6. Cut Out Design
Now the fun part! Time to cut out that traced design for your DIY garland. Depending on the shape, this can take varying amounts of time, but take your time for the safety of your fingers and your cool design.


Remember, even with a simple shape, you may want to cut part of your design and then remove that material. We found stopping and re-taping the area we had just cut helps to hold the stack together and makes the rest easier to cut.
Be freaking careful people! If you’re newer to cutting with a bandsaw, then maybe do a couple test pieces first to get the hang of it. Even if you are experienced, always practice proper safety and pay attention to your finders. The bandsaw has a tendency to occasionally align with grain and jump forward faster than expected. My hubby has had this bandsaw since he was a teenager, and he still recently cut into his thumb when the band saw jumped.
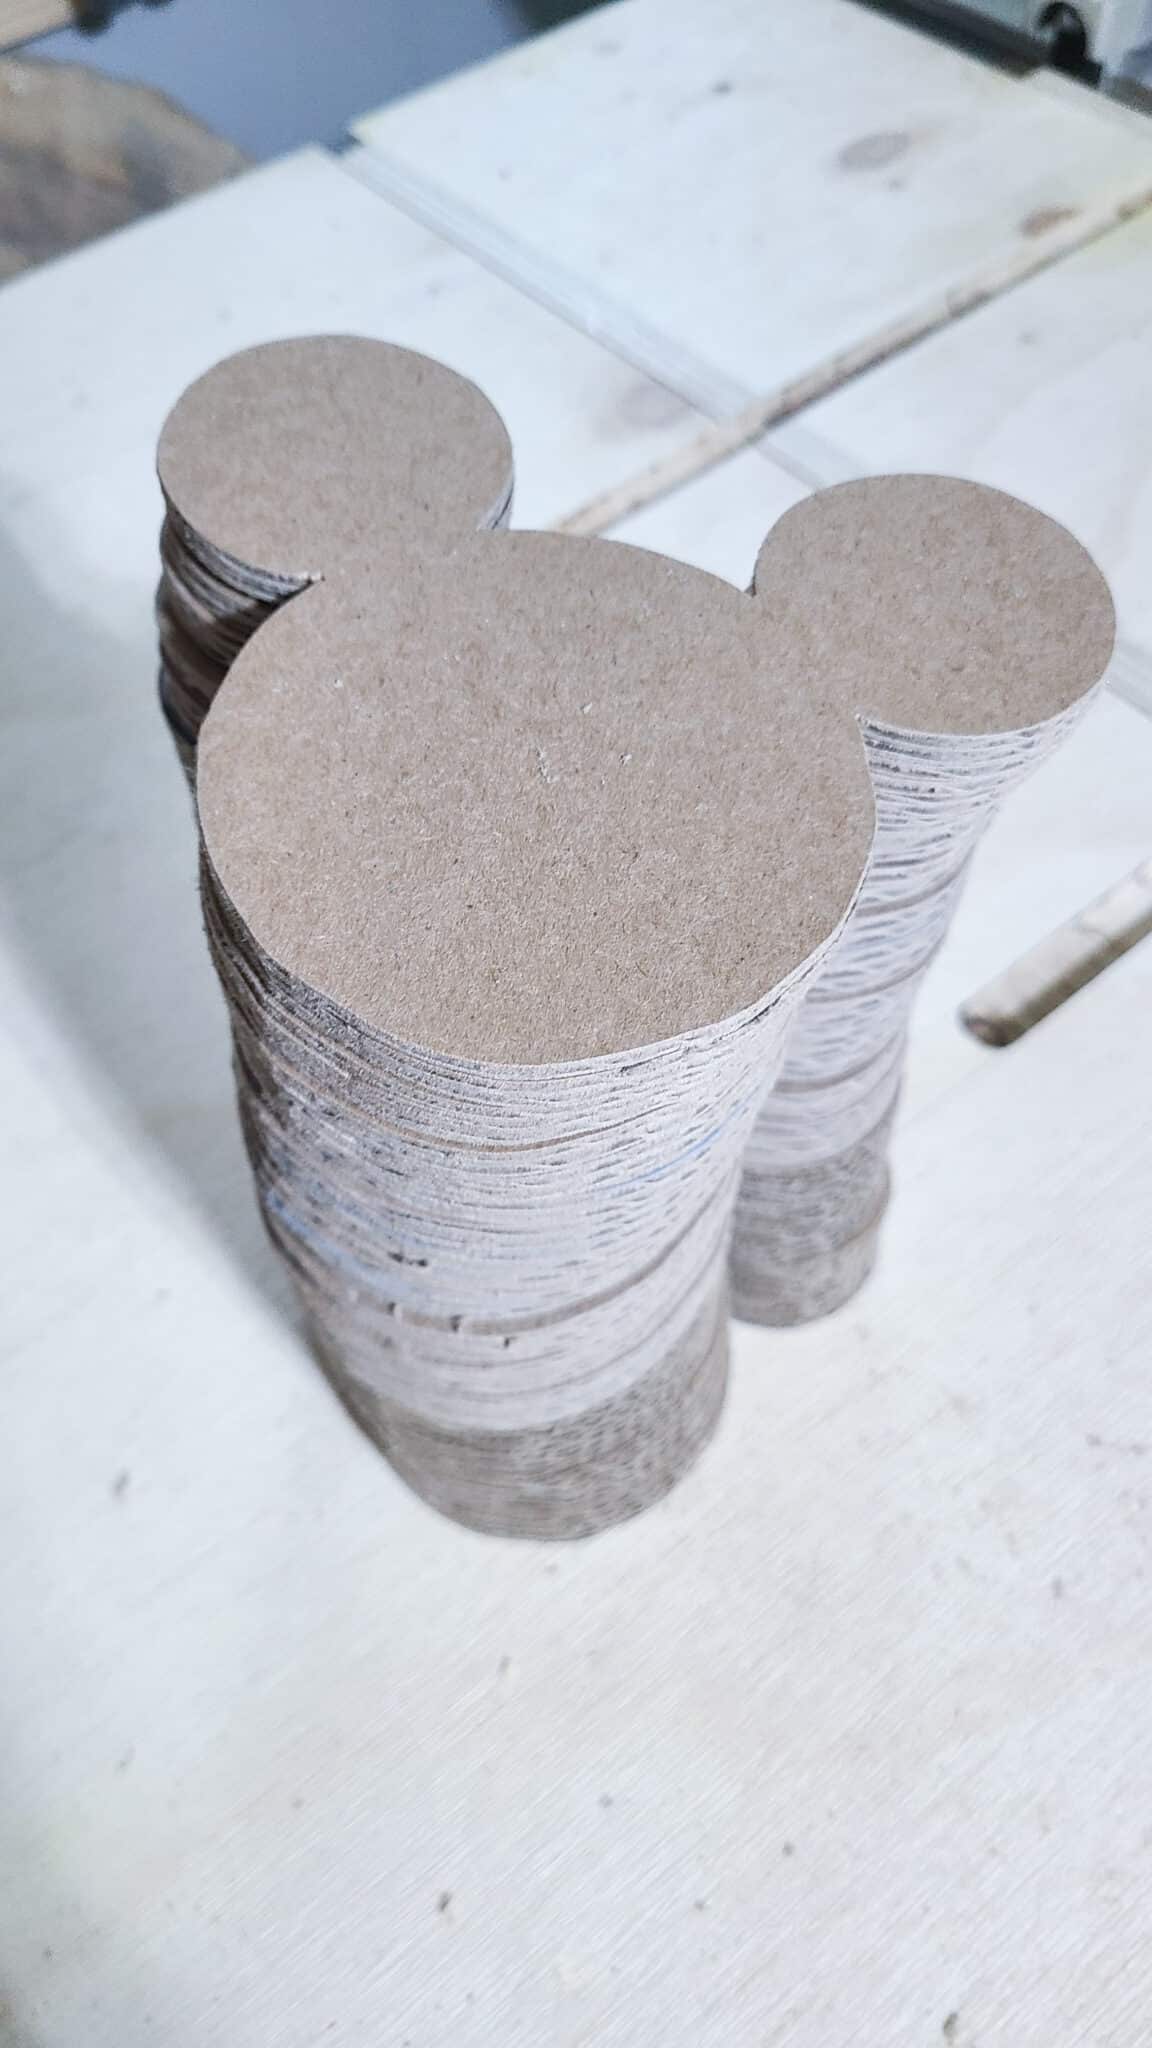
7. Drill Holes
Tada, you have a stack of Mickey Mouses or whatever your design is! Instead of un-taping the stacks like we did initially, keep them taped up. It’s time to drill holes for the garland thread.
We used a 3/16″ drill bit for thin twine. Depending on the design, one or two holes may be needed. Typically, we’ve found two holes is best to help the design lay flat. Also, the size may need to be larger if you chose to use a thicker thread (always double-check prior to drilling every hole).
Drill holes through the stack. A drill block can be useful to ensure the drill stays perpendicular to the cardboard stack. Drill slowly and be careful as the cardboard might try to shift if not taped securely.
Repeat this drilling process for all the pieces.
8. Paint DIY Garland Pieces
Next up, it’s time to paint the garland pieces! If you have extra paint lying around, then this is a great way to use it up. You can use spray paint, acrylics, sample paints or gallon paint leftovers.
We used Rustoleum White spray paint to keep it a minimal neutral look. We had leftover white spray paint, but ended up buying some more too as we created a lot of garlands.
Cardboard is fairly absorbent, so it’ll likely take a few coats if you use spray paint. Consider your material and adjust as needed.
Lay everything out on more cardboard or a dropcloth to paint. Remember that spray paint has a lot of over spray and can hang in the air for a while. Lastly, ensure you are working in a ventilated area with windows/garage doors open if you’re inside.
Let pieces dry, apply additional coats of paint, flip over pieces, and repeat until complete.

9. String Pieces Together
After all the paint is dry, string the DIY garland pieces together. We had some twine at home, which worked perfectly for the string. However, you could use yarn, beaded string, ribbon braided yarn or anything you want as the garland string.
Cut the preferred string to length and begin threading on the garland pieces.
If you have two holes, then there’s a couple tricks! Firstly, decide which side is to be the front side. Then thread your string through the hole from the front to the back. Then back out the other hole. It’s important to do it this way, so the long part of the thread is on the backside of the garland.


Then make sure you always repeat threading on the design piece the exact same way each time. This creates consistency in the garland and doesn’t leave any piece laying differently from the others.
10. Hang DIY Garland & Celebrate
Now you know how to make a DIY garland! Hang it up and celebrate!

DIY Eco-friendly Party Decorations with Power Tools
The opportunities with this process are endless! You can make more garlands with any design for any type of party or holiday. Give the DIY garlands a second life too beyond just the party or event. Since our little one loves Mickey Mouse so much, and we kept the garland simple colors, we’ll be hanging it up in his Modern Kids’ Room as it definitely fits with the design aesthetic.
You can also use this cutting process to make holiday tags, cards, 3D stacked decorations and more. Using power tools really ups the potential for some fun DIY eco-friendly party decorations or home decor pieces.
More DIY Projects
Check out some of our other DIY projects from homemade playdough to building your own hanging daybed! We even have a complied list of 15 DIY projects at home you can do!


What do you think of using power tools to make a DIY garland?! Hope it helps you make awesome garlands! Let us know what you think and made in the comments below!


Disclaimer: This post includes affiliate links, and I will earn a commission if you purchase through these links. Please note that I’ve linked to these products purely because I recommend them and they are from companies I trust. There is no additional cost to you.


